“Centered” Around the Basics
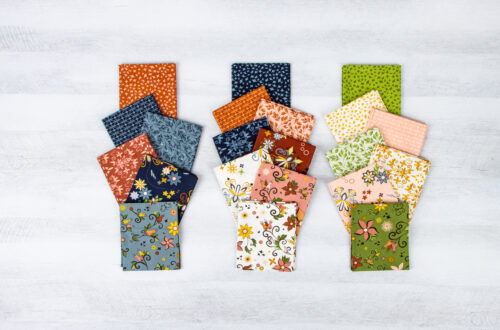
Hello there again! Shereece Nicole of Sew Hooked on Treasures. As much as I love different fabric collections from Riley Blake Designs, there is just something about their Basics that keeps calling my name.
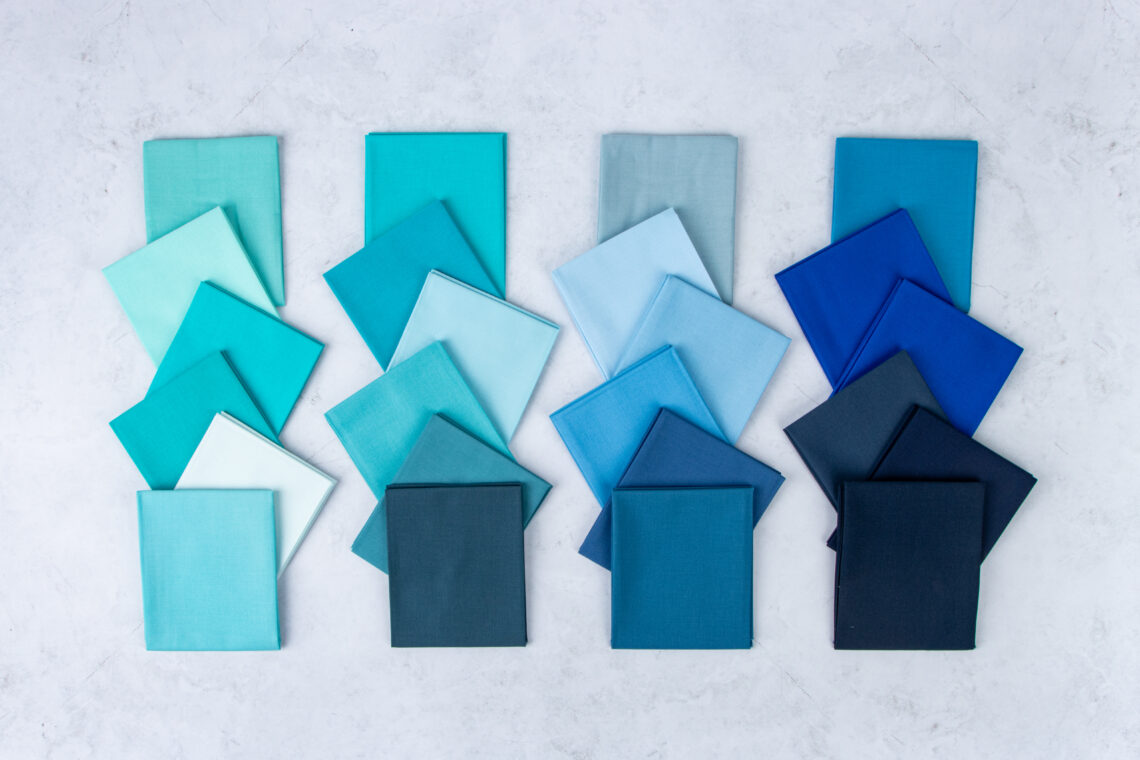
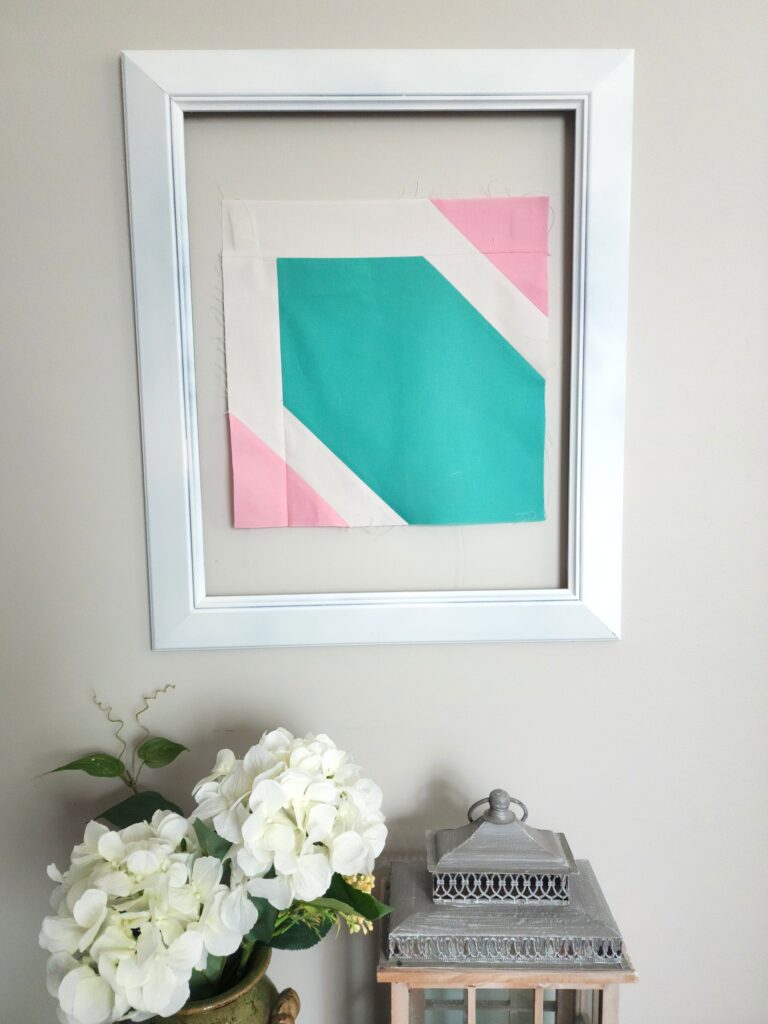
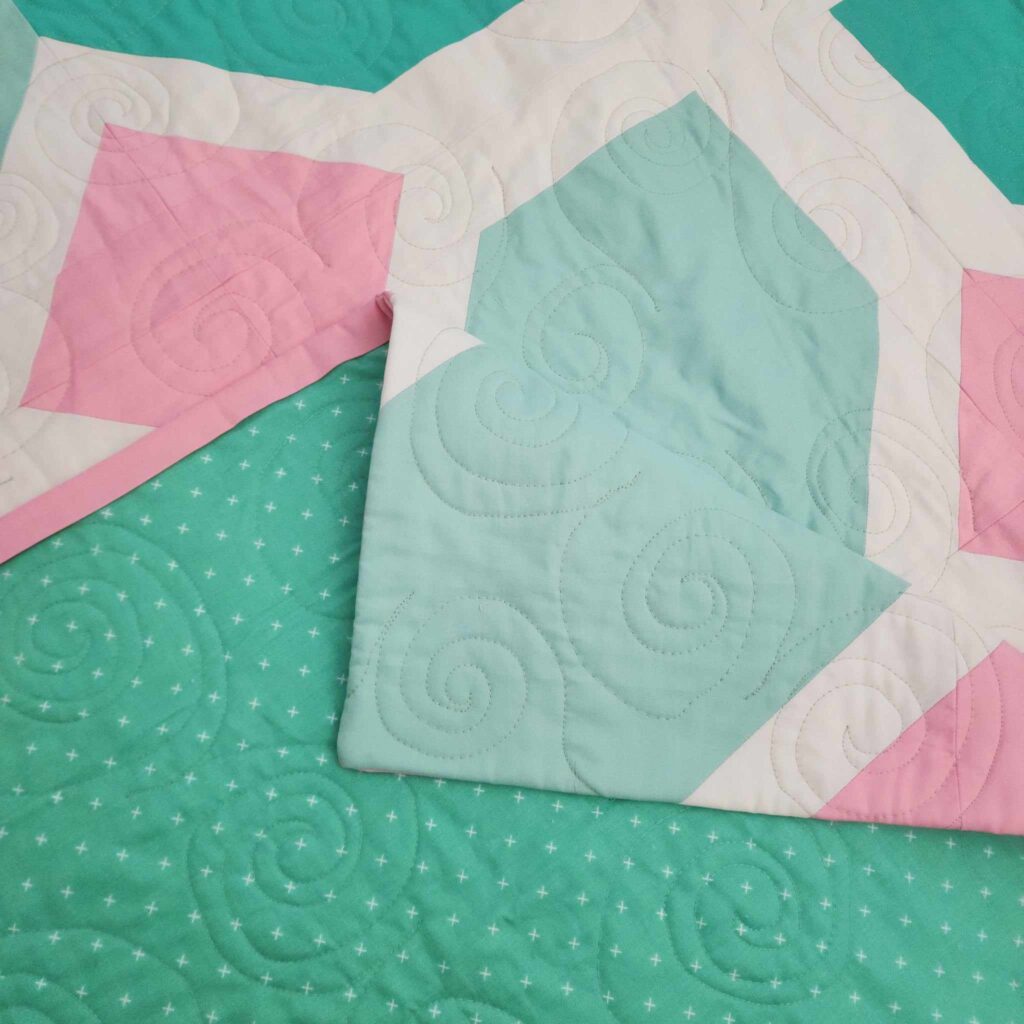
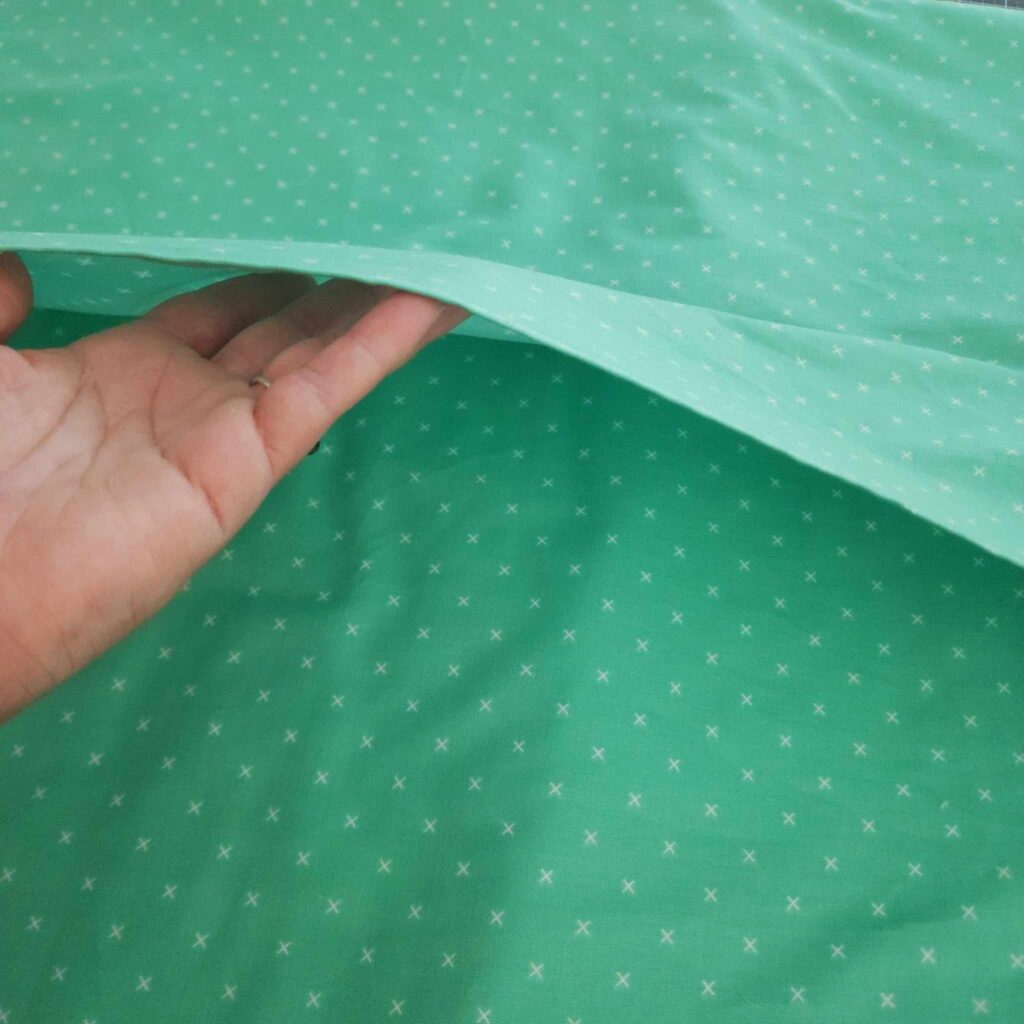
My newest pattern, Centered, uses their Confetti Cottons (solids) for the top and Bee Cross Stitch for the back. The collections and colors mix so well together. You can mix and match the Basics for your projects adding variety and depth.
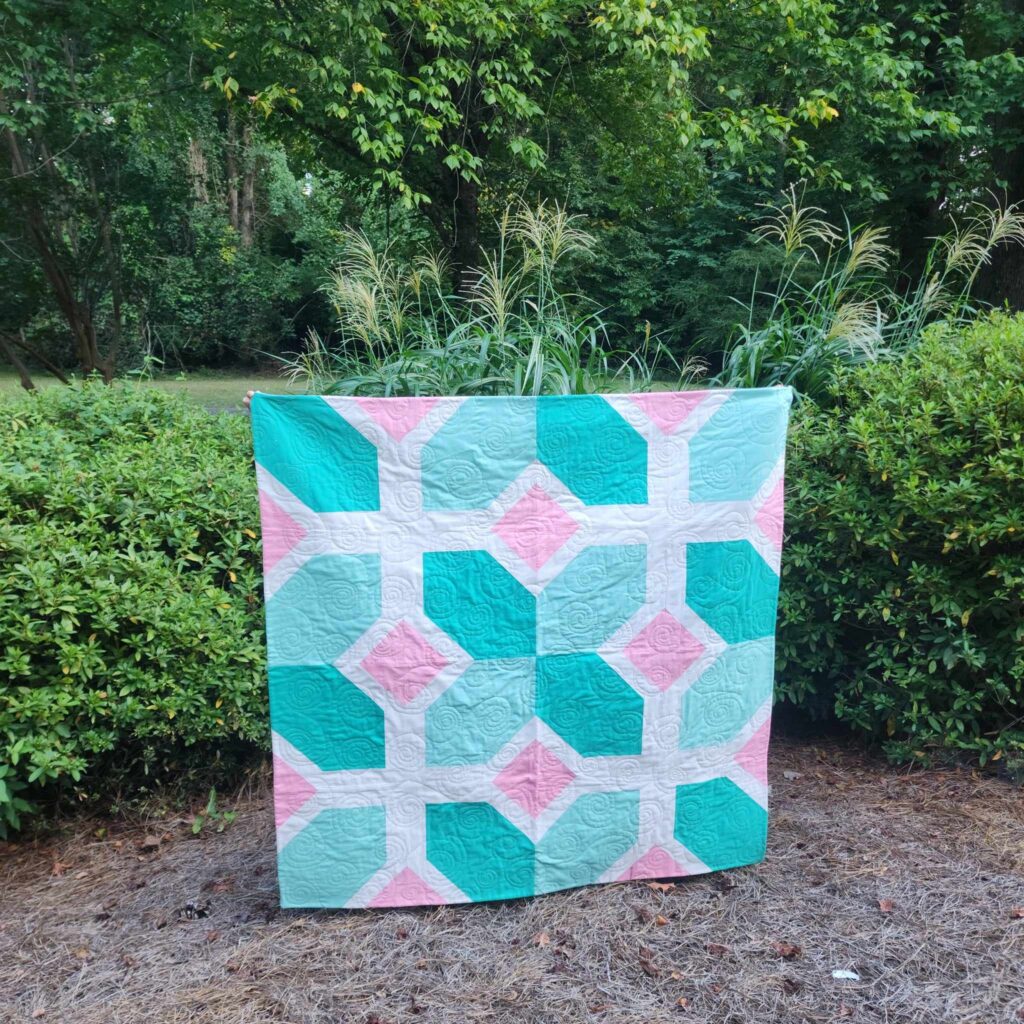
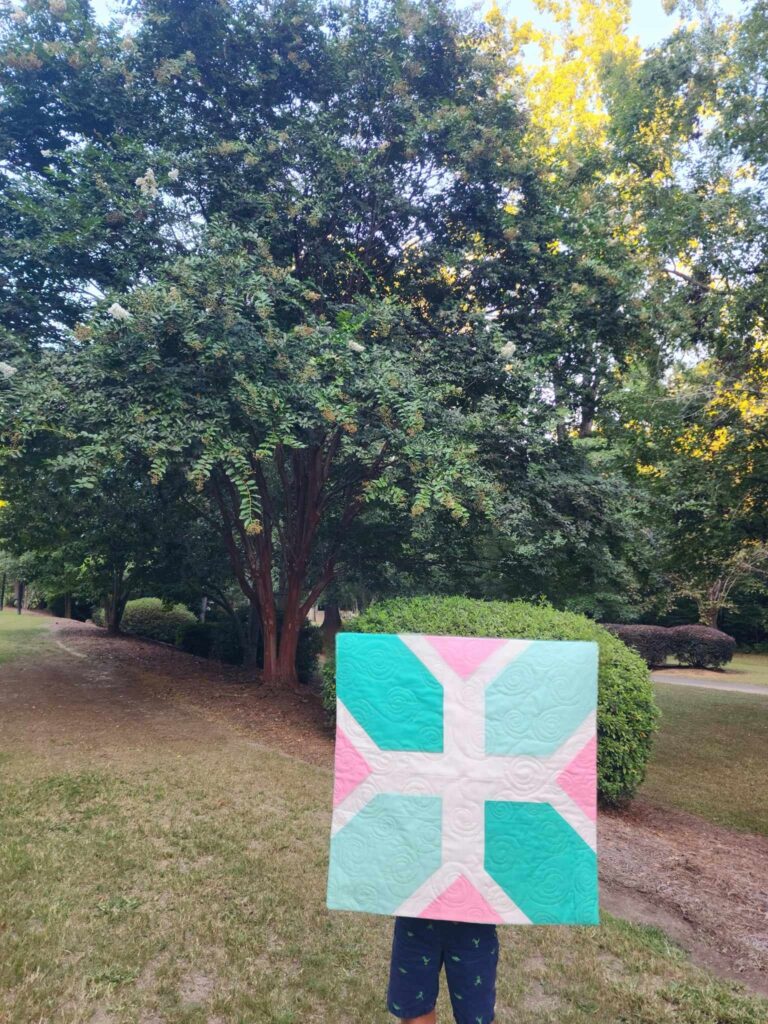
Speaking of mixing and matching… I designed this quilt to allow the quilter to be able to play with the quilt top design. The pattern has 3 different sizes – wall hanging/pillow cover, small throw and large throw. In the wall hanging/pillow cover example below, the pattern provides for these two different layouts. Imagine the fun you can have in playing with the top design but, also, trying out the various Basics collections.
Here’s a few tips when creating the Centered quilt:
Sew (or Stitch) and Flip
Part of the block creation uses the sew and flip (sometimes also called stitch and flip). If this is new to you, here is a tutorial I wrote on a previous RBD Blog post. With this method, sometimes you have nice sized leftover triangles that are still usable. If you don’t want to throw out good fabric, here is how you can repurpose those triangles.
Opposite Angles
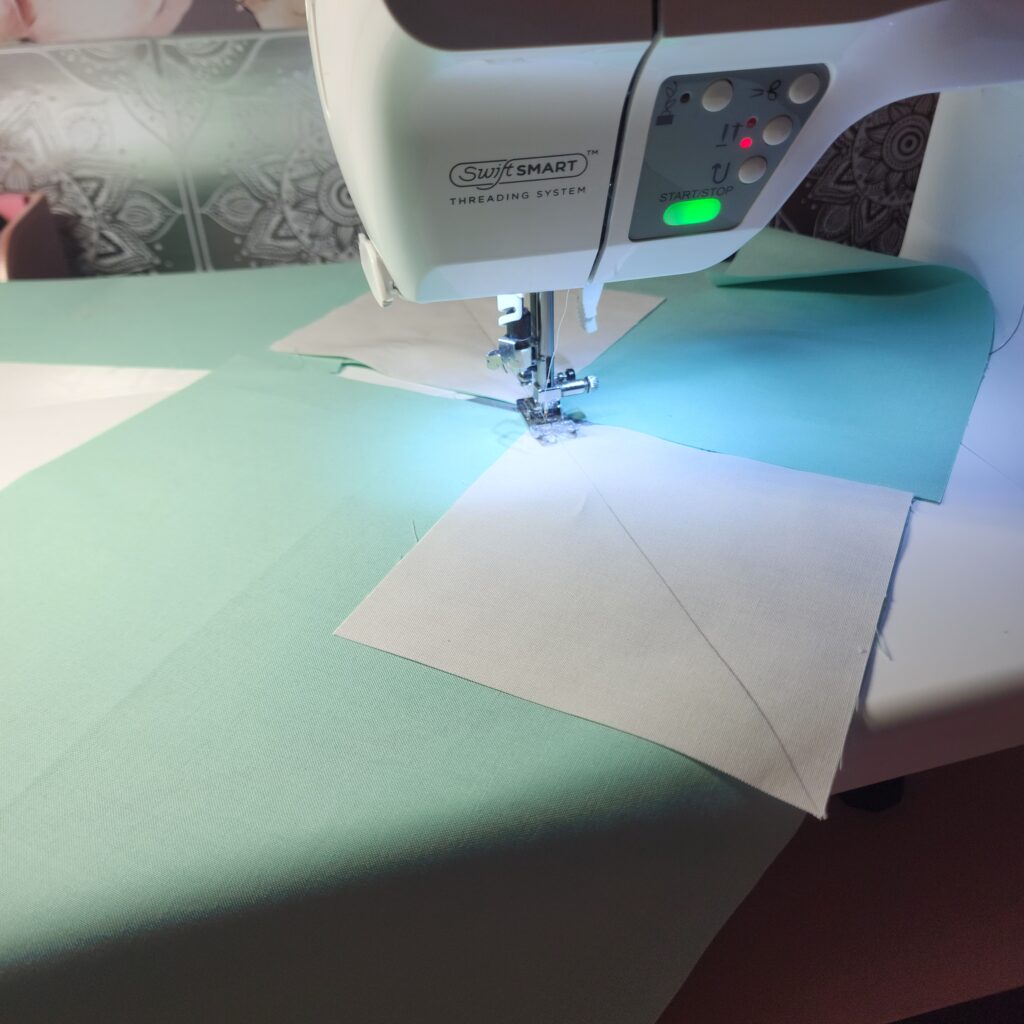
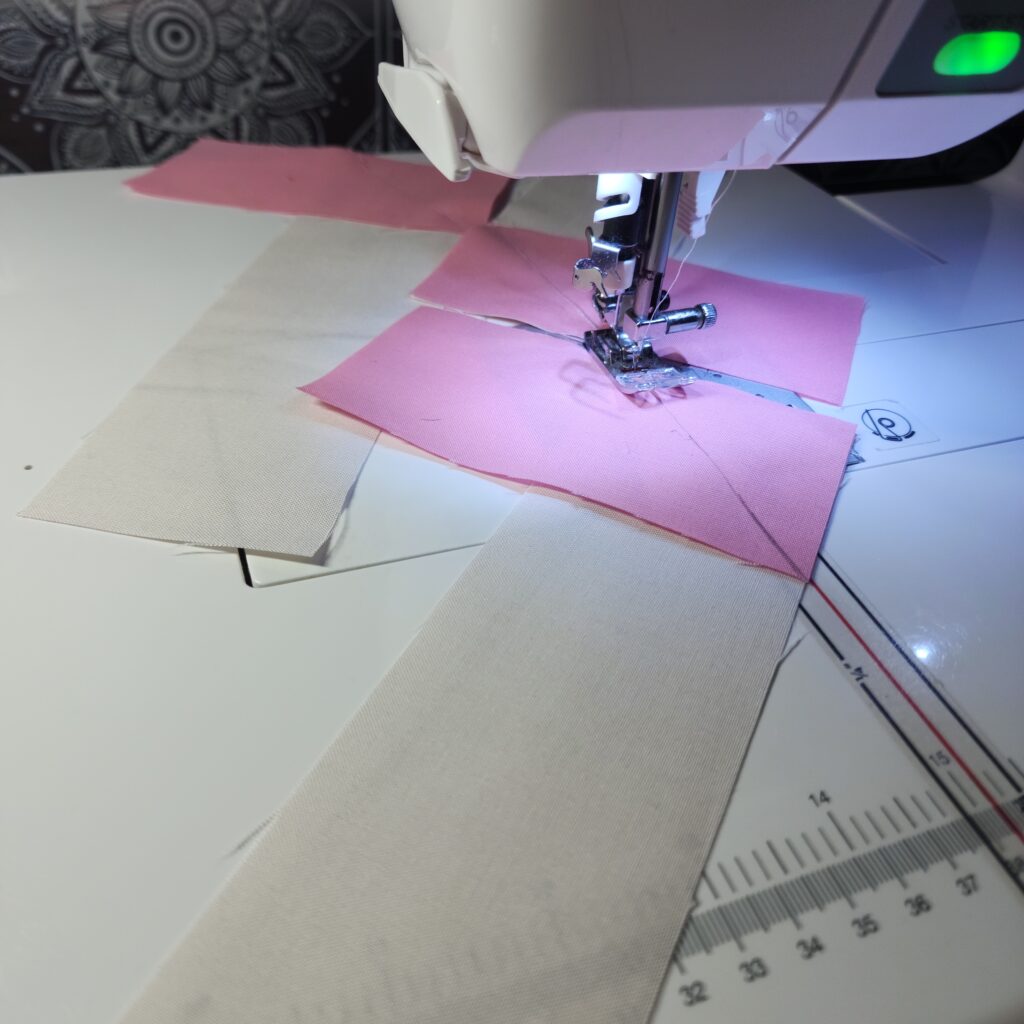
Are you a chain piecer? Yes, me too! However, the size of this blocks is fairly big. In order to make it easier in the chain piecing process, alternate the direction of the larger piece. In the pictures, notice how the larger square and longer rectangle go from left to right to left, etc. This minimizes how much the fabric get scrunched up on one side.
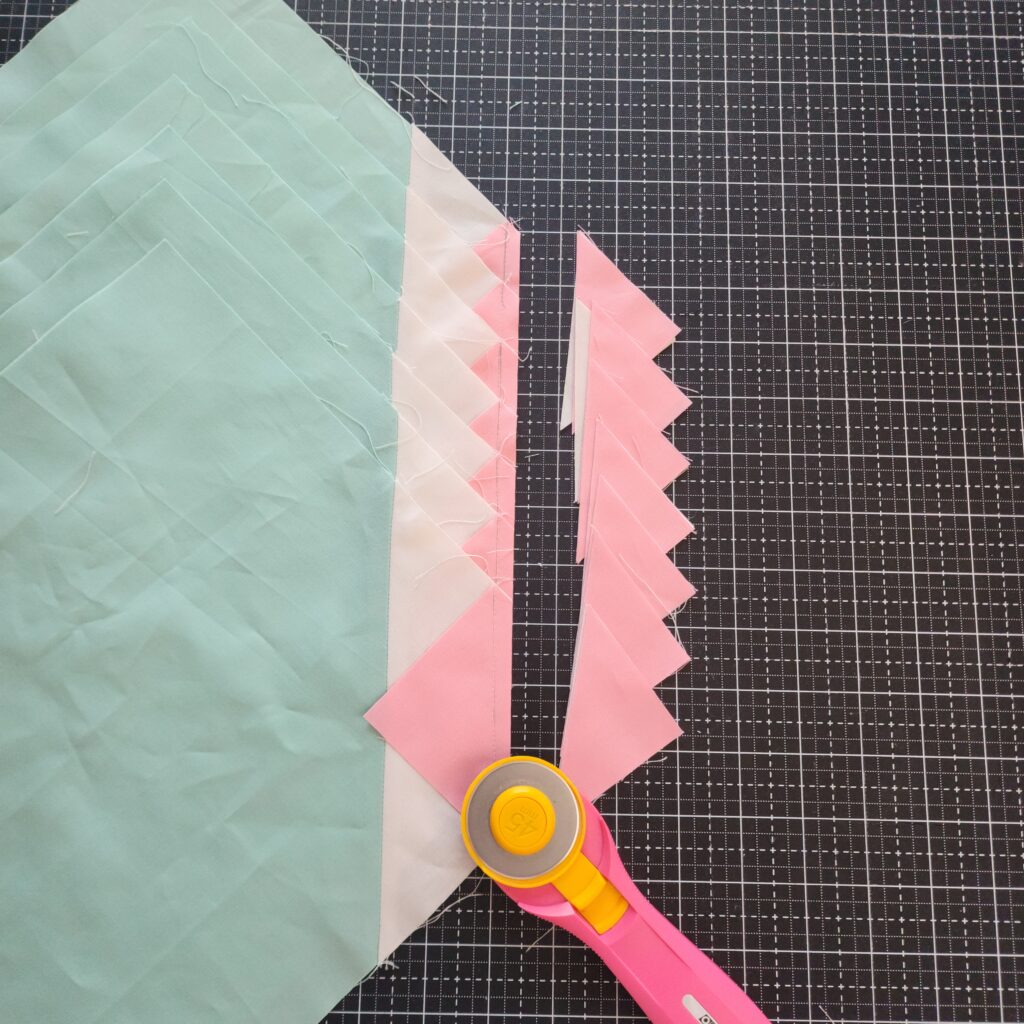
Trimming Multiples
It can be very tedious trimming each piece individually. Here’s an opportunity to challenge yourself if you’ve never done this before.
Line up your first seam along a line of your cutting mat. Then add subsequent pieces matching the cutting table line at the bottom with the seam line of the previous piece at the top.
You continue all the way down until you have added all the pieces you desire to cut at once.
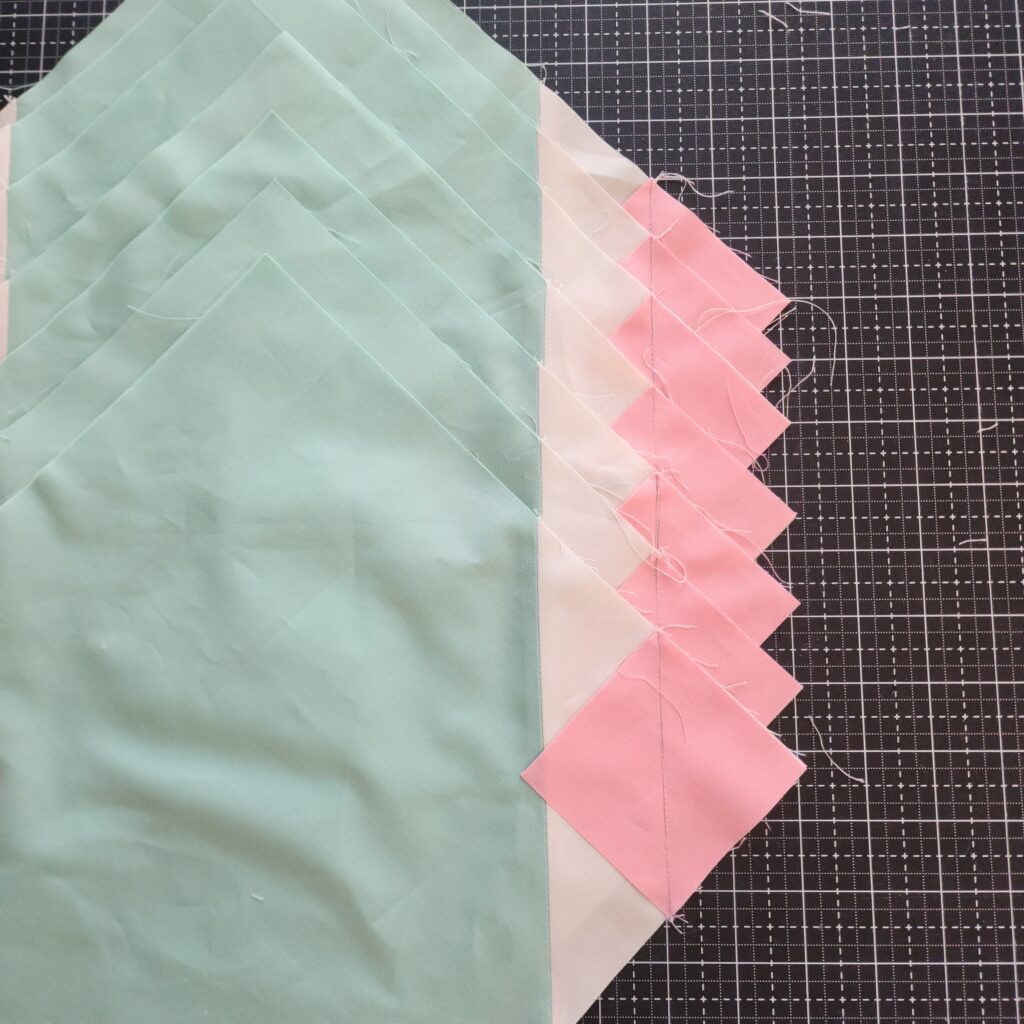
Next, with your ruler, line up the seam lines with the ¼” line on your ruler. Cut the excess triangles with your rotary cutter. There you have it!
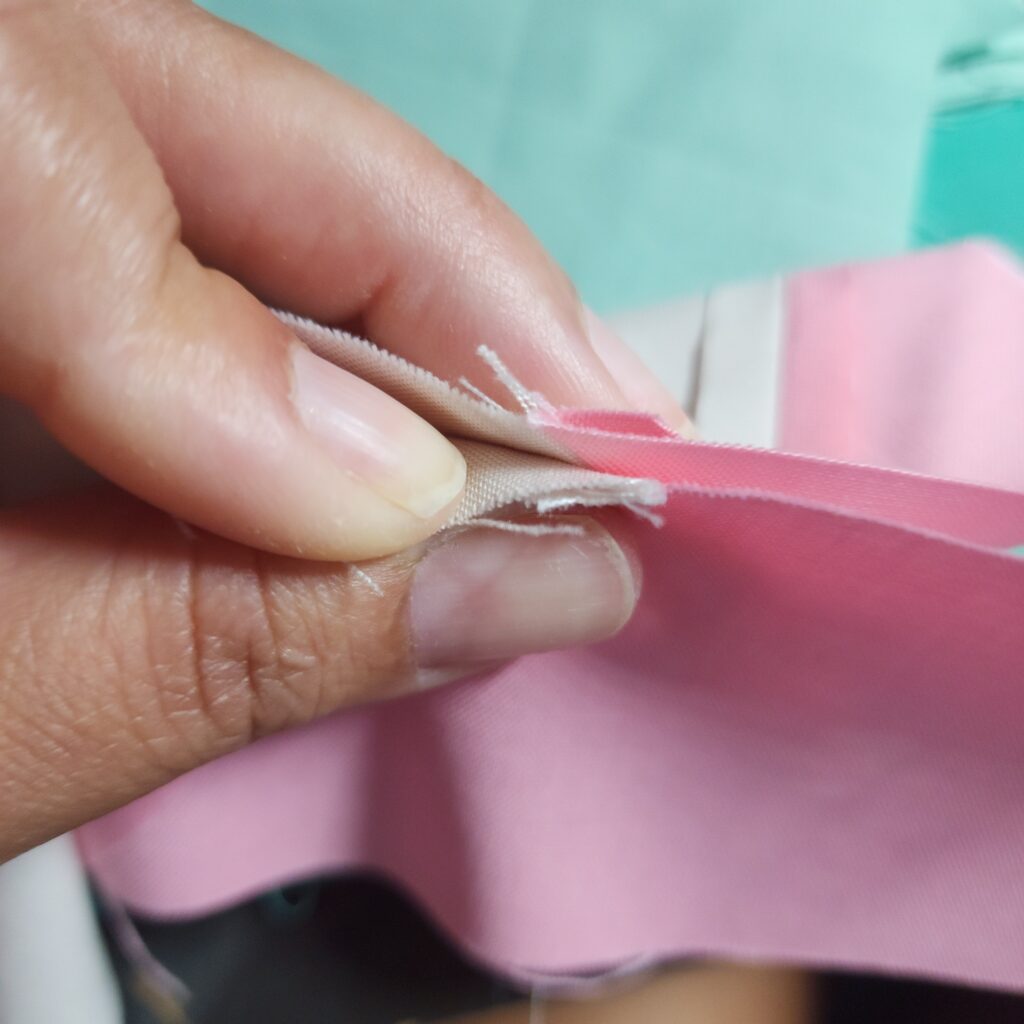
Sewing at an Angle
When adding the side and top pieces to the block, matching up the angles is not the same as nesting seams. The seams should cross each other and overlap ¼”. When you press your seams, they should match. If you match up the point instead of crossing, you’ll notice a ¼” difference between the two seams.
Finishing with Facing
Most quilters are familiar with binding. But have you heard of facing? If so, have you tried it? Some quilt patterns lend themselves to facing instead of binding, in my opinion. When you don’t want that added “border” of binding, like on the Centered quilt, facing is another option you might explore. Check out this video tutorial on how to face a quilt.
Enveloped in Pillows
I love to have coordinating throws and pillow covers! It adds such a cohesive look to a space. With pillows, especially if you have little (and sometimes not so little) ones, you want to be able to take them off to wash. Envelope pillow covers allow you to do just that. You can download a FREE guide with instructions on how to make your own envelope pillows.
These tips not only apply to the Centered pattern, but can be applied to so many other patterns as well. Take for example the Tied with a Bow pattern. All of these techniques will apply here too.
I hope you have found this tutorial helpful! If you ever try making them or have questions, you’re welcome to contact me on Instagram, Facebook or just email me.
Stitch on my friends!
This post contains affiliate links.


You May Also Like
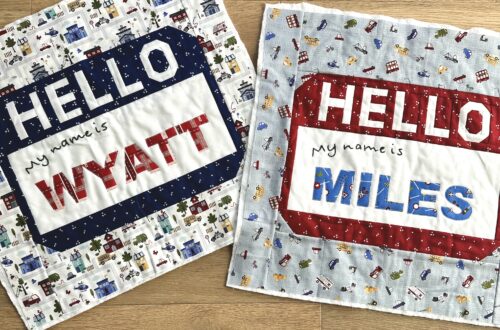
It Takes a Village – Hello Quilt Pillow
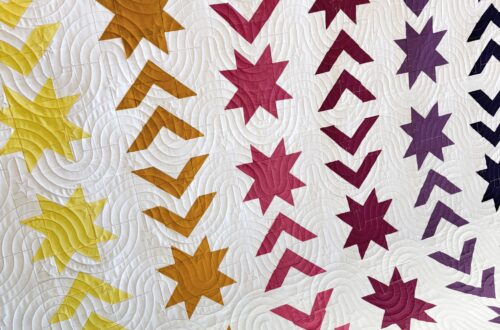
Confetti Cotton Solids in the Sunset Star Quilt