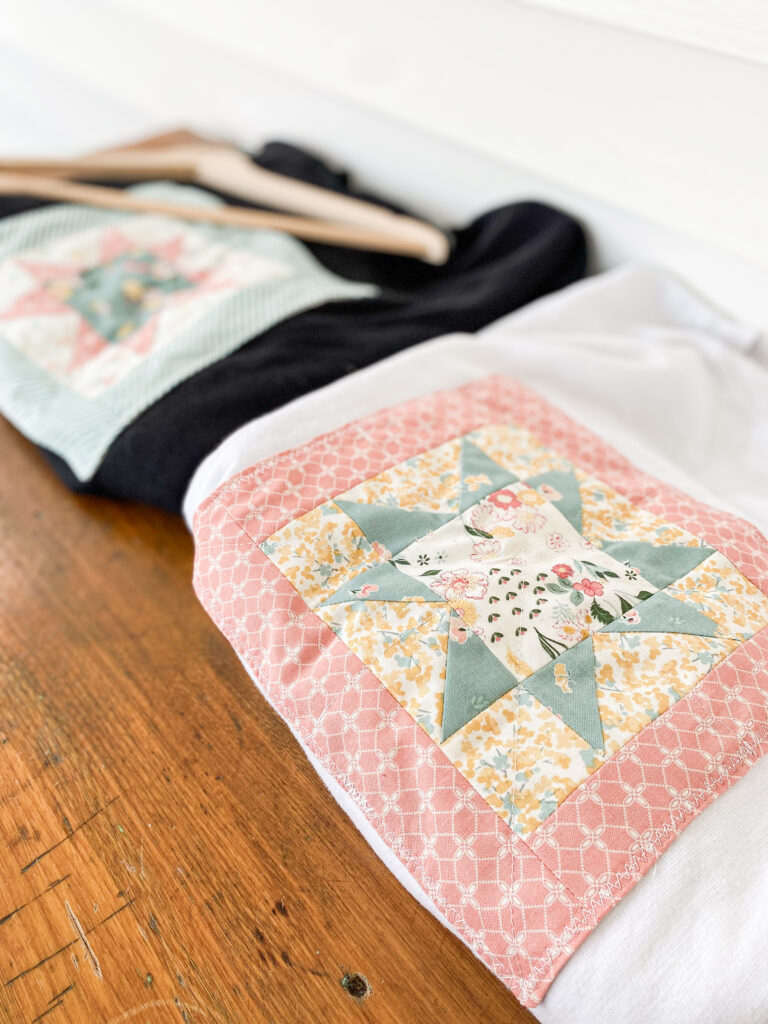
New Beginnings as a Quilt Block Sweatshirt

You know that feeling when you go through your closet and find sweatshirts you’re not sure you’ll wear again, but you’re also not ready to part with? I have the perfect solution for all you quilt block hoarders—turn them into a custom quilt block sweatshirt!
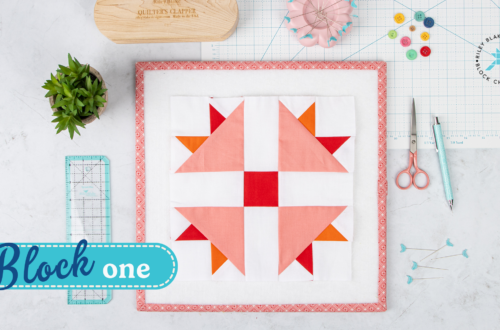
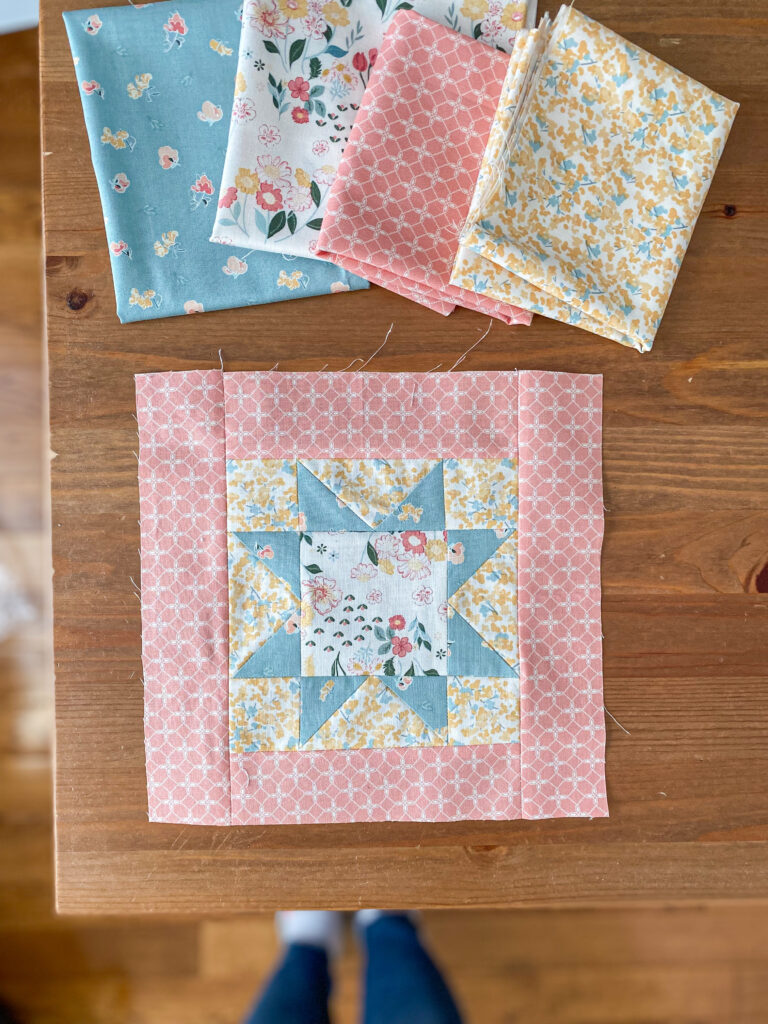
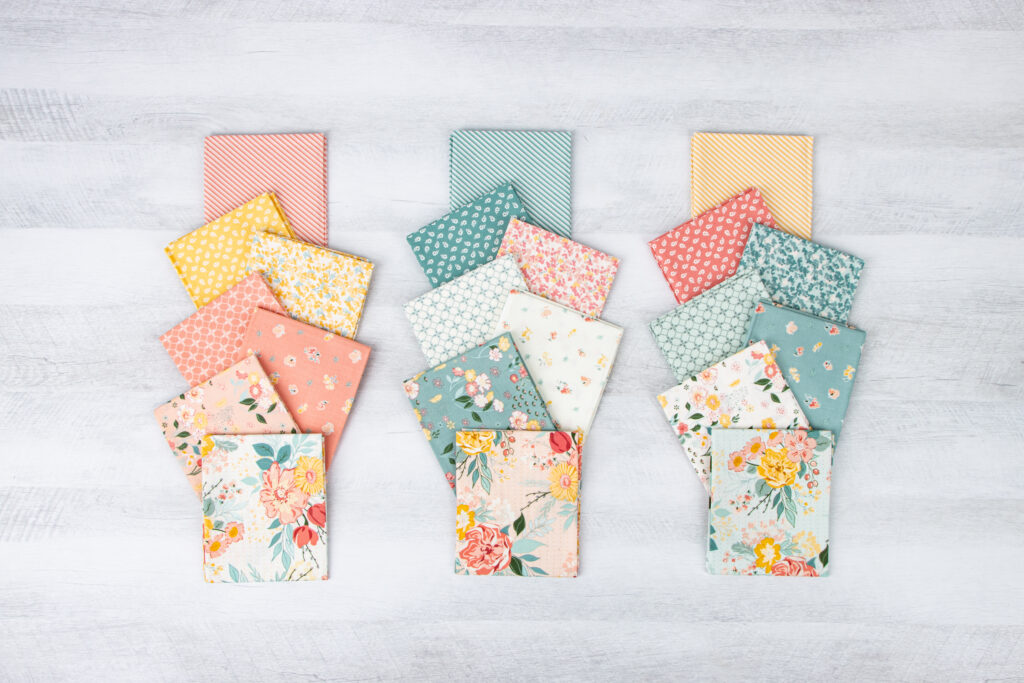
Hi, I’m Lesley from Piece and Quilted Studio, and I had the pleasure of working with fabrics from Sandy Gervais’s latest collection, New Beginnings. I used them to create these adorable quilt blocks, designed specifically for this fun and cozy project. These springtime fabrics are full of gorgeous florals and geometric prints in one of my favorite color palettes!

To make your very own quilt block sweatshirt follow these simple instructions. If you do, please tag me on Instagram, (@pieceandquiltedstudio) I’d love to see and share your work!
Supplies needed:
- Sweatshirt, or t-shirt, or jean jacket – really whatever you want to attach a quilt block to.
- Quilt block of your choosing (any size to fit the garment you are working with- I went with an 8 1/2″ block)
- Backing piece of fabric the same size as your quilt block (you won’t see this so any scrap piece works)
- Sewing machine (or you can attach it by hand stitching)
- Iron
Prepping your Quilt block
Step 1 – Prepare your quilt block by matching your block and backing piece right sides together, pin or clip and sew a 1/4″ seam around the block but make sure you leave a 2″ opening to turn your block.
Step 2 – Clip the four corners (making sure to clip outside of the seam you made).
Step 3 – Turn your block right side out, using a pencil to get those corners out.
Step 4 – Iron your block flat, take care to fold in the 2″ opening a 1/4″ inside the block.
Step 5 – Sew 1/8″ seam all the way around your block, taking care to make sure your 2″ opening is folded inside.
Now you have a quilt block ready for a garment!
At this point, you can choose to either quilt some lines on your block and then attach it to your garment, OR you can attach it and quilt it to your garment. I chose to quilt a few lines on my block prior to attaching to my sweatshirt.
Before attaching the block, I like to prep the garment. For the sweatshirts, I do this by folding them in half vertically and ironing a crease, then folding them in half horizontally and ironing another crease. I also do the same with the block, which creates a center point to help ensure it stays straight. Then I position my block where I want it on the sweatshirt and pin it like crazy so it doesn’t shift while sewing. After the pinning, I used a zigzag stitch around the block to attach (you can use whichever stitch you like), and just like that, you have a quilt block sweatshirt!

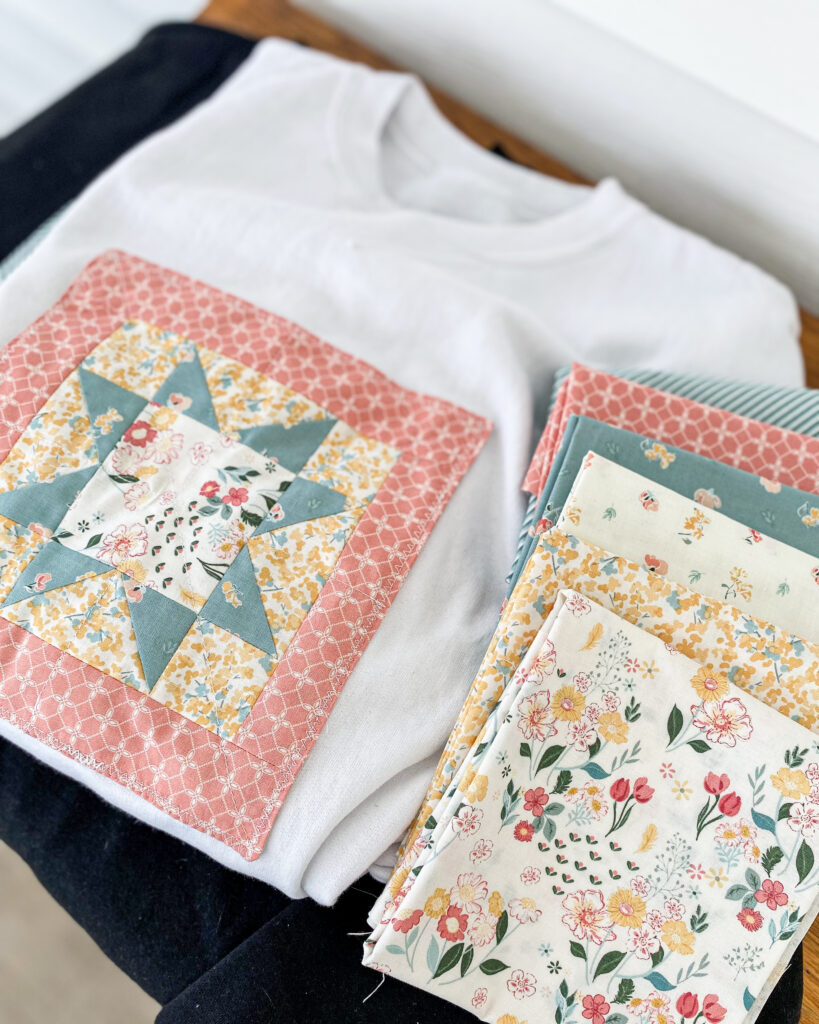
Aren’t they just darling?!
I hope you enjoyed this mini tutorial! For more of my quilty makes check out my Instagram, Piece and Quilted Studio.
Happy Sewing!


You May Also Like
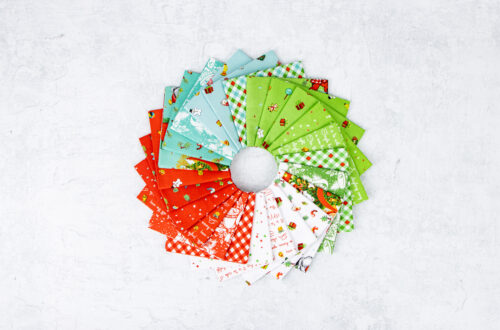
Jingle Bells by Lindsay Wilkes
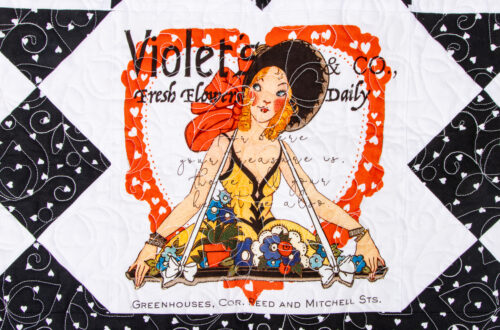
Happy Valentine’s Day with Take Heart!