Self-Drafting a Quilted Vest with Winged Melody Fabric
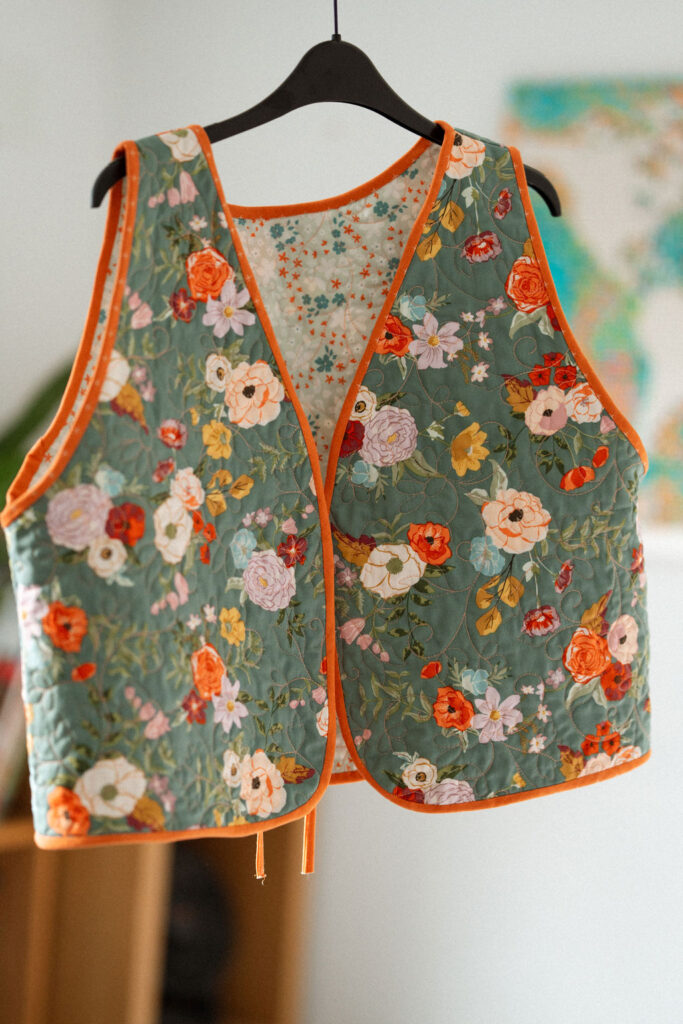
Spring is on its way, and what better way to celebrate than with a handmade quilted vest? I recently self-drafted a vest using Riley Blake’s Winged Melody fabric collection, and I couldn’t be happier with how it turned out. This was a quick and satisfying project, with plenty of room for customisation—perfect for adding a unique, handmade touch to my wardrobe!

Choosing Fabrics & Quilting the Panels
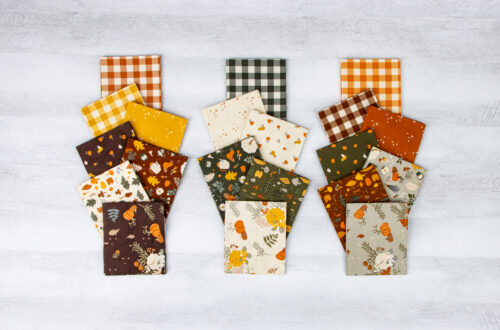
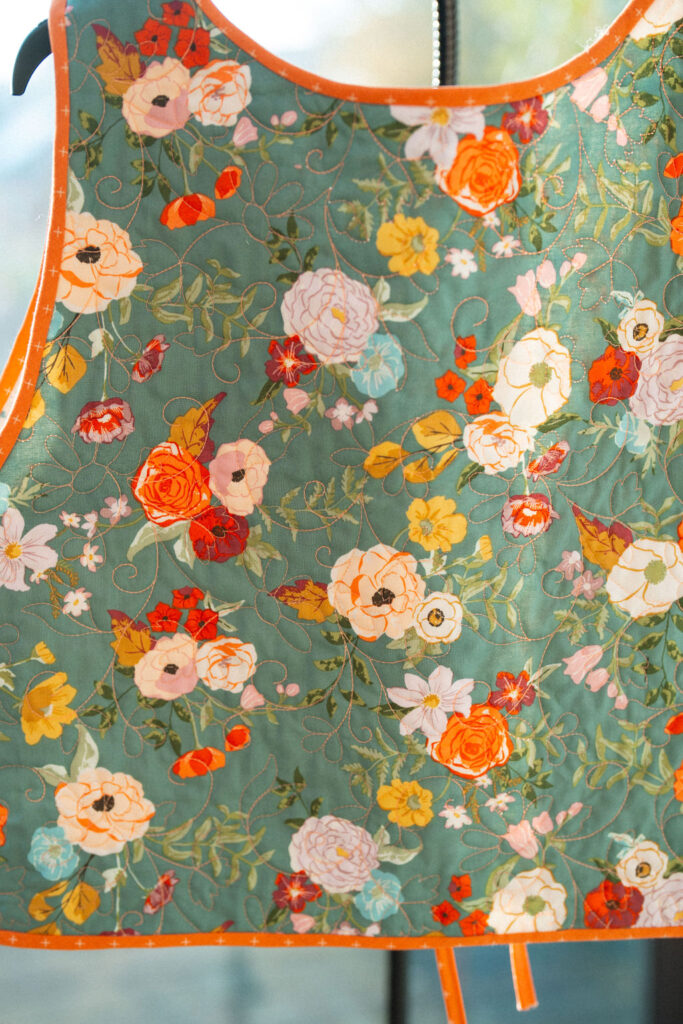
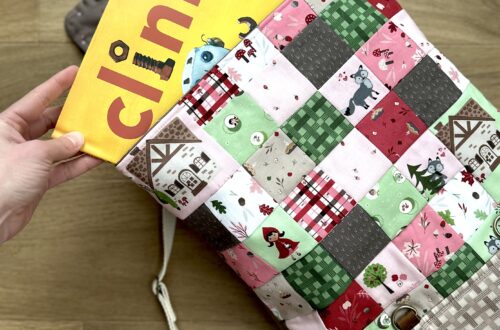
For my vest, I chose Winged Medley for the main fabric, a beautiful collection full of soft florals and delicate bird designs. To complement it, I used Lori Holt’s Bee Cross Stitch fabric in pumpkin for the bias binding, adding a subtle contrast that tied the whole piece together.
To give the vest a soft yet structured feel, I used Vlieseline Soya wadding. It provided just the right amount of warmth without being bulky, making it ideal for layering in spring.
I longarmed the fabric panels before cutting them out, using Glide thread in peach to blend softly with the prints. The quilting design? A small flowers pantograph, which echoed the floral motifs in the fabric beautifully. The end result was a soft, textured panel that was both stylish and cozy.
The Self-Drafting Process
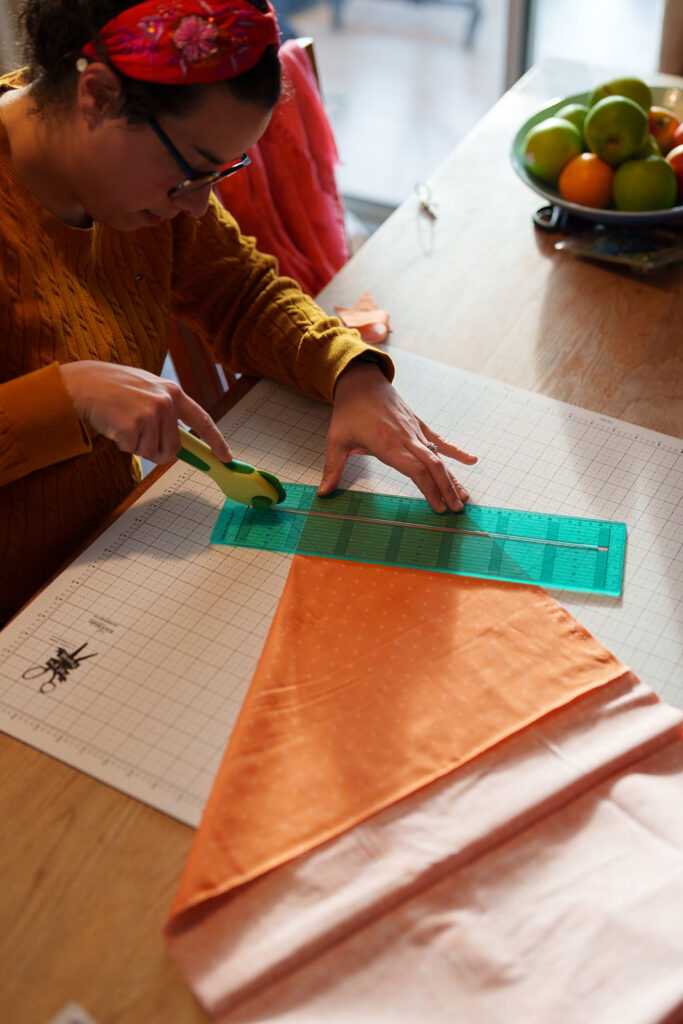
Since I didn’t use a pattern, I started by using a shirt as a guide for shaping my pieces. Here are some top tips for self drafting your own vest:
- You will need a back and two mirrored front pieces. You can trace them onto pattern paper from a shirt or t-shirt that fits nicely.
- You have to pay particular attention to the arm holes. You will want to open them a bit more compared to your shirt, as they won’t have sleeves.
- It’s helpful to avoid any sharp corners to make binding the vest easier, so I included a curved edge on my front pieces.
- Finally, I made sure to allow some extra width for seam allowances and the quilted bulk.
This is the easiest garment to self-draft as there are no tricky fitting pieces, and you can tweak your arm holes as you go if necessary!
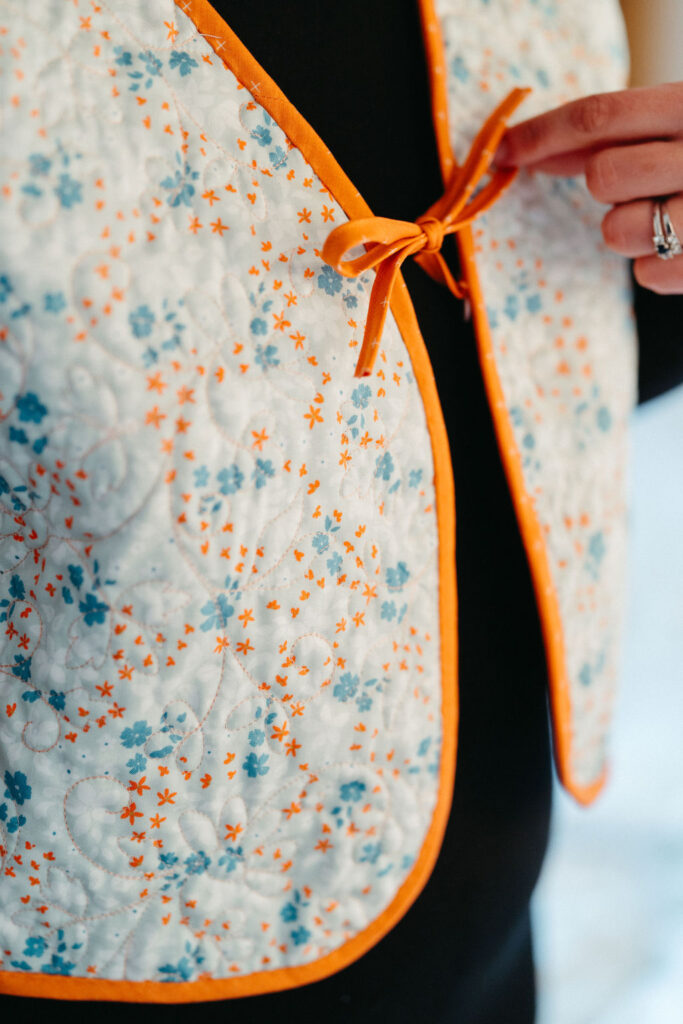
Bias Binding & Finishing Touches
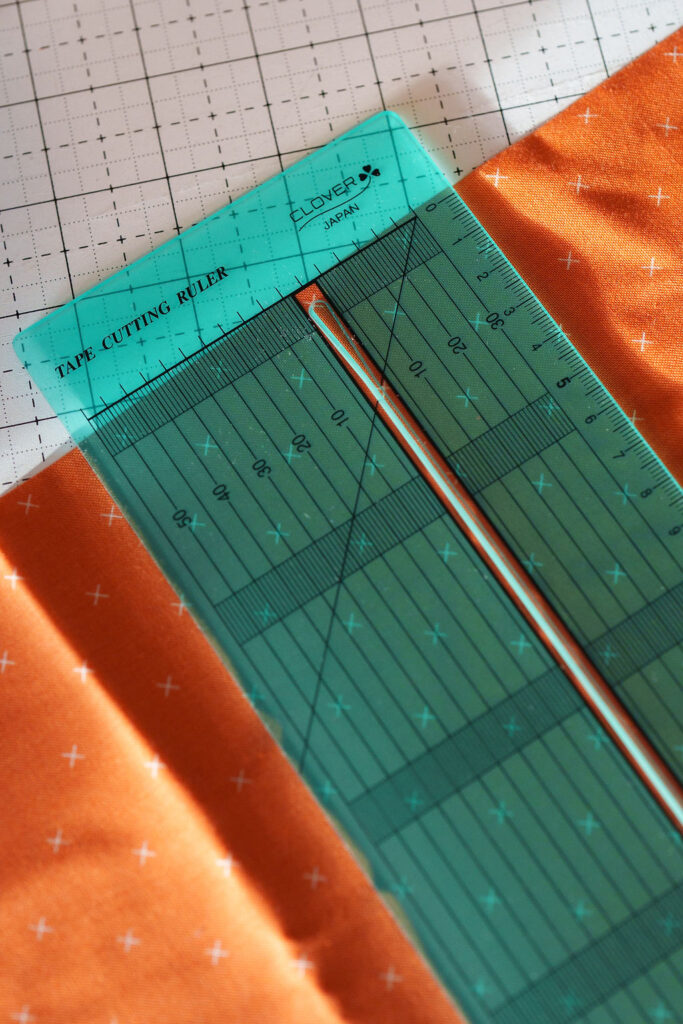
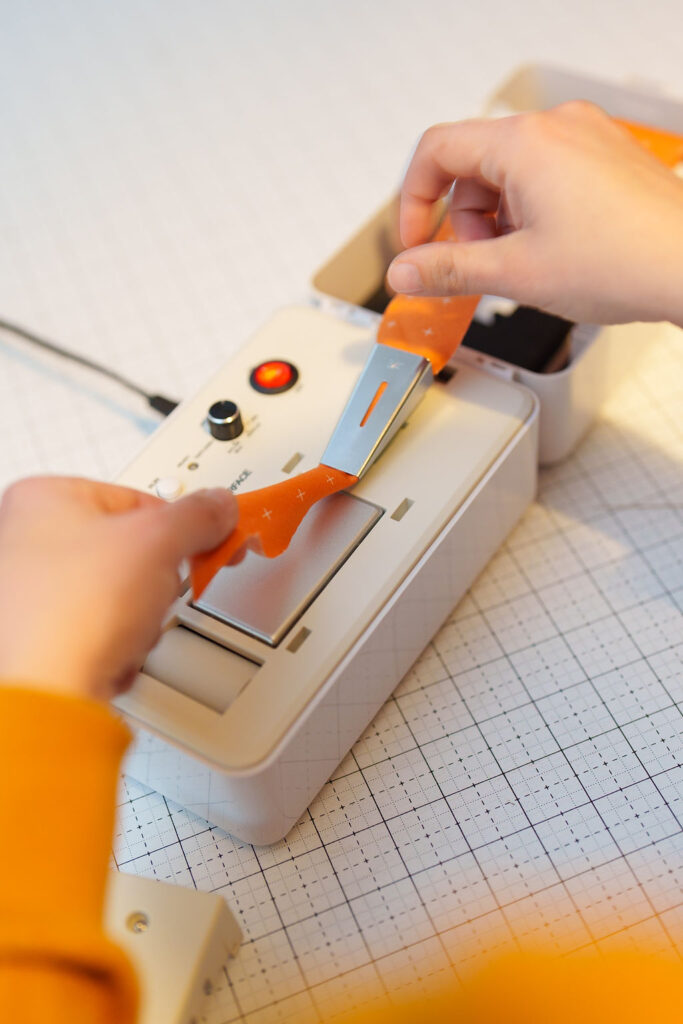
I wanted this vest to be reversible, so I had to be extra neat with my bias binding. I made my own ¾-inch bias binding using the Clover Bias Tape Ruler and Simplicity Bias Tape Maker—these tools were a lifesaver, helping me create crisp, even binding without burning my fingers!
While making my own binding was rewarding, if you’re short on time, buying pre-made bias binding would definitely speed things up. Once the vest was assembled, I carefully stitched the binding to the edges, ensuring everything looked polished on both sides.
For the closure, I opted for ties instead of buttons or snaps, which kept the vest feeling lightweight and flexible—perfect for layering on breezy spring days.
A Quick & Satisfying Project
This project came together surprisingly quickly, and I love the result! If you’re looking for a fun way to incorporate quilting into your wardrobe, a self-drafted vest is a great place to start. It’s beginner-friendly, highly customisable, and a fantastic way to showcase beautiful fabrics.
I can’t wait to wear mine this spring—how about you? Have you made a quilted vest before? Let me know in the comments!


You May Also Like
From Our House Sew Along: Week 3
BagyBagsBackpack with To Grandmother’s House