Pepin Tote with Floral Charms by Kelsey Carlson
Let’s just get right to it—this project is adorable, and I’m excited to share it with you!
Hi there, I’m Alexis from Stitched by Alexis (you can find me on Instagram HERE)! Right now, I’m in my “everything must become a bag” phase, but my heart belongs to quilting and photography but I dabble in all things creative.
Fabric & Accessories
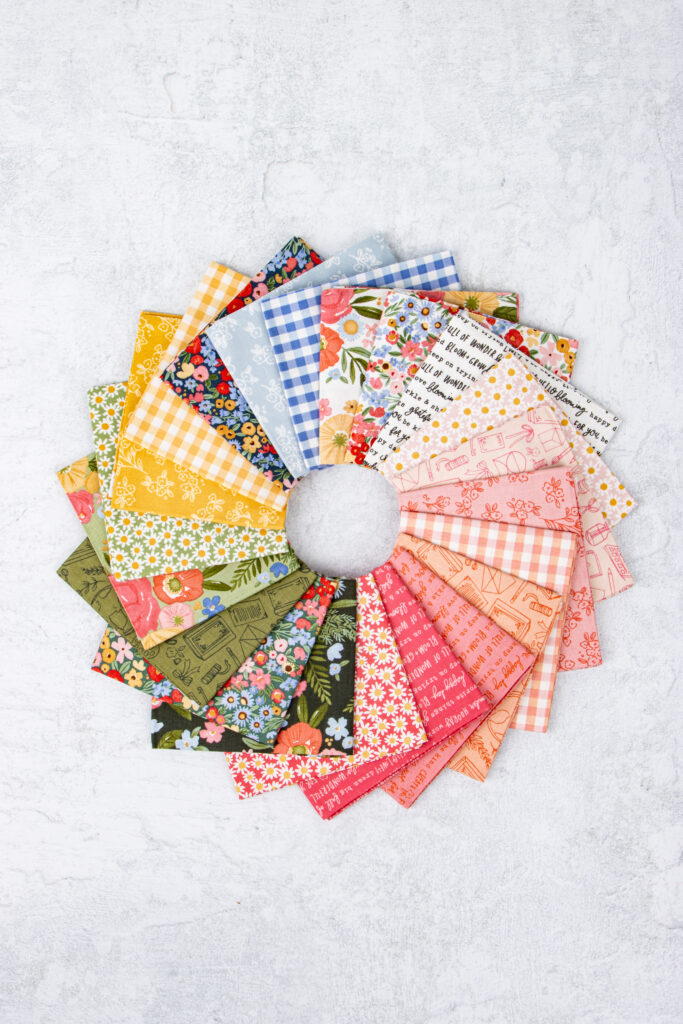
First, let’s give a huge round of applause to Kelsey Carlson for creating this adorable collection. Seriously, I have fallen in love with every print in this line and need a bolt for my stash. Tiny florals, ginghams, and bright, bold colors—count me in!
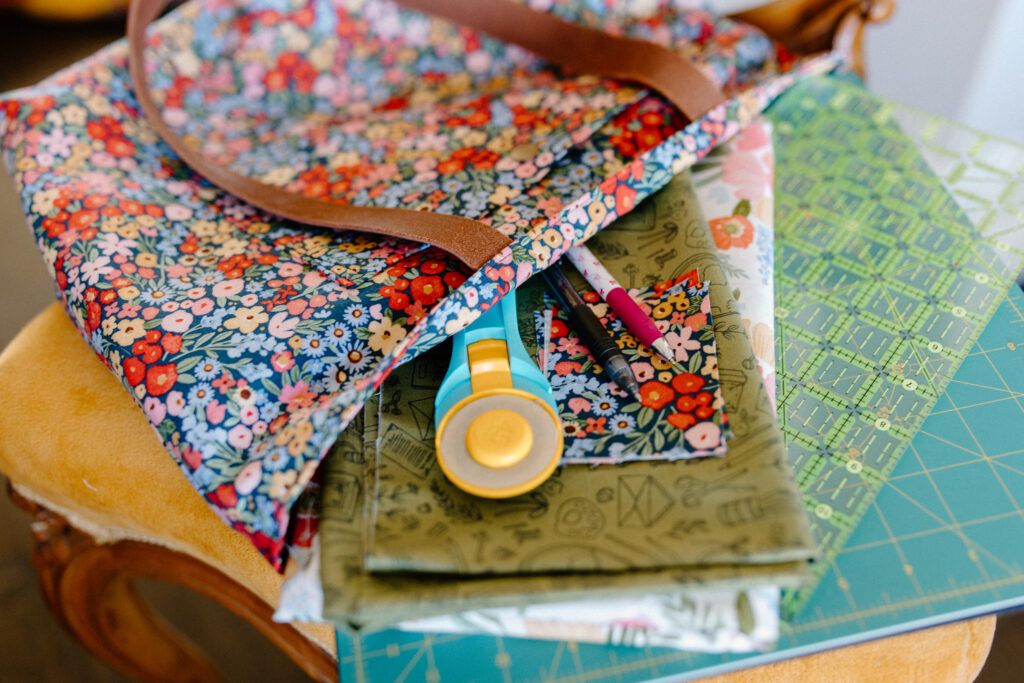
For this project, I used the following Riley Blake fabrics:
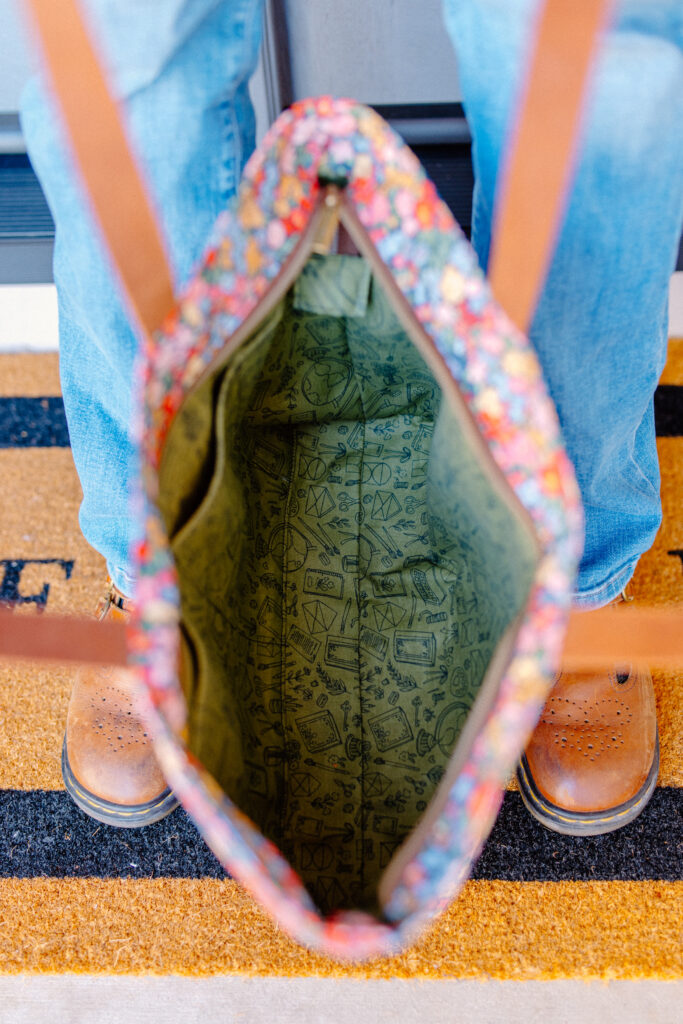
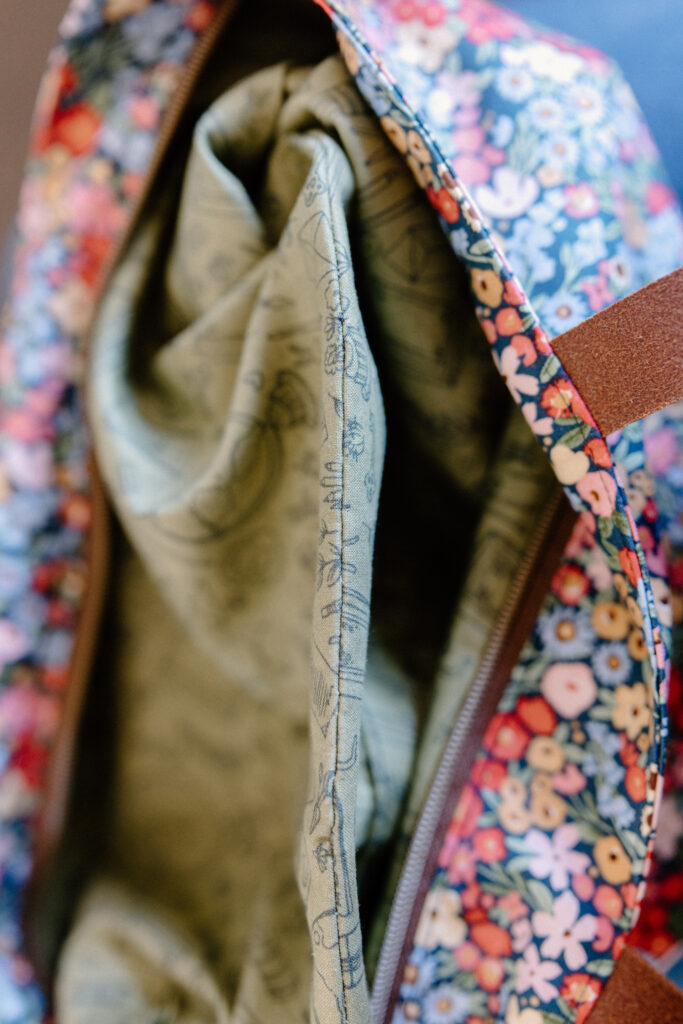
- Interior/lining – Floral Charms Collection of Things Olive
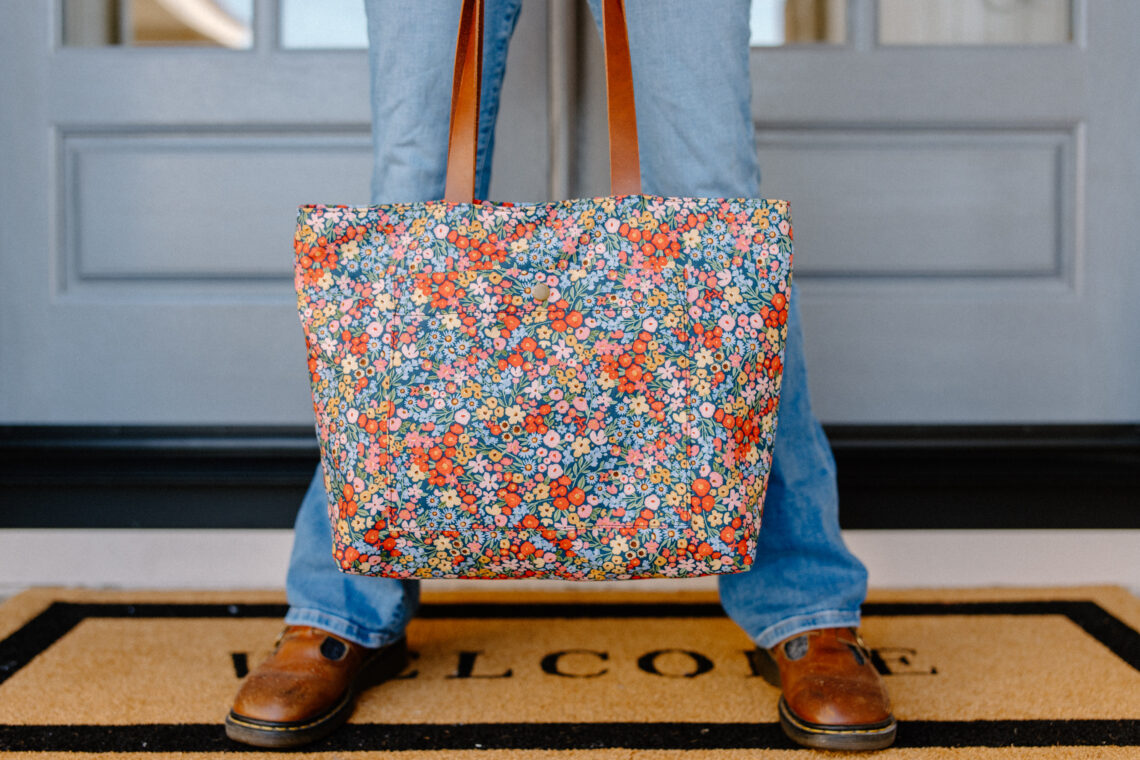
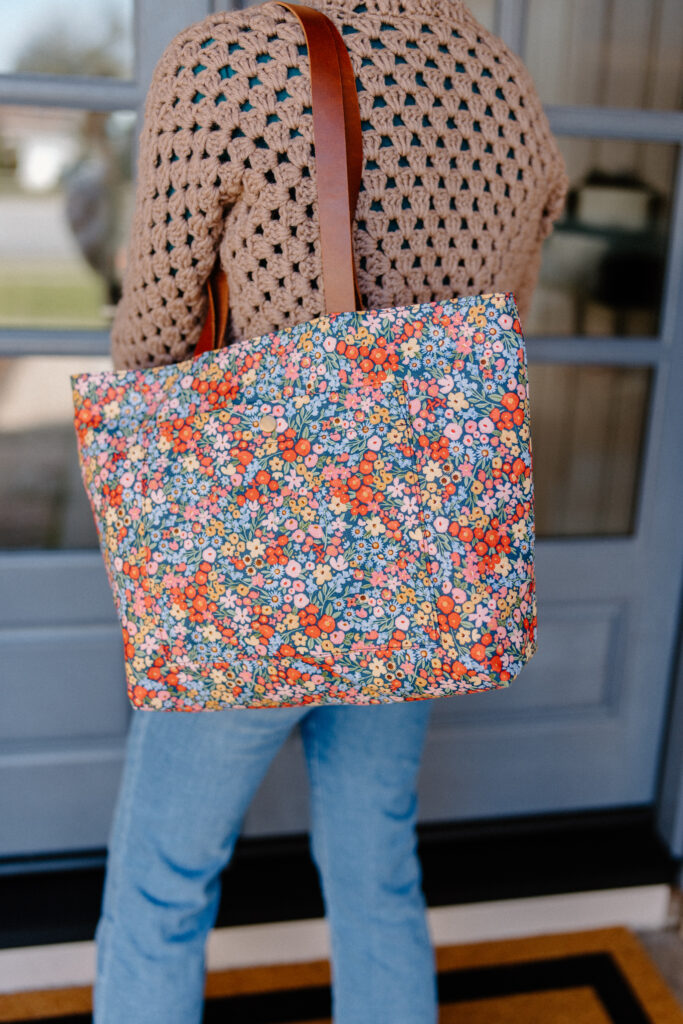
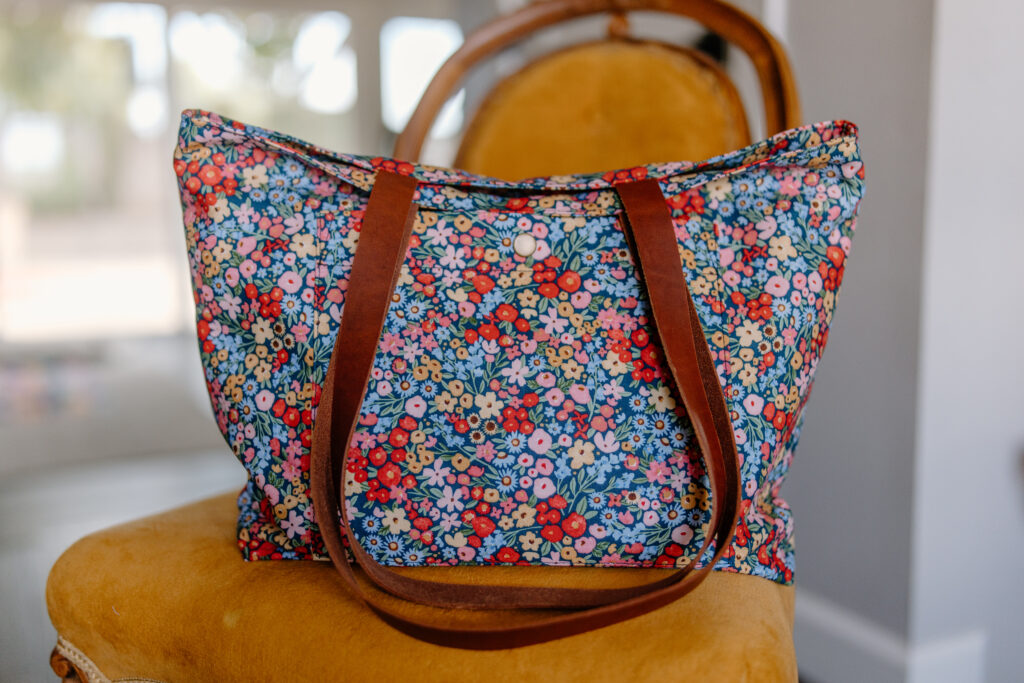
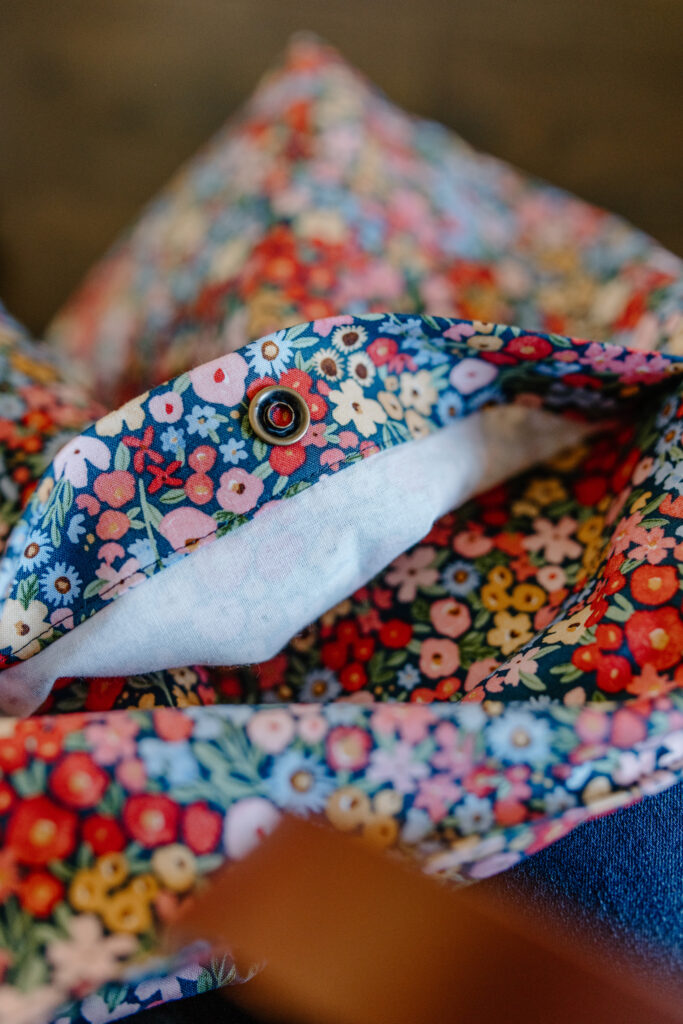
- Exterior – Floral Charms Happy Ditsy Floral Oxford
Hardware:
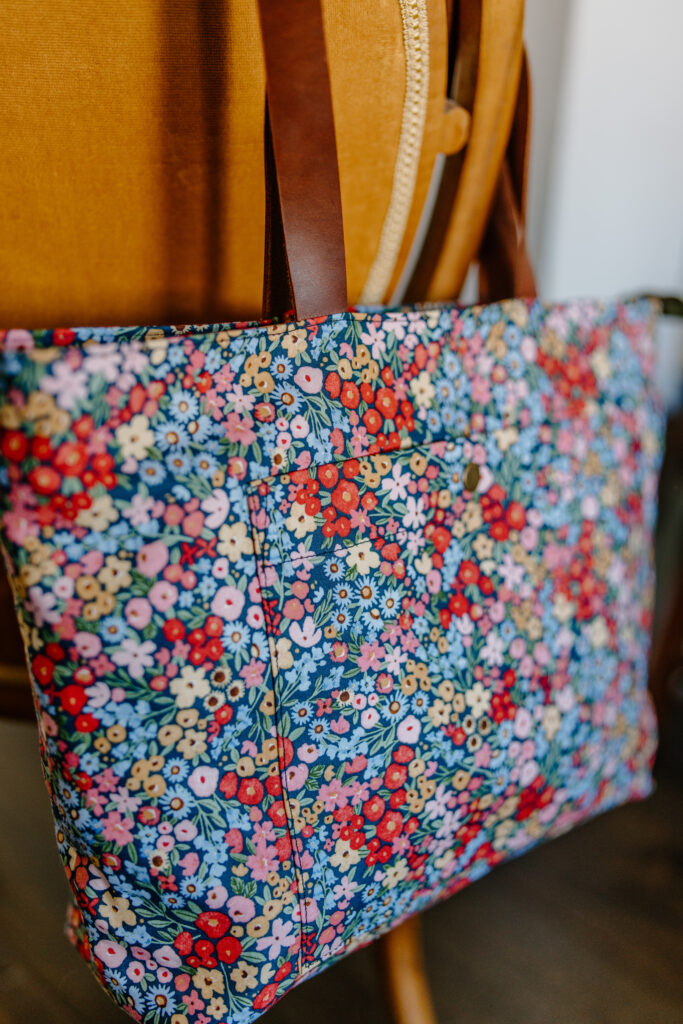
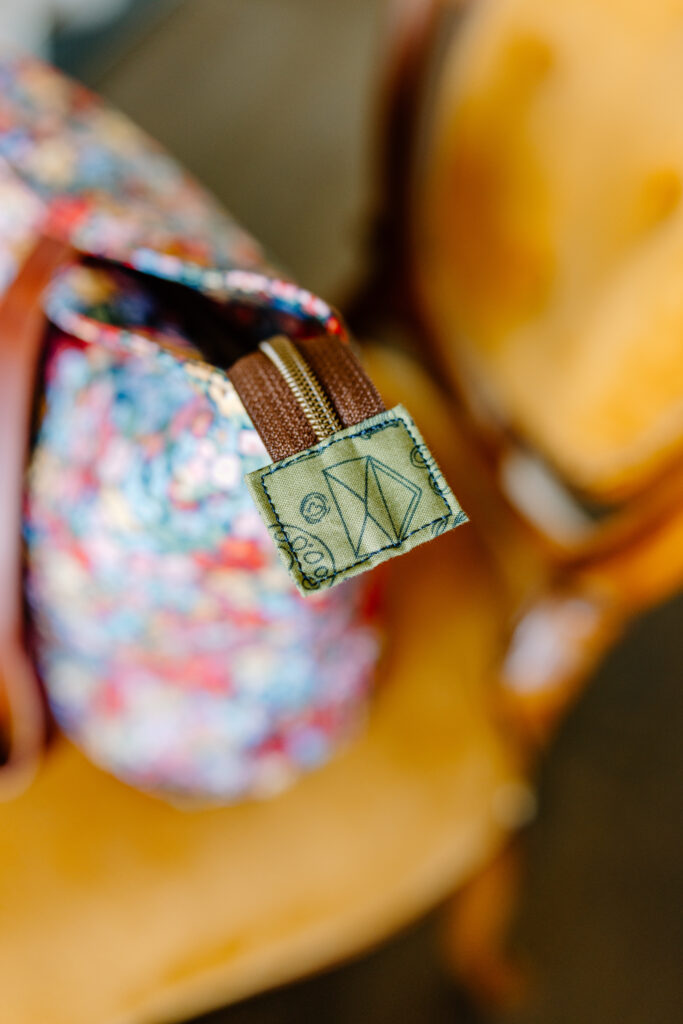
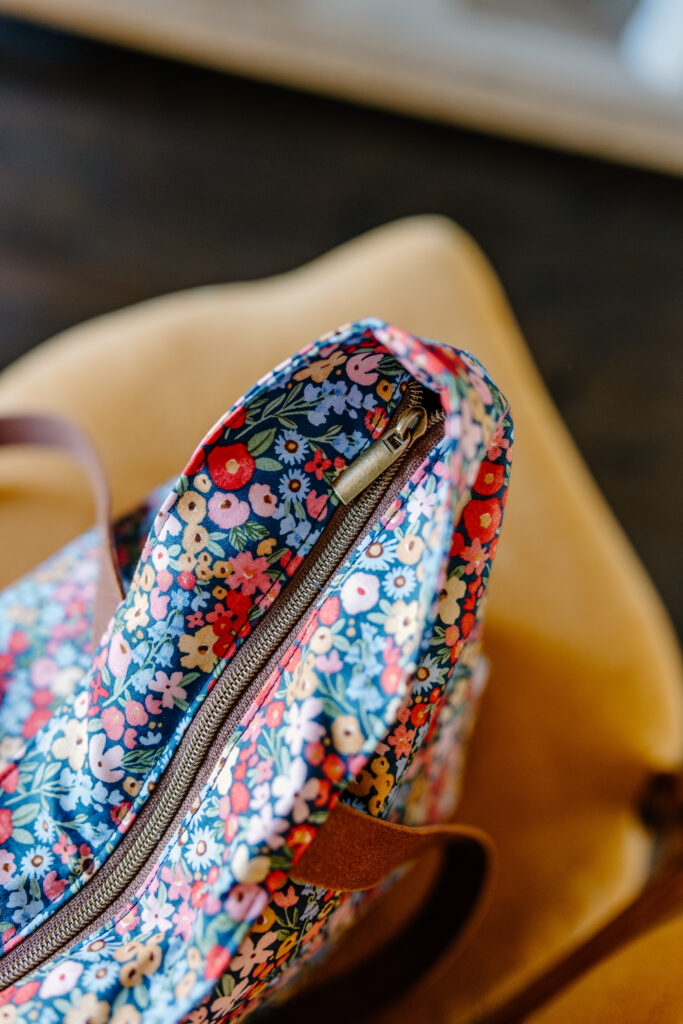
- Zipper – Sallie Tomato Brown Nylon Coil Zipper Size #5 in Antique
- Snap – Antique Heavy Duty 5/8 Snap (Pro tip: don’t forget the setting tool if it’s your first time!)
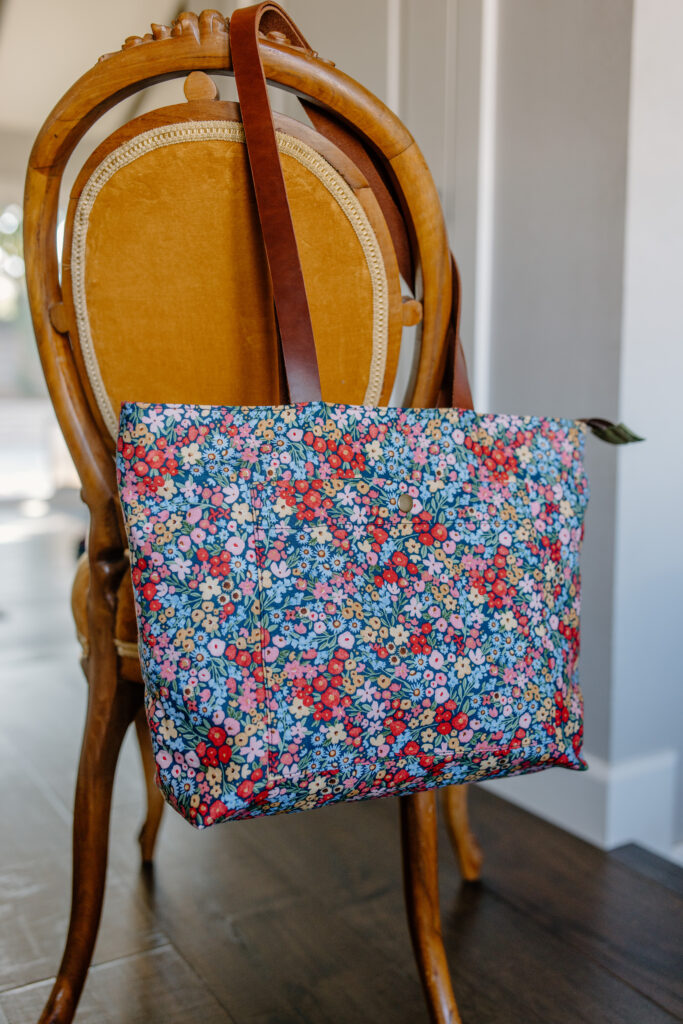
- Leather handles – 28″ x 1″ leather handle from Noodlehead in medium brown
Pattern
Having made the Pepin Tote by Noodlehead before, I knew I wanted to revisit it and level up my skills by adding an inset zipper and using quilt cotton with woven interfacing for extra structure. Anna from Noodlehead is a genius, and her patterns are so well-written—visual diagrams, plus multiple video tutorials, make them super easy to follow. As a visual learner, those videos are a game changer!
The Pepin Tote pattern offers a few variations: open (no closure, like my first tote), magnet closure, or inset zipper. You can mix and match fabric options like quilt cotton + woven interfacing, canvas, or even corduroy. The handle options are endless too—from premade webbing to leather or fabric-covered nylon webbing.
Construction Tips
I’m still pretty new to bag-making, so I often stumble over terms and techniques. Thankfully, Anna’s in-depth tutorials on YouTube have been a lifesaver. If you’re a fellow beginner, here are a few tips I’ve picked up:
- For a professional finish, use a thicker thread like Tex35 (polyester) for the top, paired with a lighter polyester like Gutermann in the bobbin.
- Keep it simple on your first bag. This is my second Pepin tote, and with each project, I’m learning something new. For this one, I tackled an inset zipper, which I’d recommend for intermediate bag-makers.
- When adding a snap to your front pocket, be sure to add some interfacing or extra fabric behind the bag body so your snap doesn’t wear through.
- The zipper tab as written felt a little too narrow for my #5 zipper tape, so you may need to adjust based on your tape size.
- Learn the ladder stitch to get a neat, professional closure for your “turning hole.” You can find a quick video overview HERE. See photo below for the final outcome of the closed “turning hole.”
- Take it slow when sewing over thick layers. If your machine struggles, help it out with the hand crank wheel.
- Use a Microtex needle for extra durability with thick layers.
Tote Bag Use
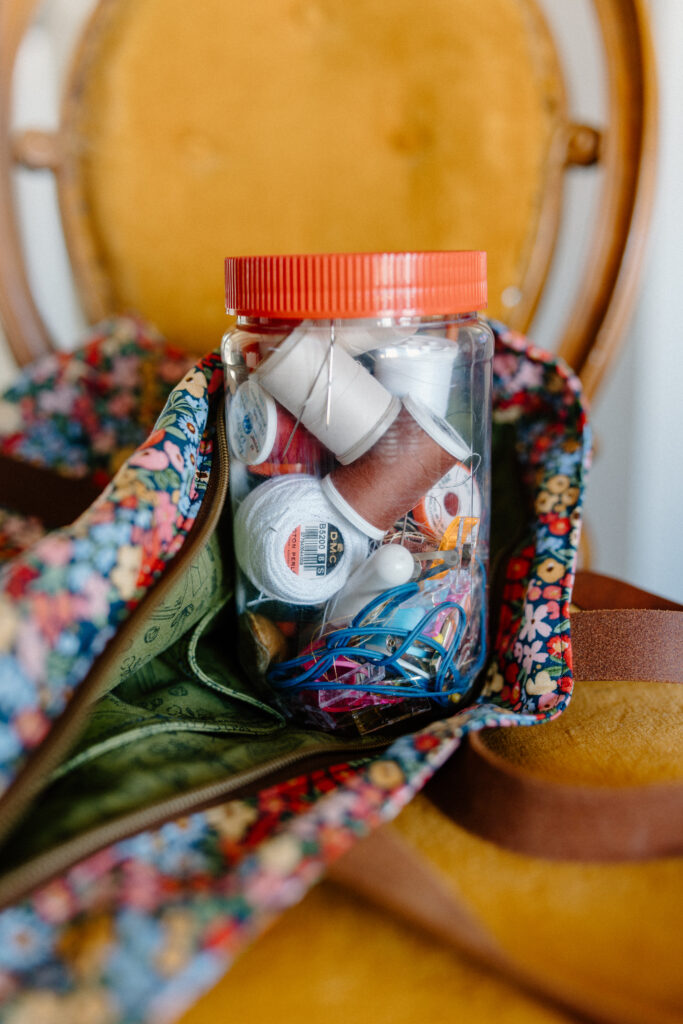
This bag is the perfect size for a grab-and-go project bag. I love using it for hand projects when I’m out at sports events or extracurricular activities—think binding quilts, my unconventional peanut butter jar “binding container” (it keeps small items secure), marking utensils, rulers, and rotating cutting mats for HST’s on the go. It also works great as a laptop bag, though keep in mind this pattern doesn’t include instructions for foam protection, so be careful if you’re throwing an electronic in there. It’s also an awesome road trip bag too—water, snacks, headphones, reading materials, and more all fit comfortably inside.
Thank You
I hope you love the Pepin Tote as much as I do! Do yourself a favor and search the hashtag #pepintote for tons of inspiration. And don’t forget to grab some of Kelsey Carlson’s Floral Charms collection for Riley Blake—trust me, you’ll want to stash it for your “good stuff” projects.
If you enjoyed this, make sure to sign up for our newsletter and follow me on Instagram for more bag-making adventures!
Happy Sewing!
Alexis


You May Also Like
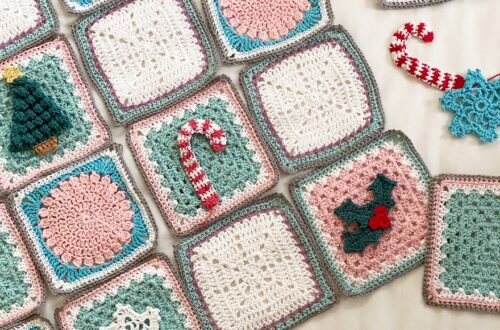
Ultimate Sugarplum Crochet Afghan
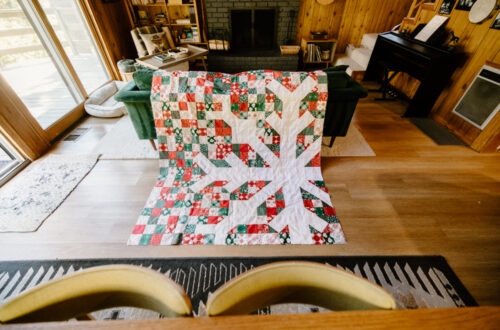
Christmas in the Cabin with Merry Little Christmas by My Mind’s Eye