Iron in Style with Press On By J. Wecker Frisch
Is your ironing board cover burned and/or in desperate need of replacement? Are you looking for a custom pattern that fits ANY shape and size ironing board? If this sounds like you than look no further. Stitched By Alexis has you covered and we’re doing it in style with the Press On Collection by J. Wecker Frisch for Riley Blake.
Hi! I’m Alexis of Stitched By Alexis and I love making things for my home. Today we’ll be making an ironing board cover that you can adapt to any size. So, lets get started!
Note: If you’d like to watch a video tutorial Beyond Fabric has made that possible on her YouTube channel which can be found HERE. Special thanks for Beyond Fabric for making this wonderful tutorial.
Fabric
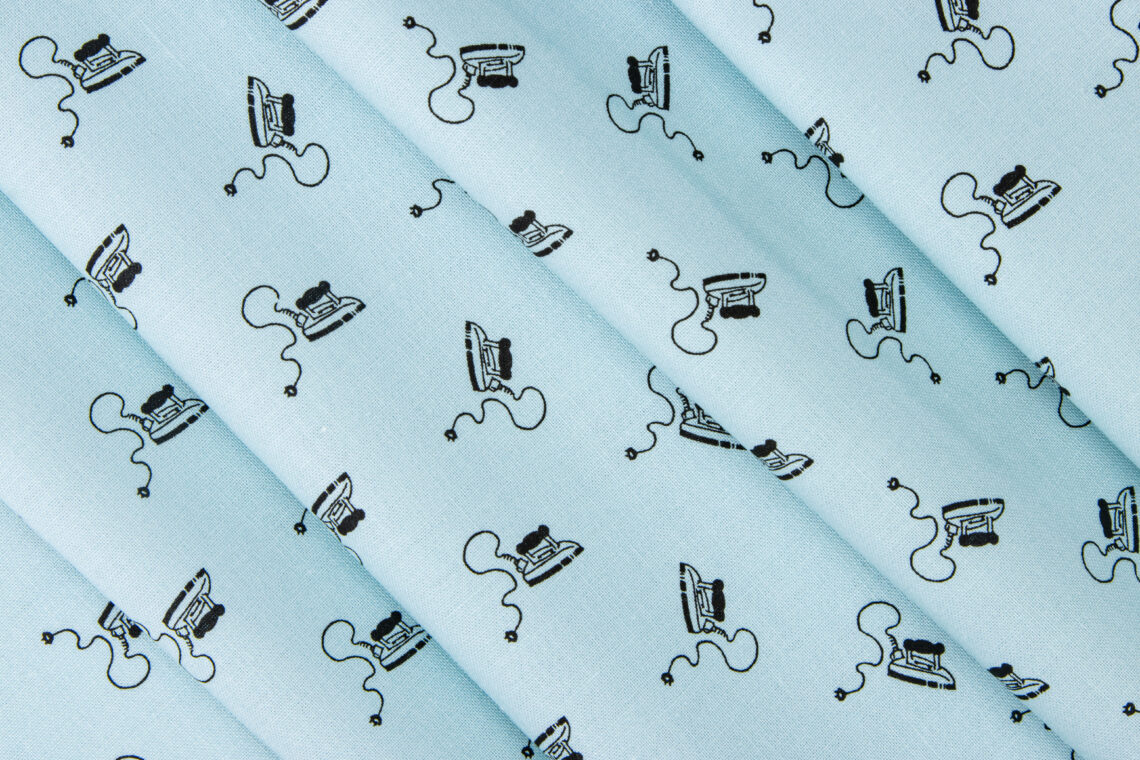
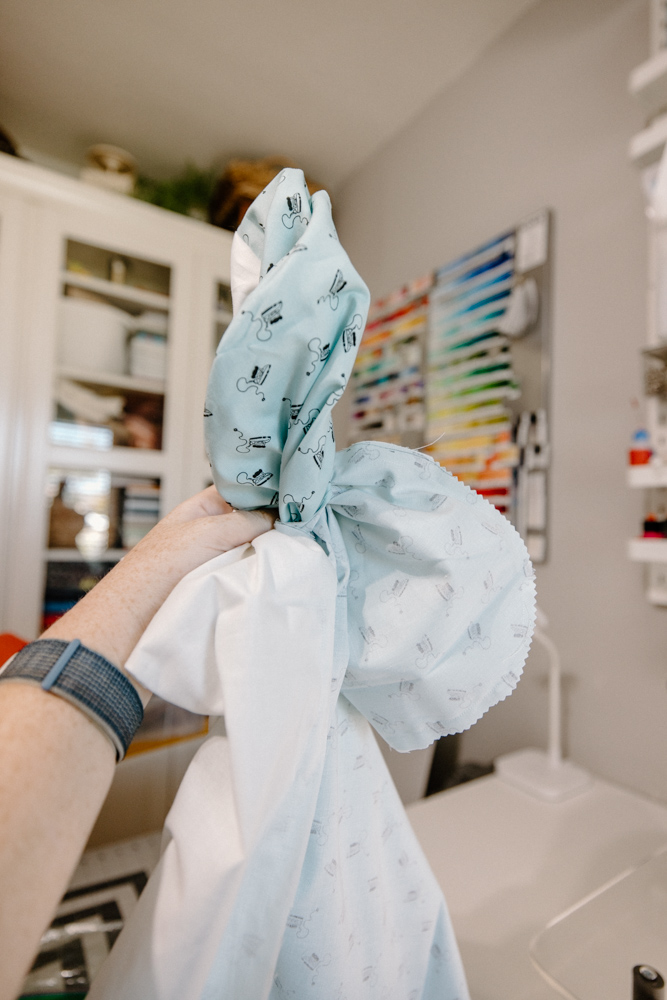
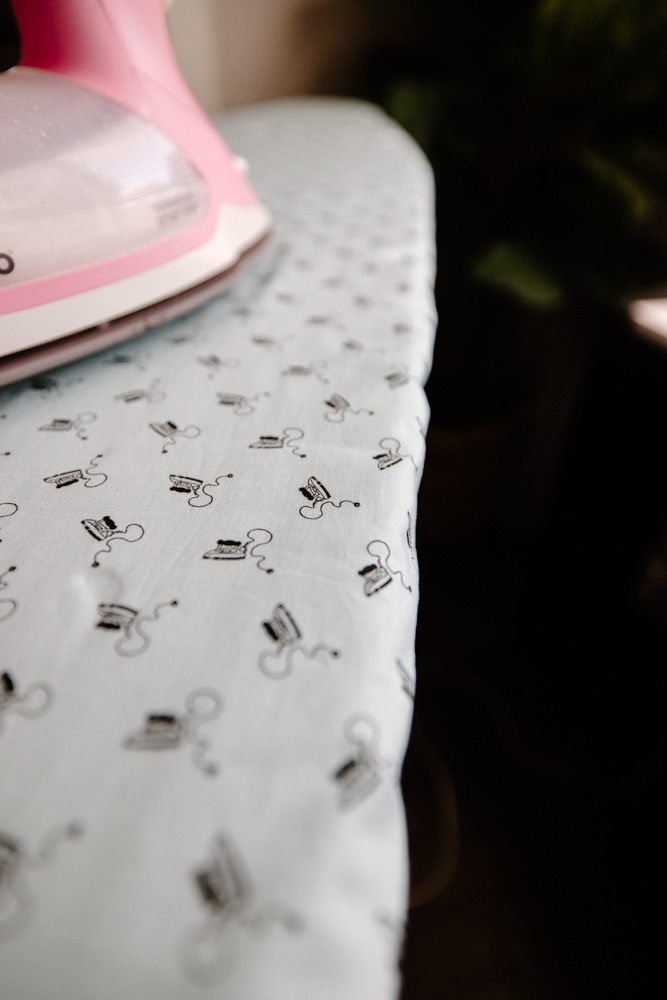
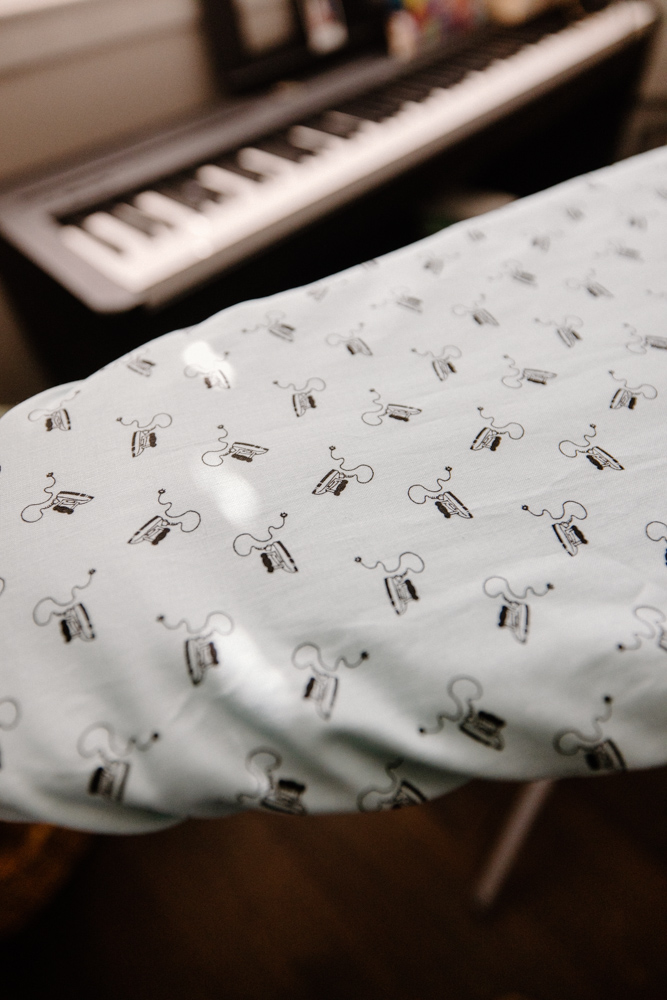
How cute are these vintage irons on a pale blue background?! They definitely screamed at me begging to be a new ironing board cover. Don’t you agree?! The fabric we used for this project is Press On Mini Irons Aqua by J. Wecker Frisch for Riley Blake and it’s ADORABLE! What’s extra awesome is that Riley Blake fabric is super high quality and will last for a years to come.

Supplies:
- Press On Mini Irons Aqua (main fabric)
- Riley Blake Confetti Riley White Cotton Fabric (lining)
- Insul Bright (padding)
- Ironing board
- Marker
- Pen
- Fabric scissors
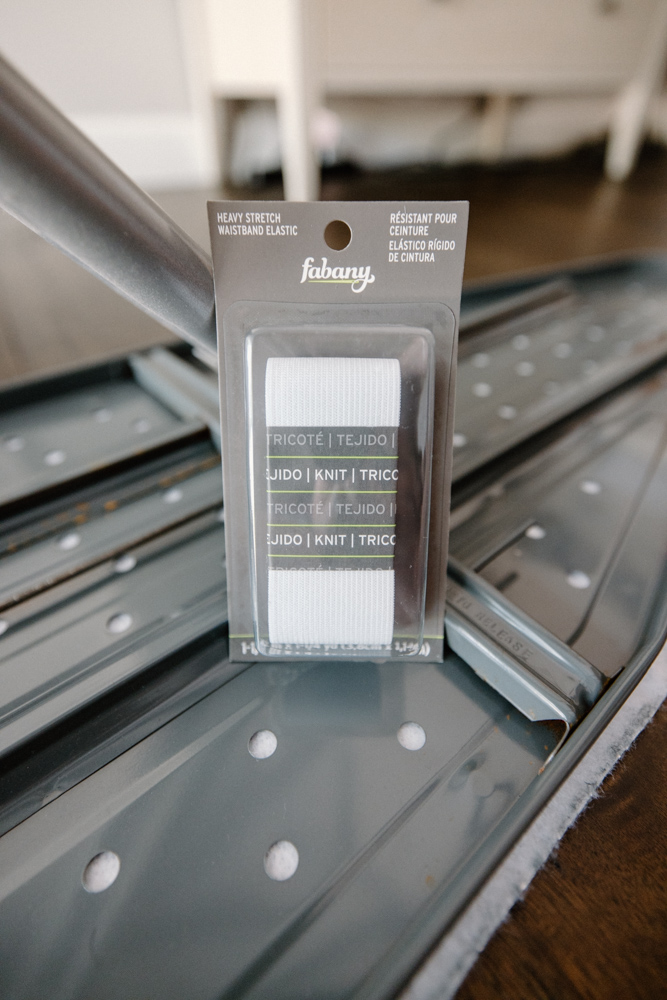
- 1 ½ inch wide elastic
- ⅜ inch elastic
- Binding/sewing clips or pins
- Safety pin
- Ruler
- Pinking shears (optional)
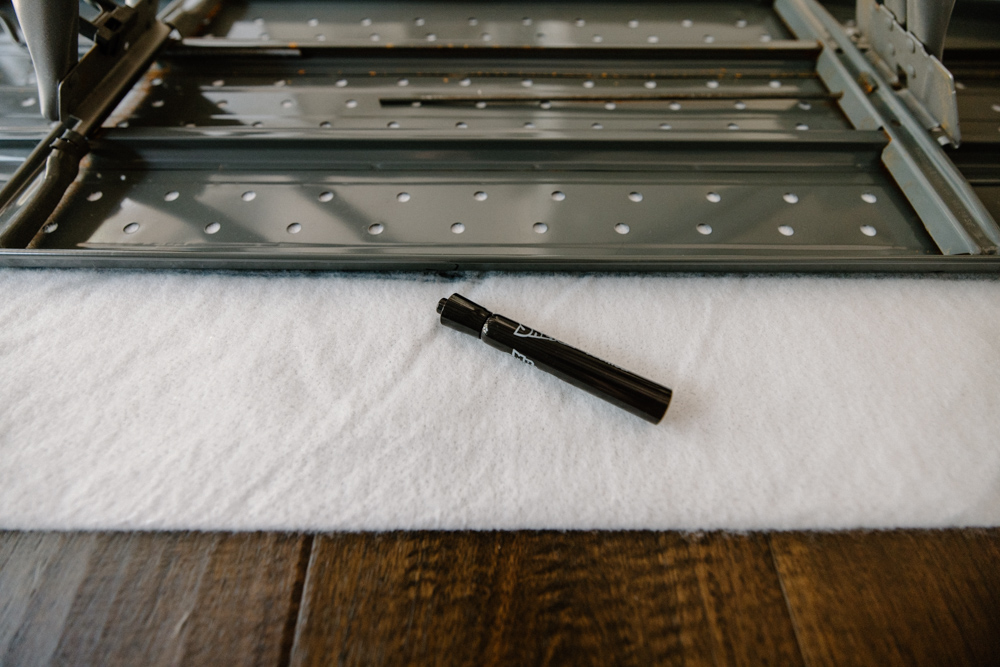
Step 1
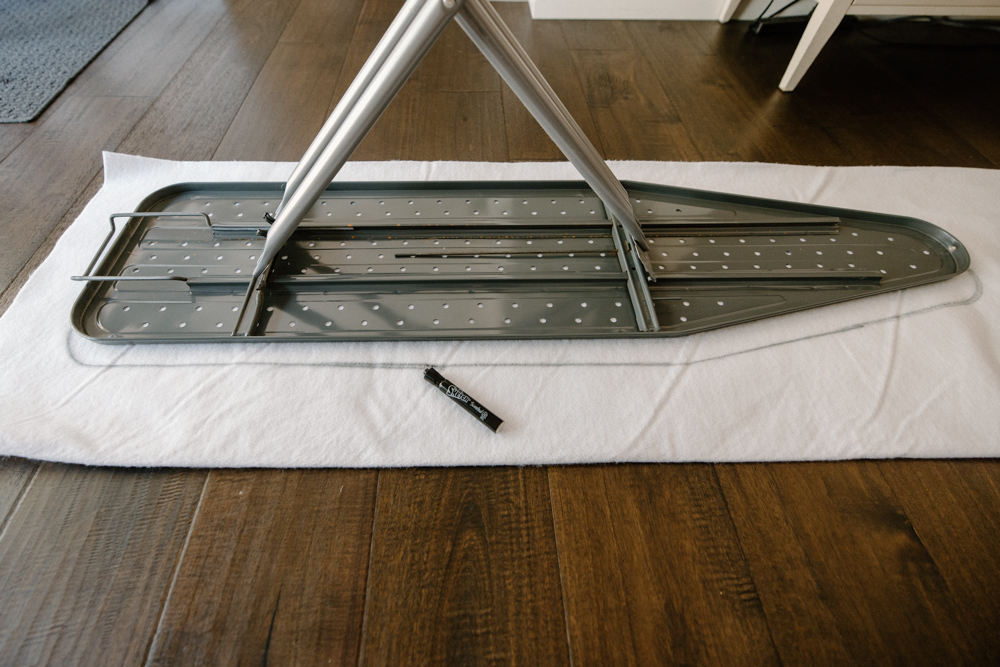
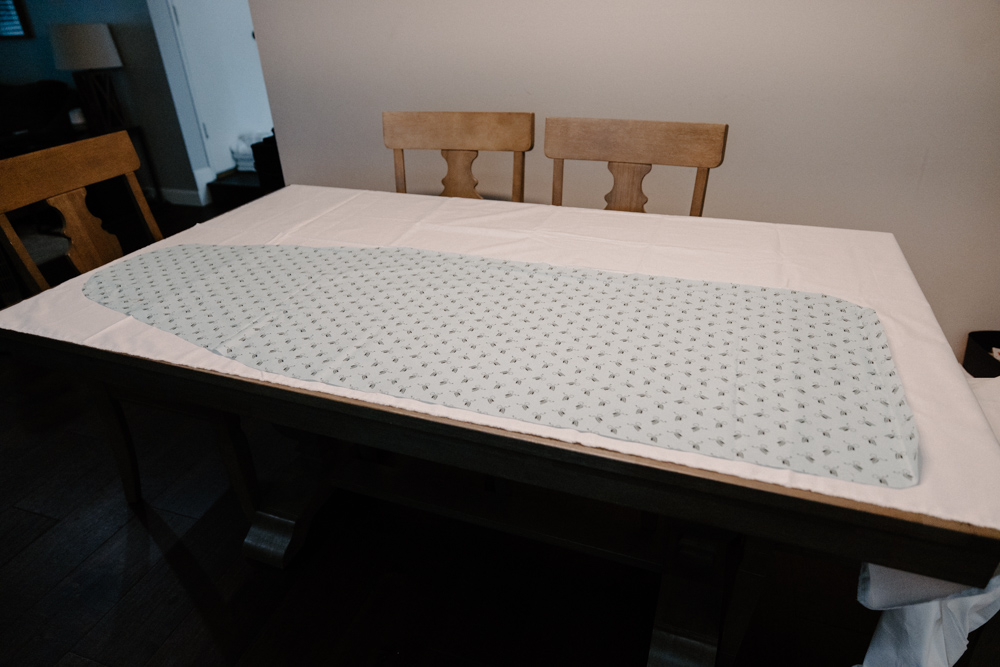
- Lay Insulbrite on ground or table (Image 1)
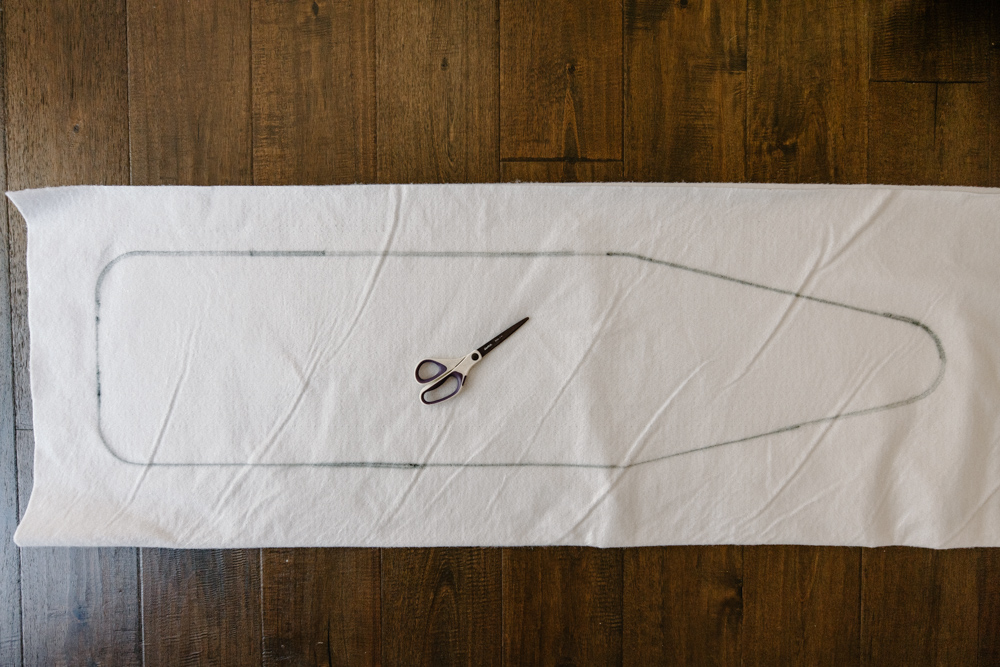
- Place upside down ironing board on top of Insul Bright and loosely trace the ironing board with a marker of your choice (Image 2)
- Once traced, cut out Insul Bright (Image 3)
Step 2
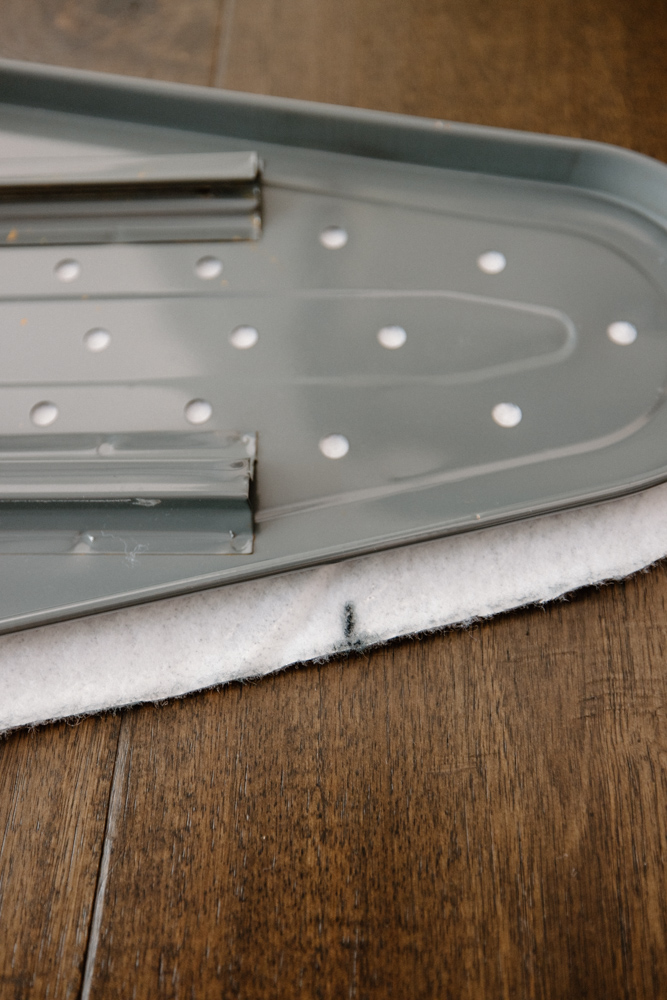
- Mark areas for your elastic placement (top and bottom of your ironing board). Be sure to mark *one side only* (Image 4)
- Be careful to avoid moving mechanisms on your ironing board
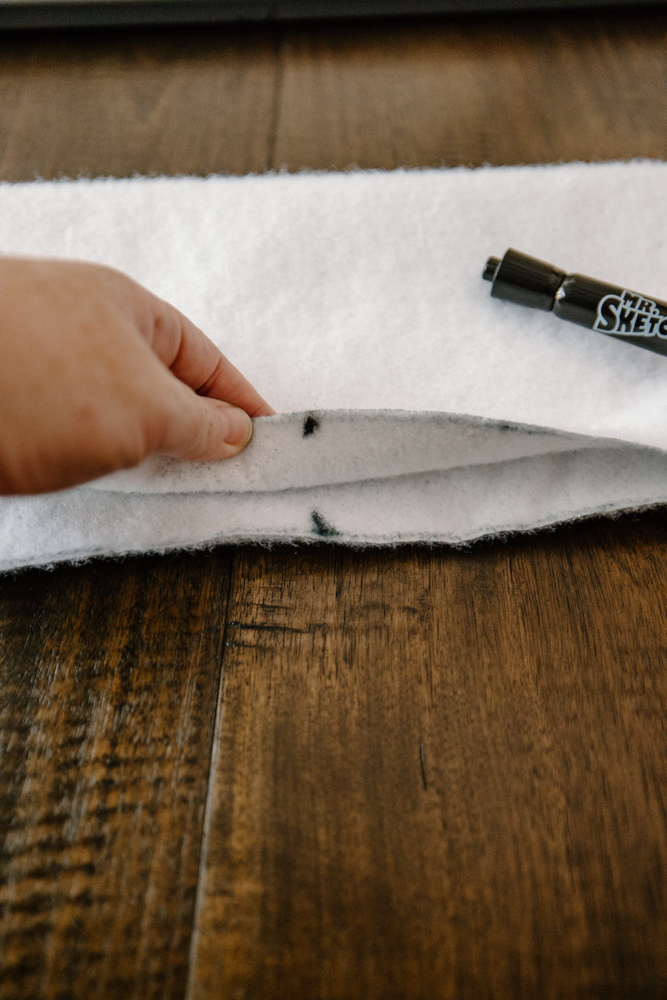
- Once one side is marked, fold padding in half to mark the opposite side (Image 5)
Note: Any marker will do for this stage. If you’ll notice I’m using a child’s marker. I typically operate with items I have on had to reduce sewing and crafting costs.
Step 3
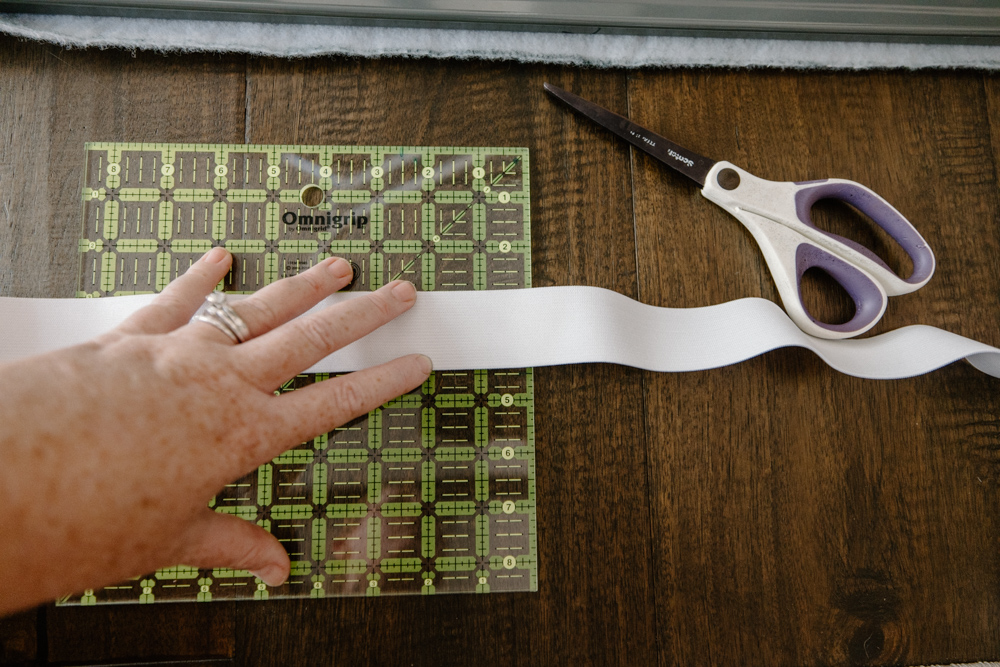
- Measure the distance needed for your elastic at the two marked points and reduce by 1 inch and cut (Image 7)
Note – any type of elastic will do; this particular elastic was pretty taught and didn’t give much but it’s what I had to work with. If your elastic gives a lot, I may reduce by 2 inches.
Step 4
- Lay quilters cotton right side down on the floor or table top
- Place the ironing board on top upside down on top of fabric
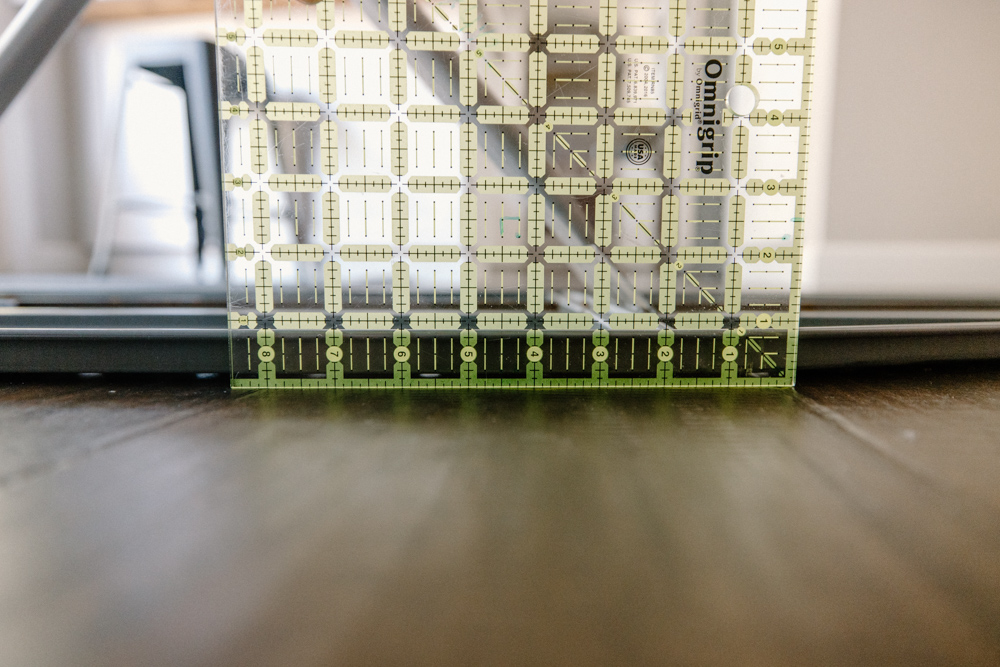
- Measure the height of your ironing board. Approx 1 inch. (Image 8) Add 2-2.5 inches making sure to stay clear of the moving mechanism (too much fabric will invade this space). Add another ½ inch for seam allowance. And all 3 figures together to calculate a grand total. For my ironing board we calculated 3.5 inches.
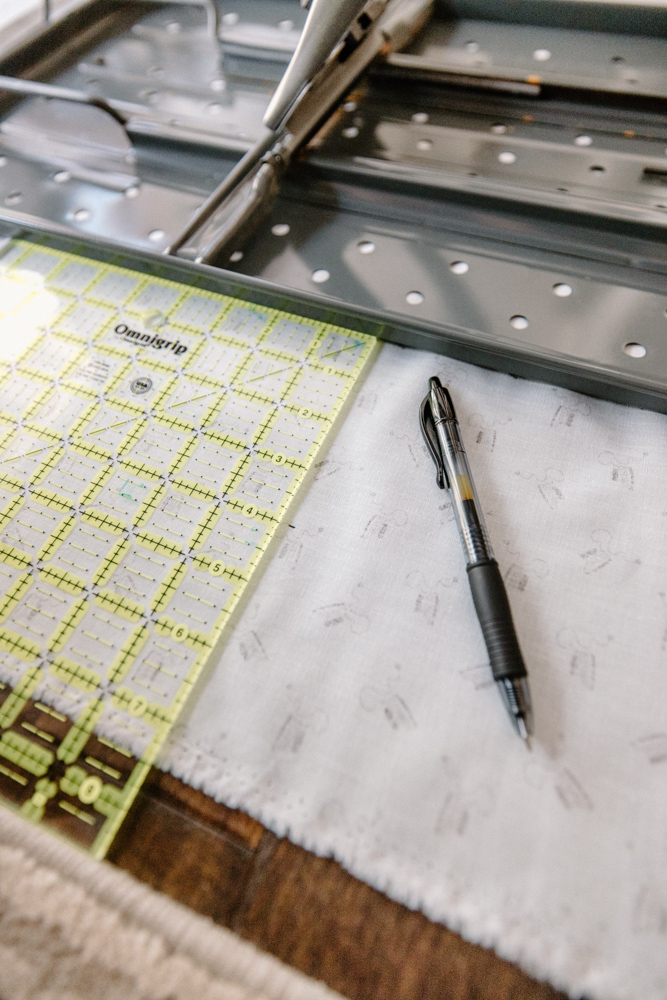
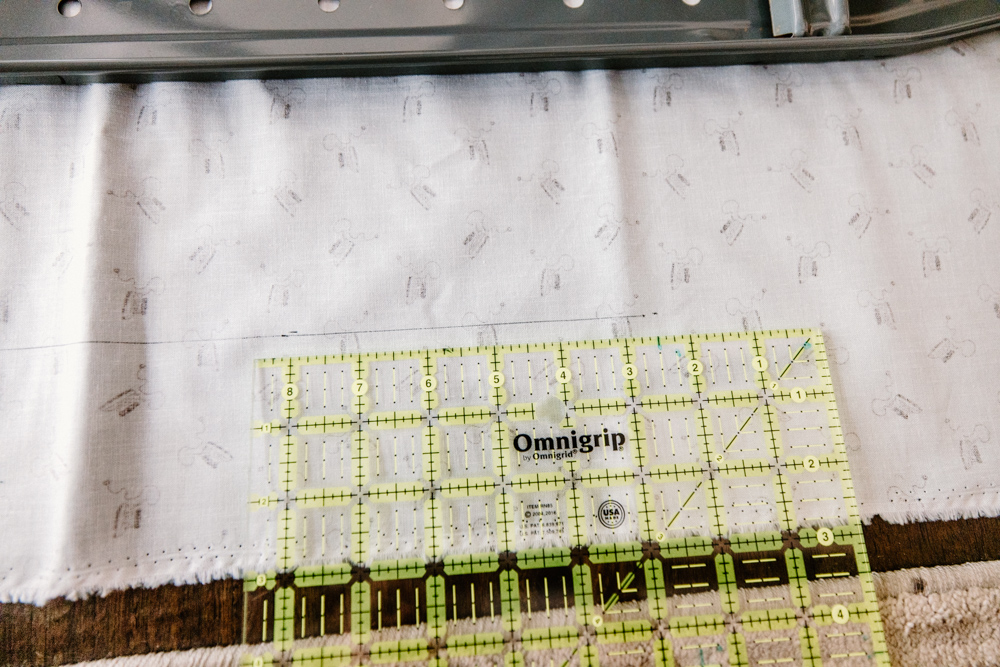
- Take your ruler or seam gauge and marks several points all around your ironing board 3.5 inches away from your ironing board edges (Image 9)
- Draw a line from point to point like ‘connect the dots’ around your entire board (Image 10)
- Cut out your ironing board top on the line you’ve just created
Step 5
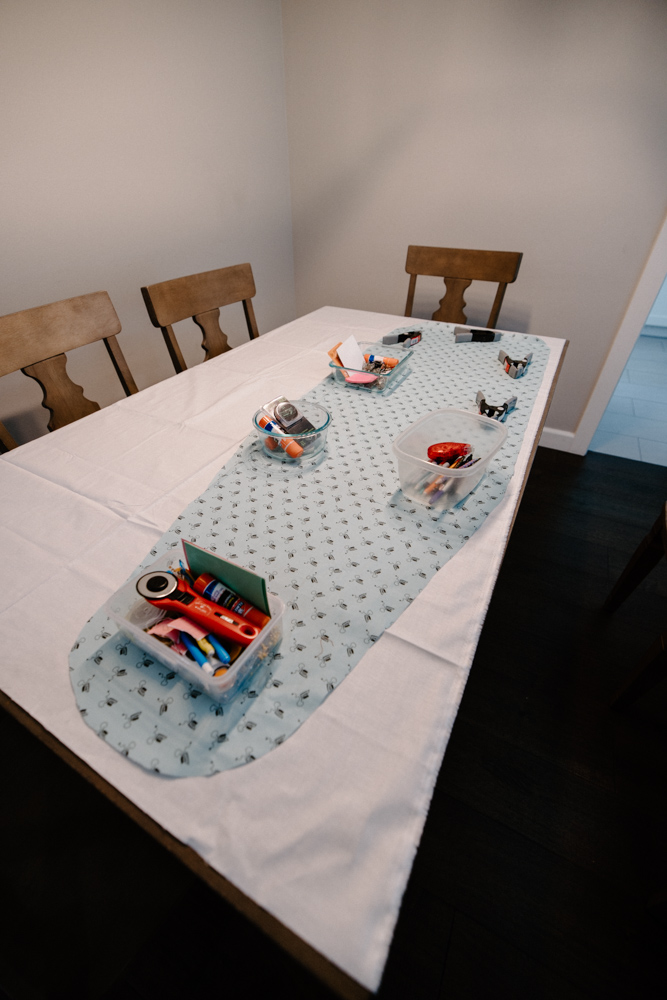
- Lay lining fabric on table or ground. Lay top fabric right sides together. Example is shown with the top fabric facing up which is also acceptable however it’s best if the right sides are together to keep uniformity while cutting. (Image 11)
- Place weights on your design to avoid items shifting while cutting. (Image 12)
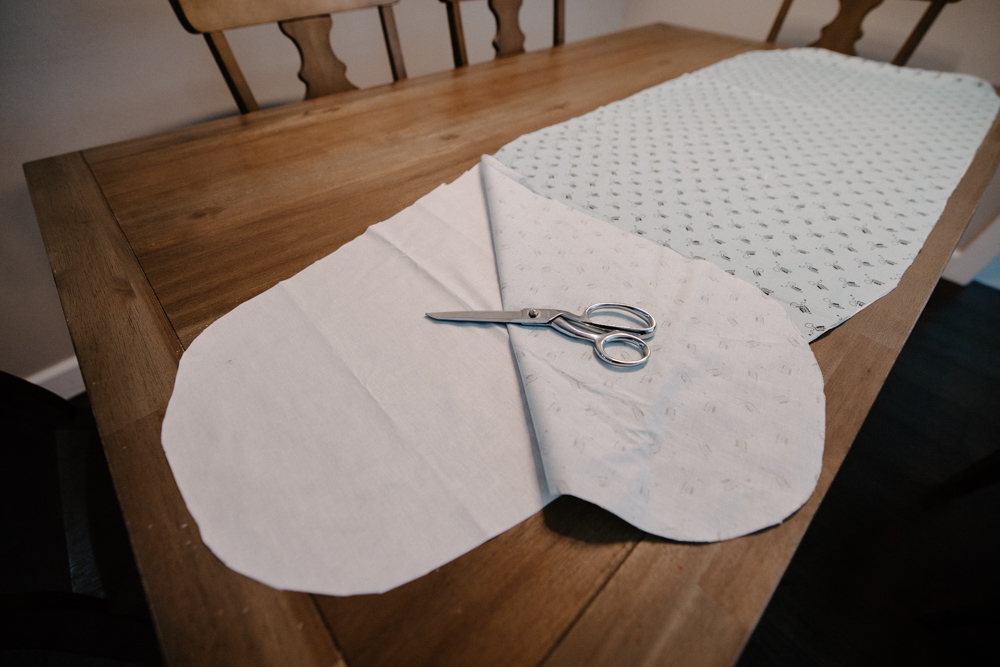
- Cut out lining fabric using the outline of your top fabric. (Image 13)
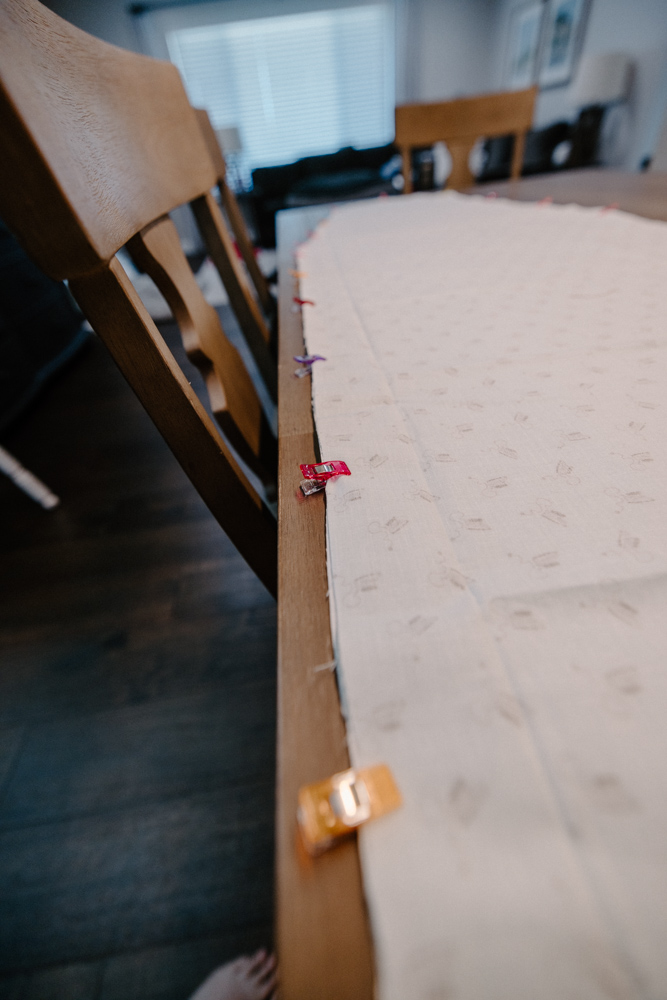
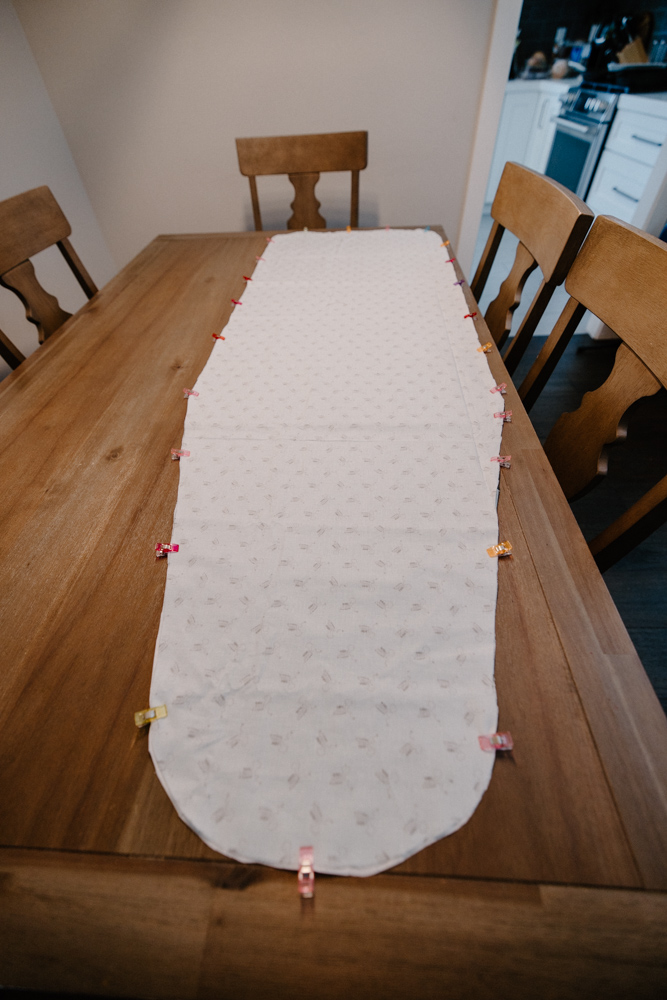
- Once your two layers are cut, clip or pin them together. (Image 14/15)
Note: Pattern weights can be anything from soup cans, trivets, workout weights or any other heavy items. Sewing specific pattern weights are not required.
Step 6
- Sew around your ironing board cover with a ½ inch seam allowance. Right sides should be facing each other. Leave a 3-4 inch space open to allow you to turn your project right sides out. (Image 16)
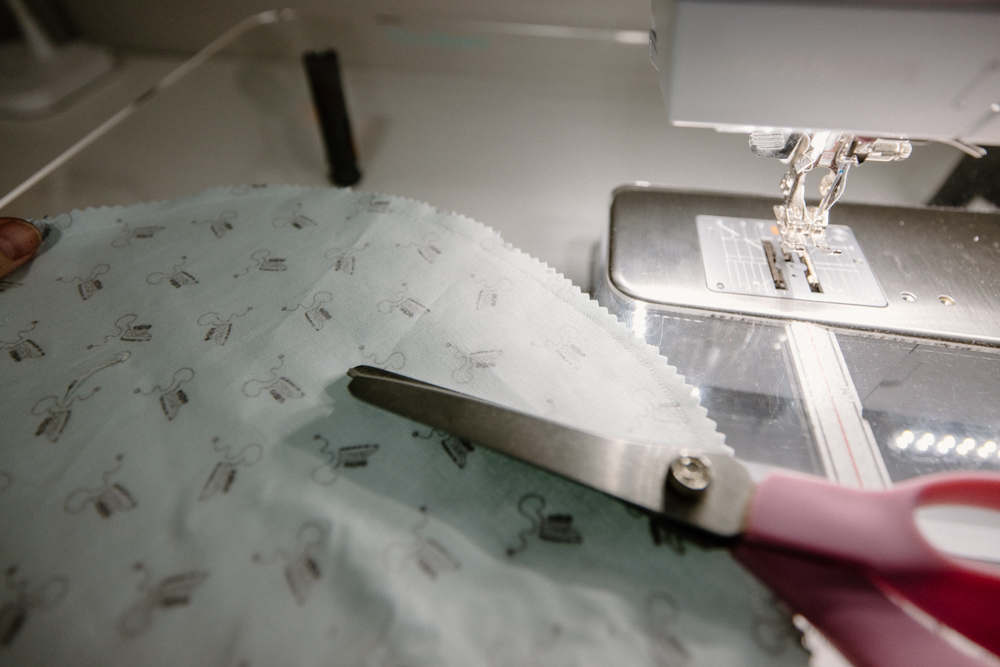
- Before you birth your project, clip with a pinking shear some of curved edges to reduce bulk. (Image 17)
- Invert or “birth” your project through the opening. (Image 18)
Step 7
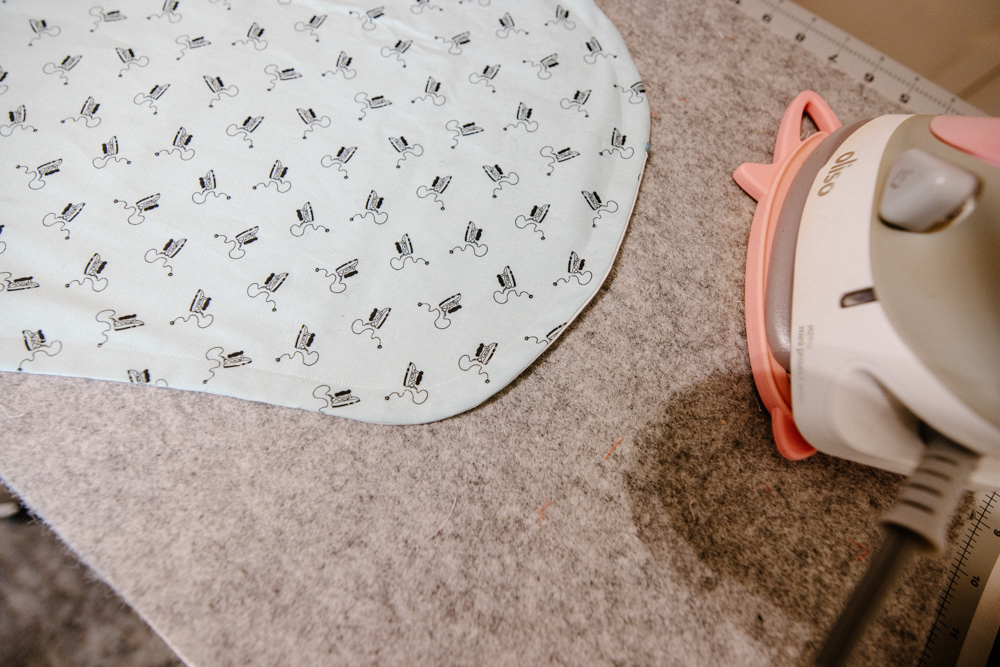
- Smooth edges and roll them flat. Press. (Image 19)
Step 8
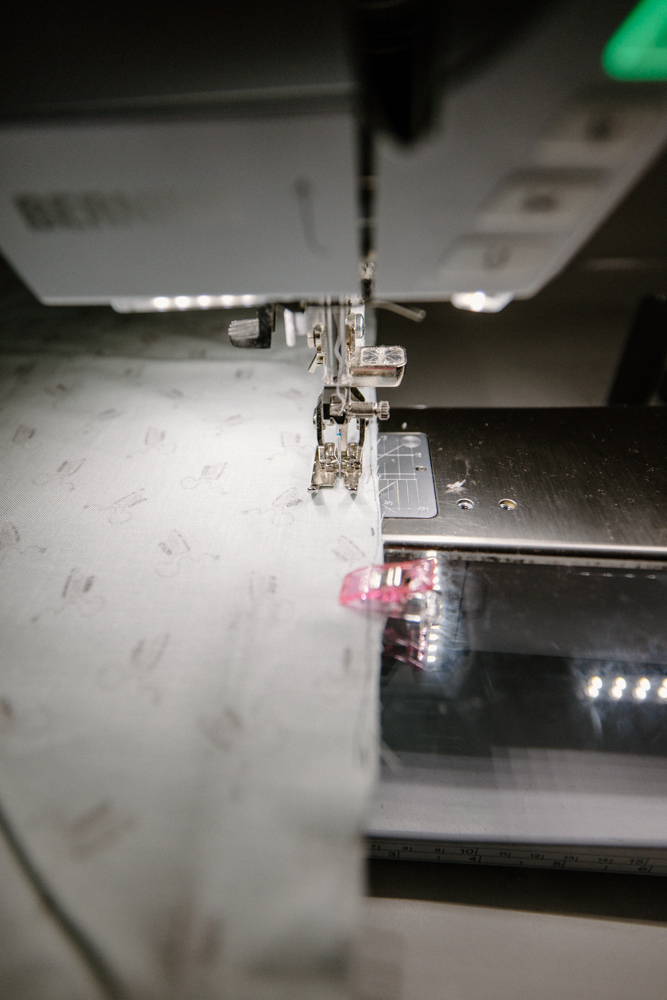
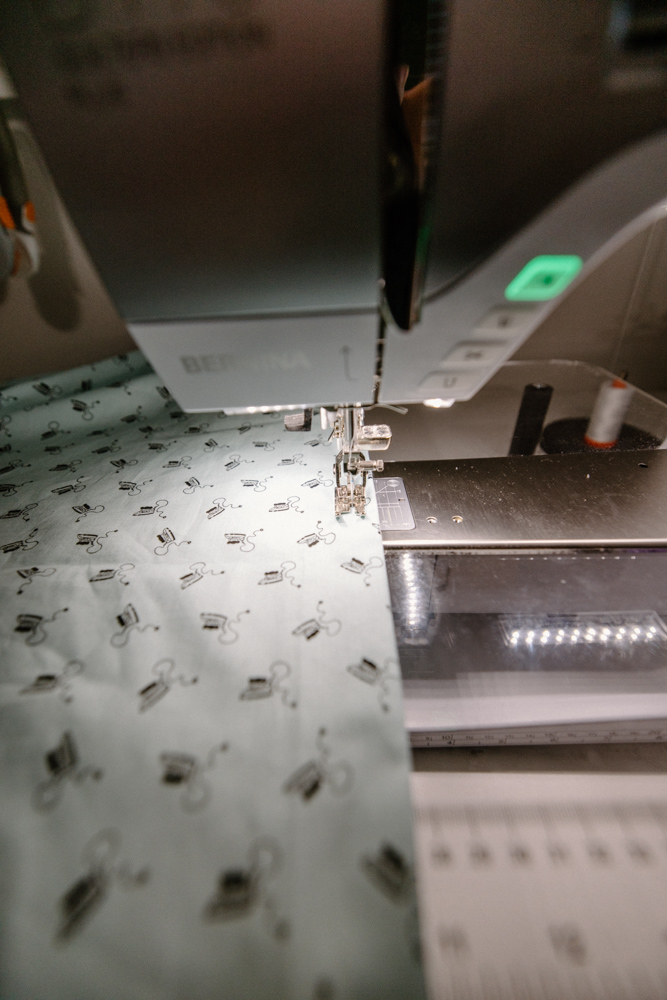
- Sew a straight stitch to create a channel around the entire perimeter of your project with a ½ inch seam allowance. You do not need to keep a space for an opening/turning. You may join the two ends of your stitching. (Image 20/21)
- Thread your 3/8 inch elastic through the channel you’ve just created (not shown) by placing a large sized safety pin to one end of the elastic and inch worm it through the channel. The total amount of elastic you’ll need is roughly 2-2.5 yards.
- Once you’ve threaded your elastic through the channel spread out the fabric evenly, lay the two ends of your elastic over each other and apply a zig zag stitch to join the two ends. Be careful not to twist your elastic. Do not cut you elastic tail until you’ve done a test fit.
- Once you are satisfied with the fit, cut your elastic and close your seam opening with a scant 1/8 inch seam allowance or hand stitch using a ladder stitch.
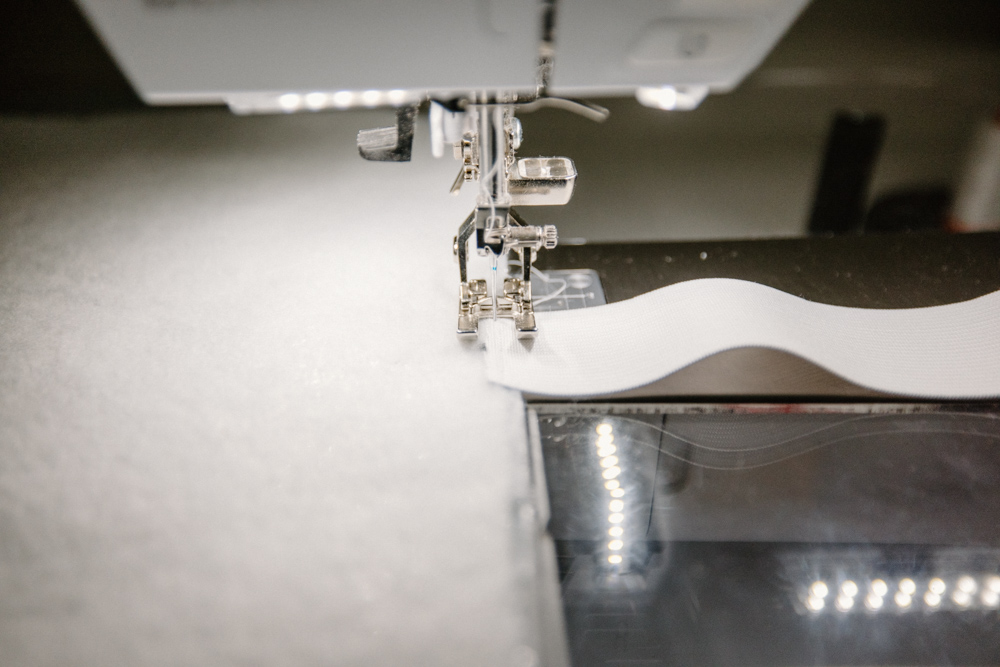
Step 9
- Gather your previously cut 1 1/2 inch pieces of elastic and center on the mark you made earlier to your padding. Apply a wide zig zag stitch to attach to your padding.
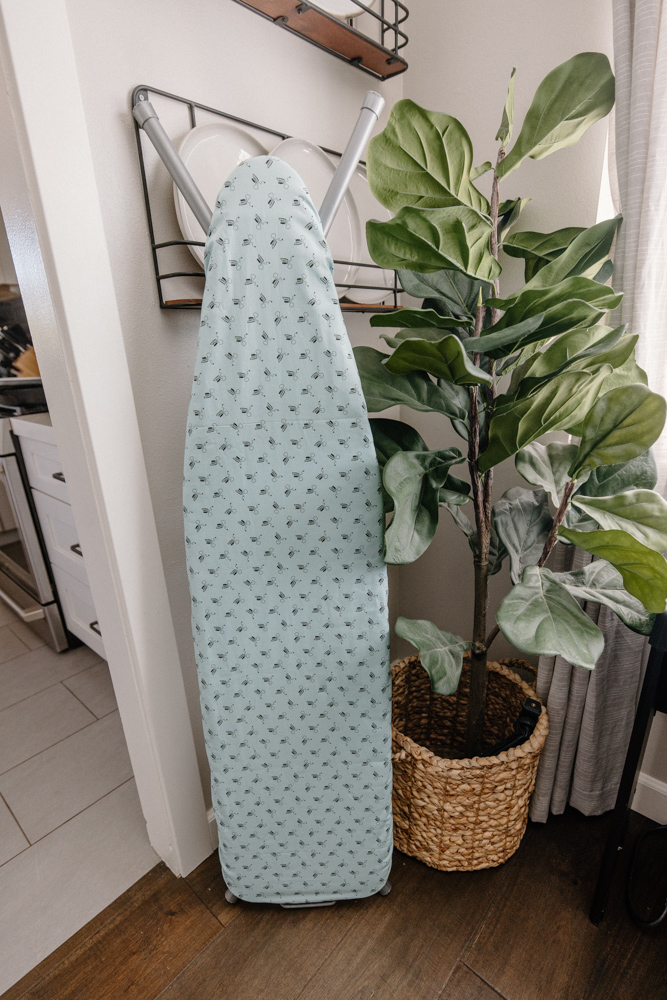
- Slide onto ironing board
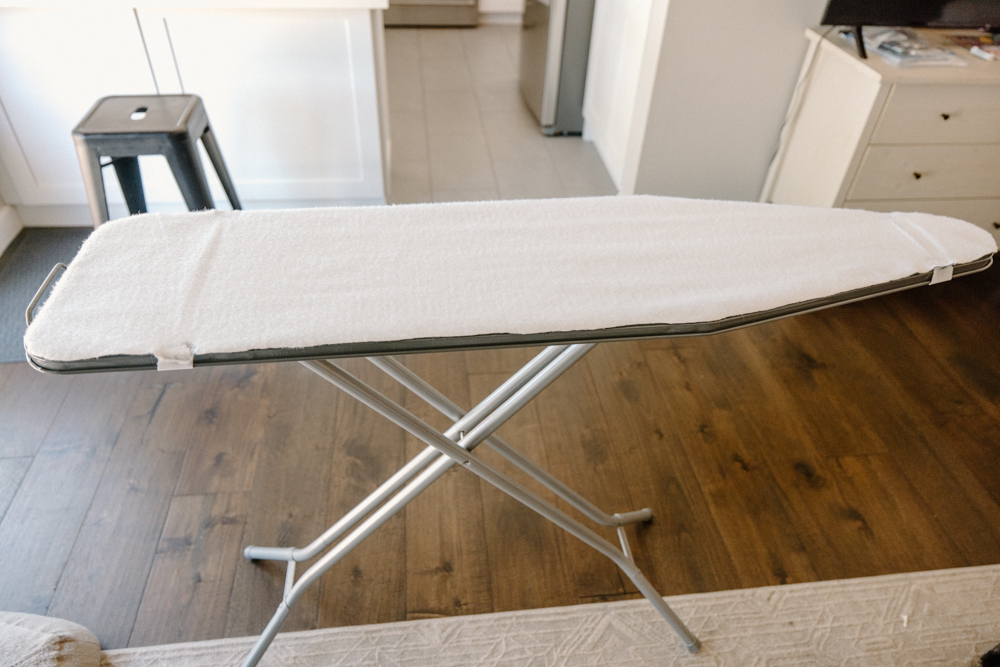
Step 10
- Examine your final project and give yourself a pat on the back! Congratulations sewist for a job well done.

Final Thoughts
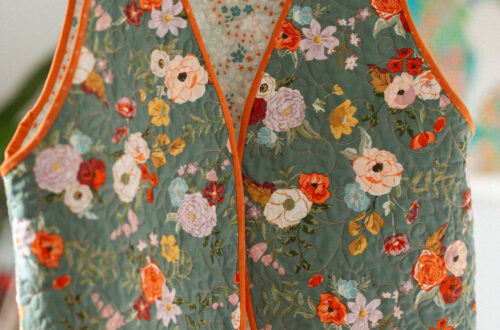
This project would make a wonderful housewarming or wedding gift. There are so many beautiful Riley Blake fabrics to pick from that the possibilities are endless. I can’t wait to make another for a second ironing board as this one added a nice punch of color and flare to an otherwise boring sewing station.
If you liked this tutorial and wish to see more like this please join me over at Stitched By Alexis. If you’d like to join my community and get notifications of new projects directly to your inbox, please use this LINK to sign up for our newsletter. Lastly, we’re on Instagram and would love to have you part of the family. See you again soon!
Sincerely, Alexis


You May Also Like
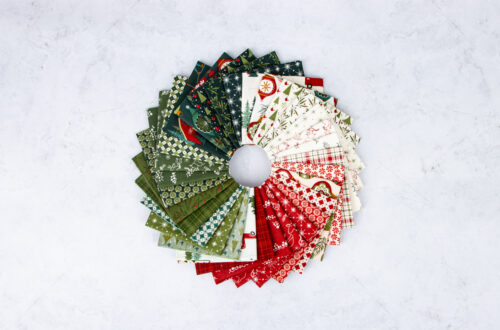
Christmas is in Town by Sandy Gervais
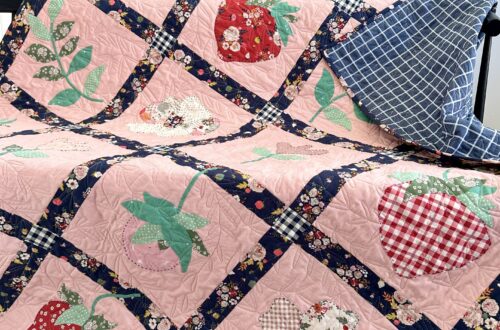
Sara’s Appliqué Quilt with BloomBerry