Professional Seam Matching Striped Binding Tutorial with RBD Basic Stripes
For decades, Riley Blake’s Basic Stripes Collection has been my go-to for striped fabrics. These bindings have finished many of my quilts, adding a timeless touch to each one.
While I’m usually quick to finish binding, taking a few extra minutes to match stripes can really enhance the professional look of your quilt. Today, I’ll guide you through the process of creating seam-matched striped binding. Hi, I’m Alexis from Stitched By Alexis. Thanks for joining me—let’s get started!
Supplies:
- Striped fabric (example below uses 1/8 inch wide)
- Ruler
- Rotary cutter
- Self-healing cutting mat
- Iron
- School glue
- Sewing machine
Step 1:
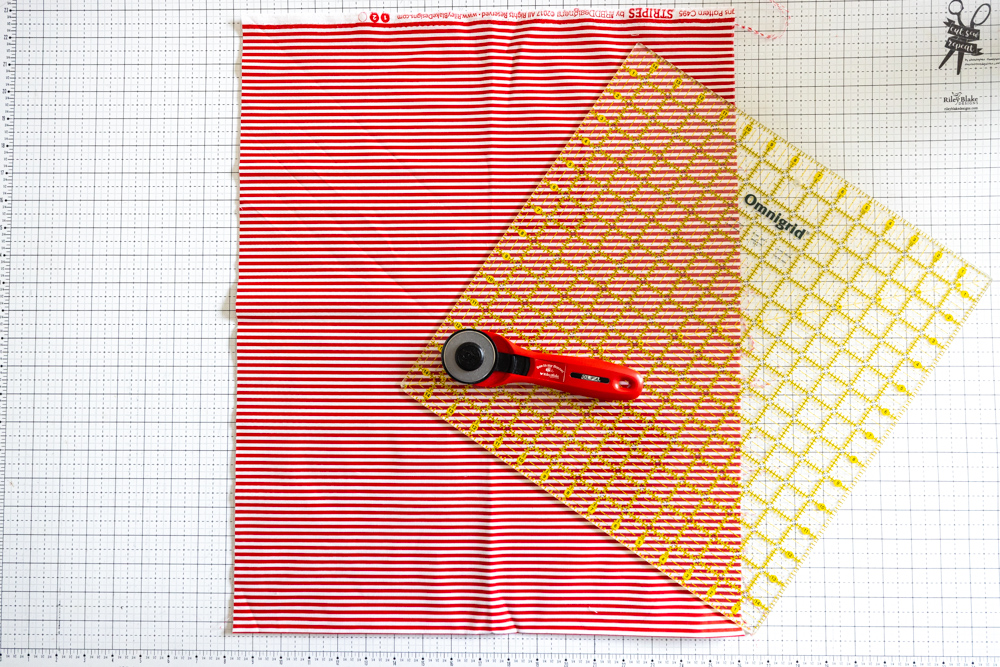
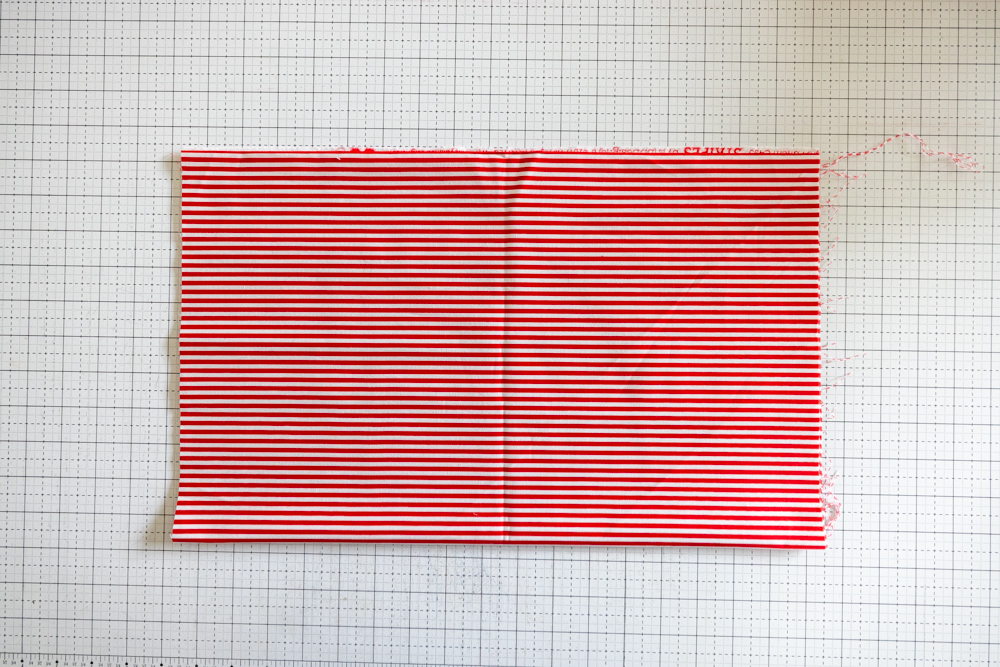
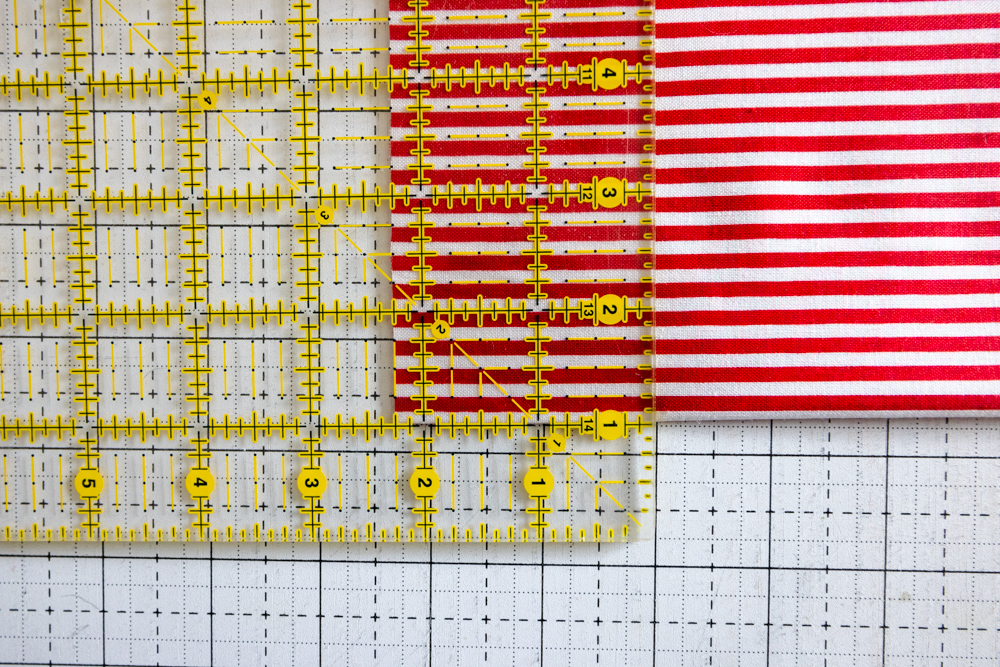
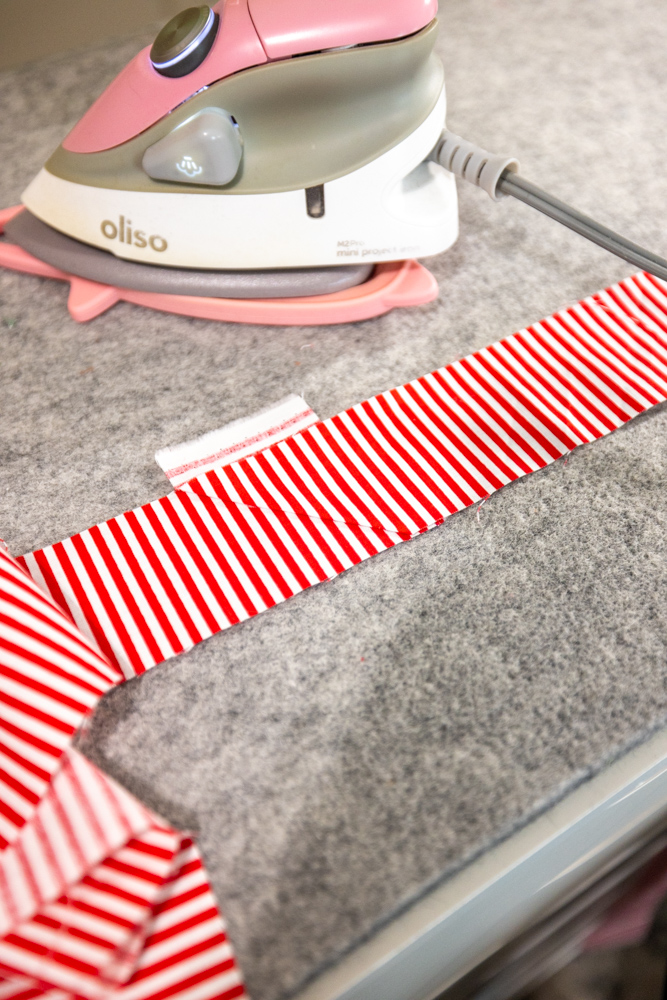
- Iron the fabric flat.
- Fold the bottom edge of the fabric up to meet the selvage edge and align them.
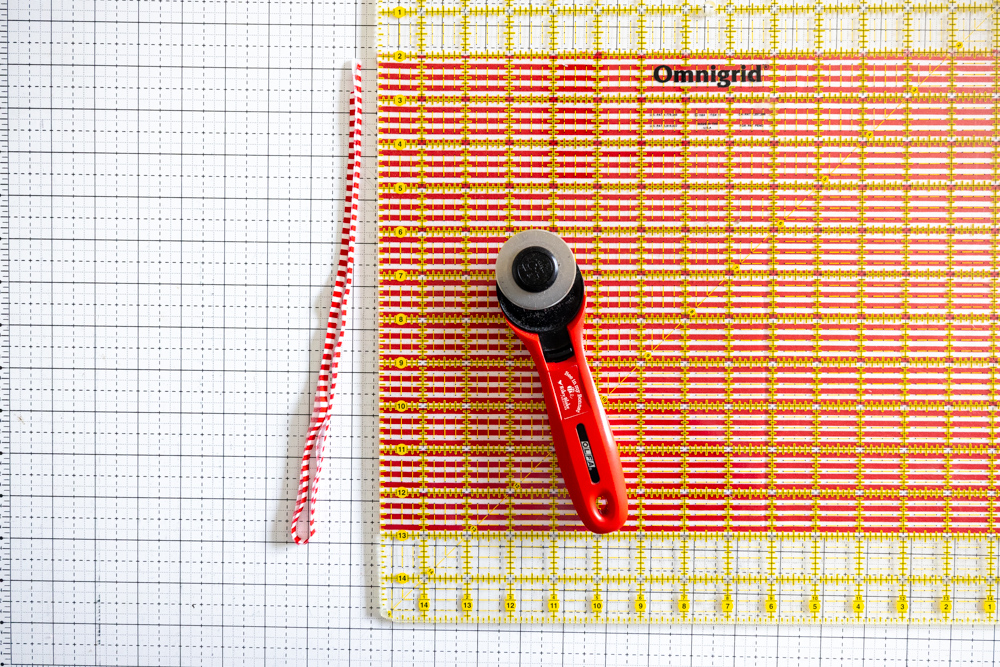
- Square off the left edge using your ruler.
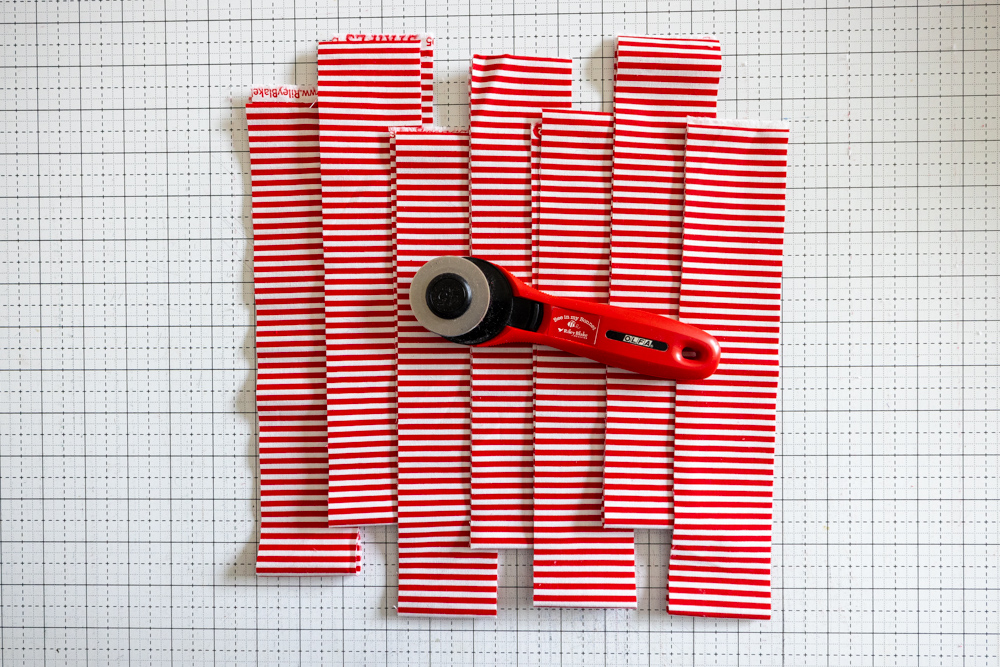
- Cut the binding to your desired size. I typically cut at 2.25 inches, but some prefer 2.5 inches.

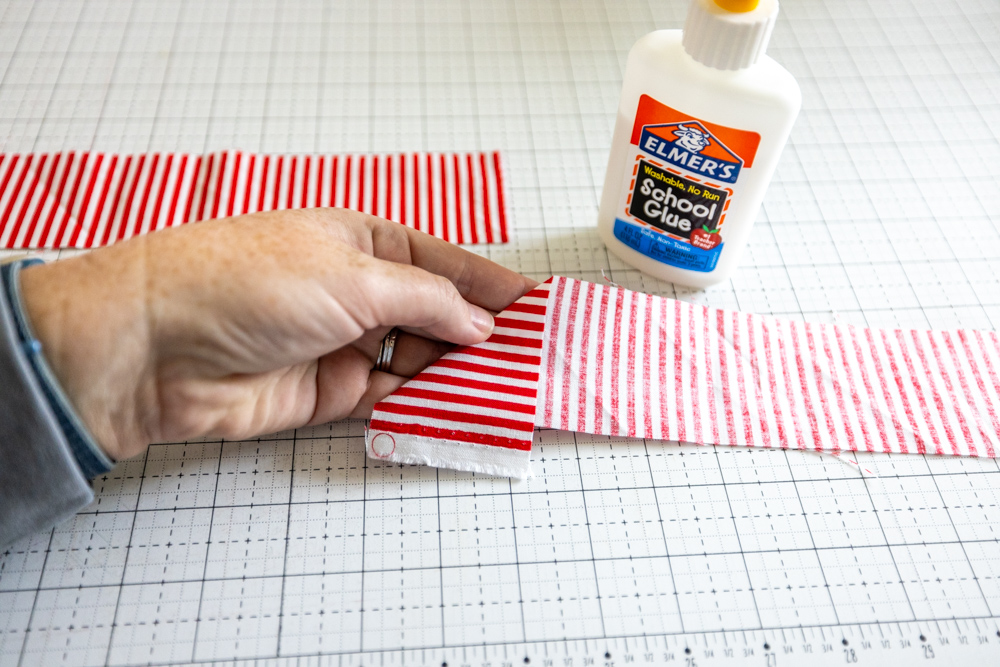
Step 2:
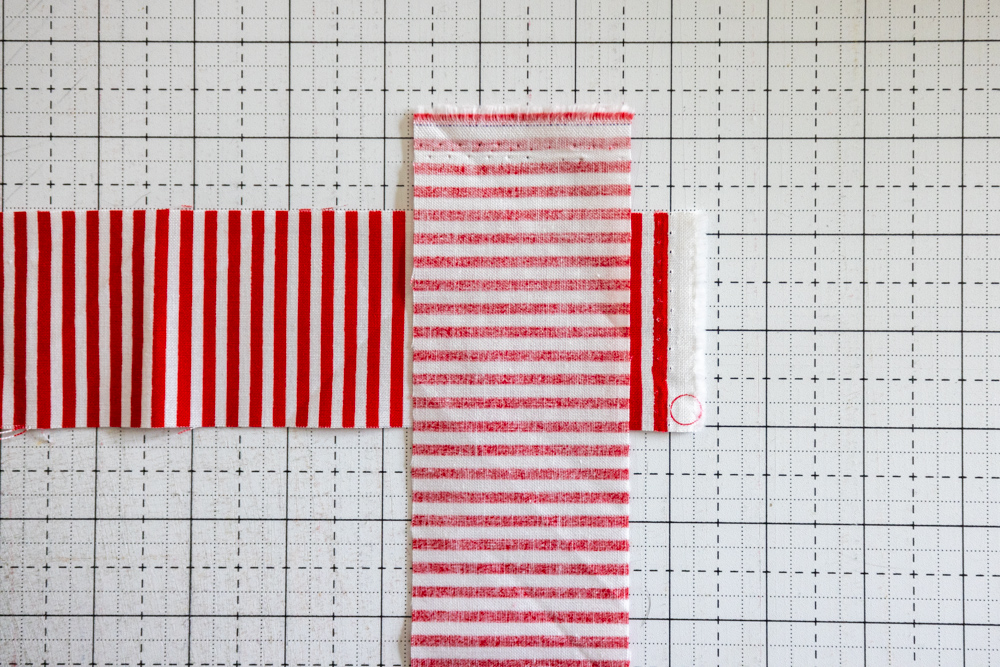
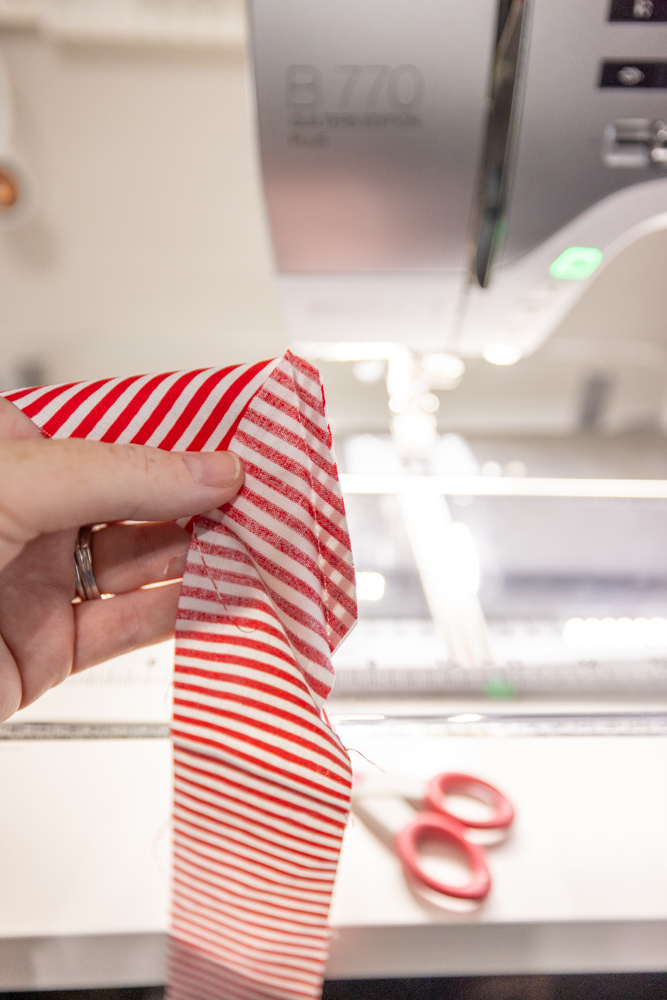
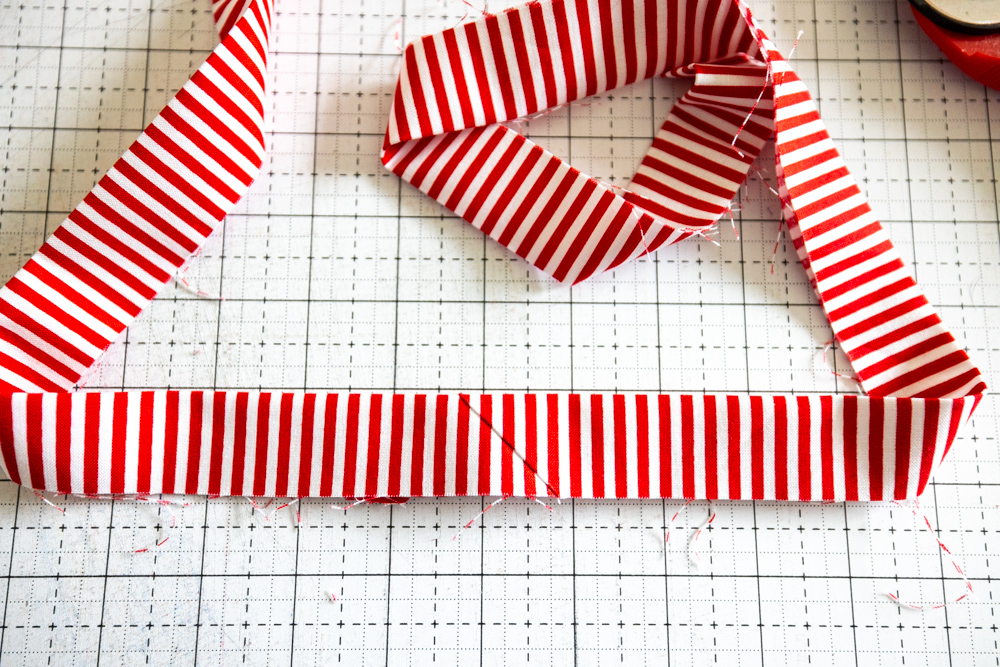
- Lay one binding strip right side up and place the second strip at a 90-degree angle with right sides facing each other.
- Fold the tail of the top strip at a 45-degree angle and press with an iron to create a firm fold mark.
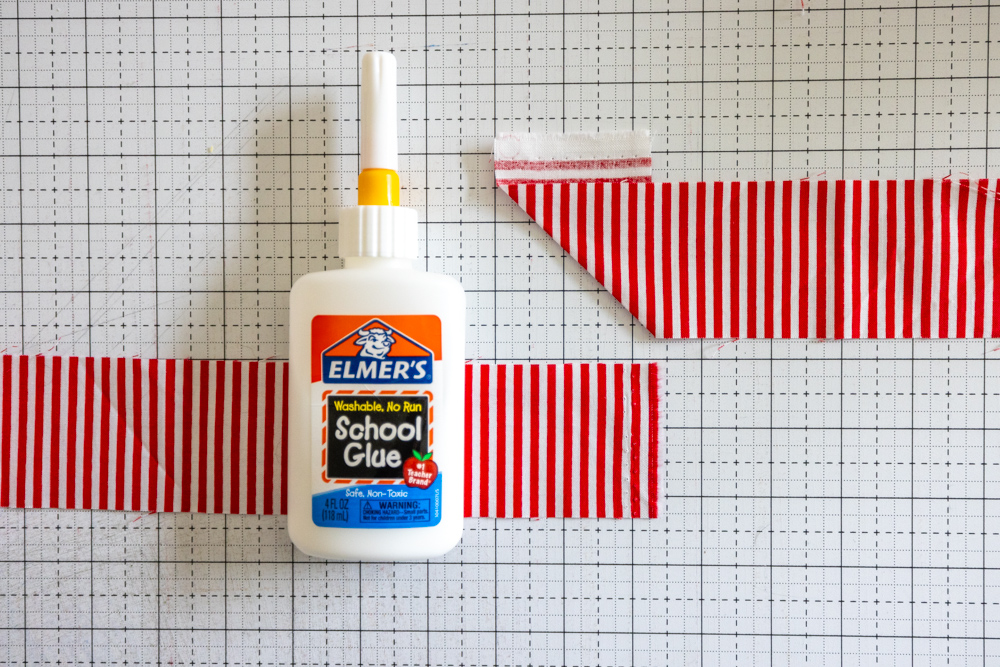
- Apply a thin line of school glue along the tail of the folded strip and place it on top of the other binding strip, aligning the stripes.
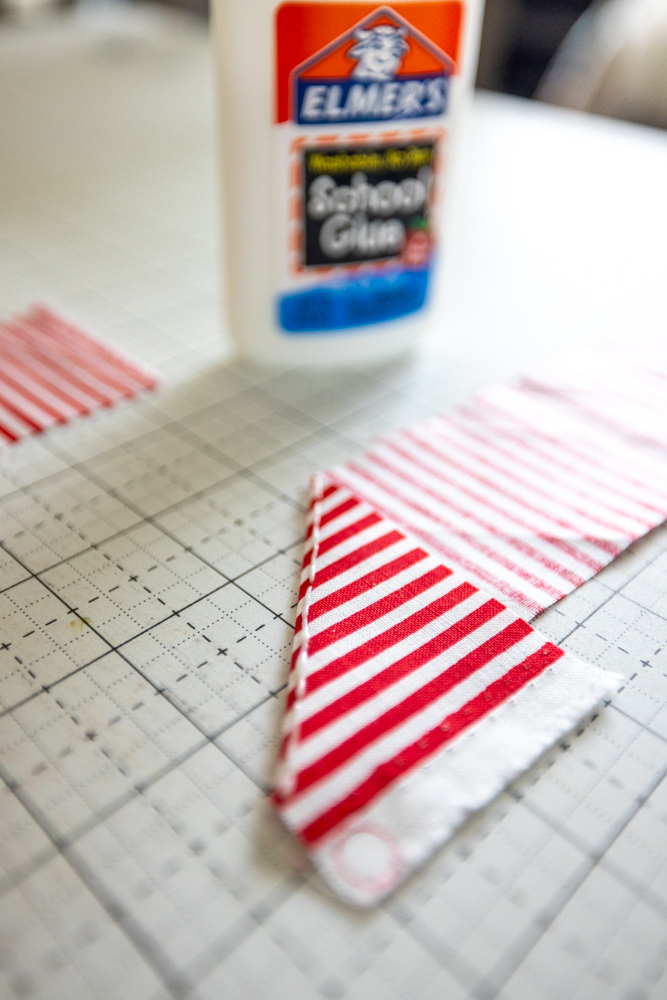
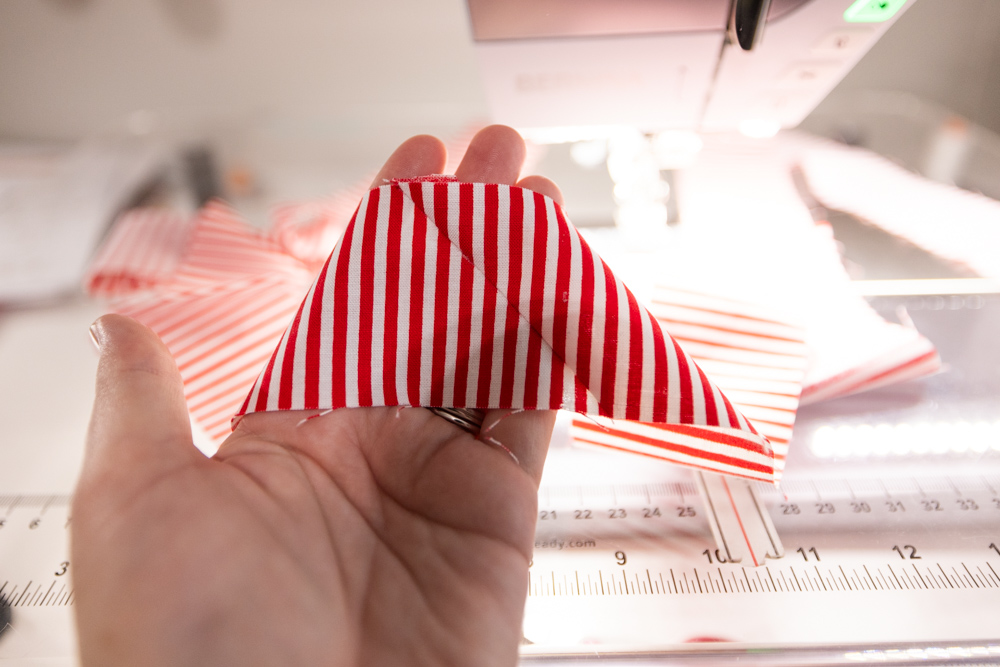
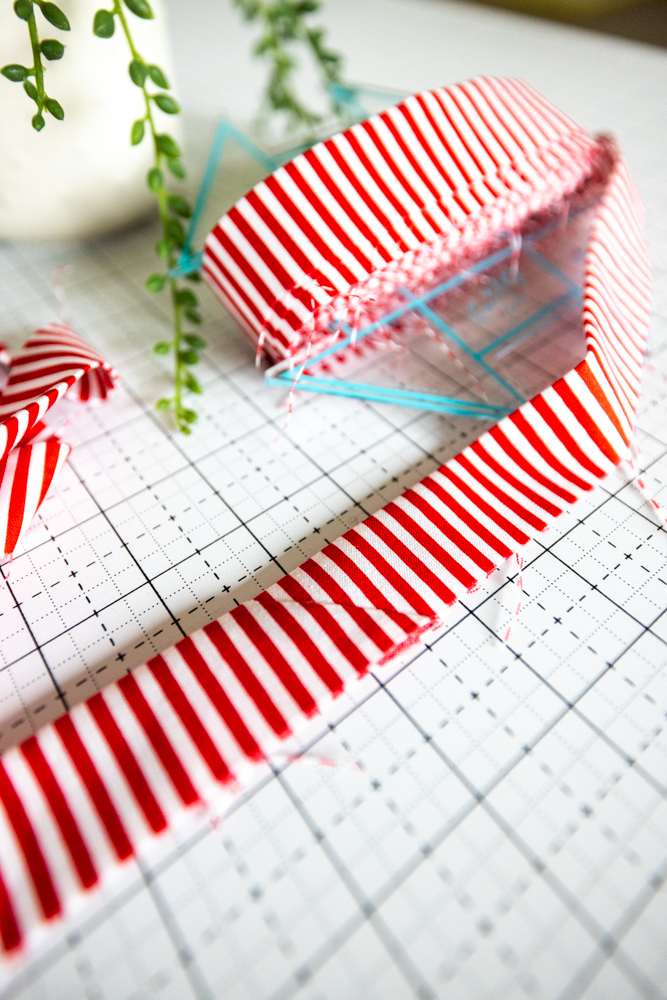
Step 3:
- Use the iron to set the glue and adhere the pieces together.
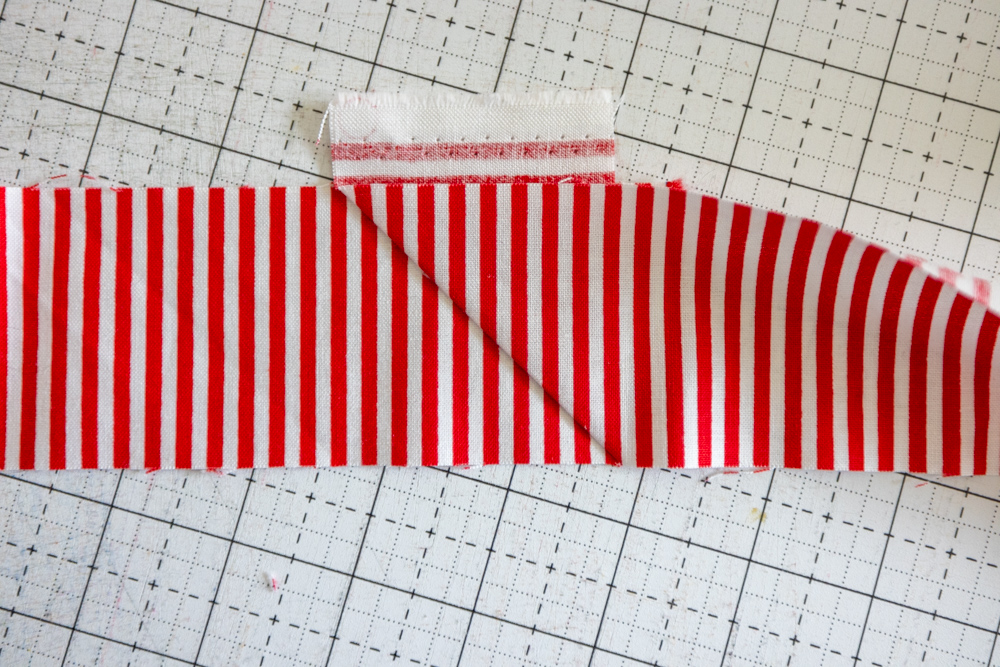
Step 4:
- Open the folded binding and sew a line just to the right of the fold—this should be a scant distance from the folded line. This allows a bit of room for the fold while keeping your stripes aligned.
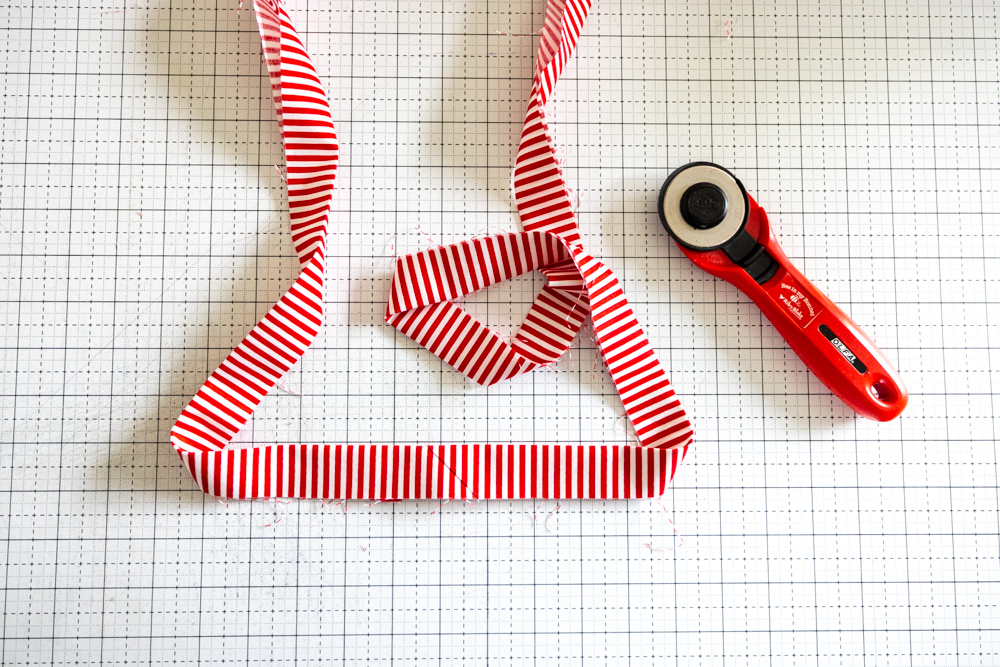
- Trim any excess fabric from the sewn line with scissors.
- Review your work and make any necessary adjustments. It’s normal if the lines need a bit of extra attention.

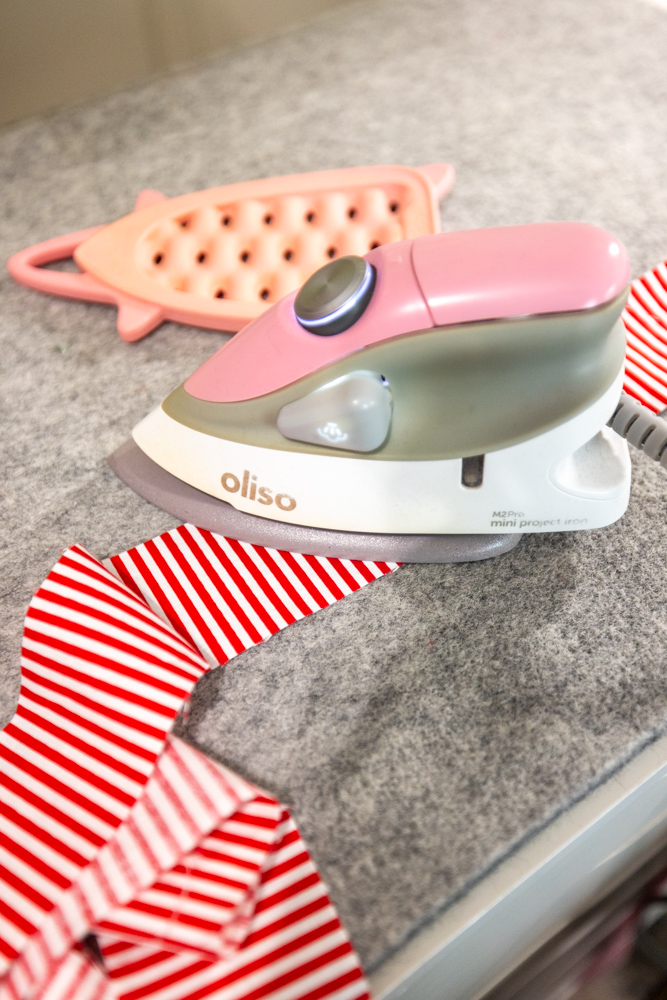
Step 5:
- Fold and iron the binding in half lengthwise, preparing it for installation.
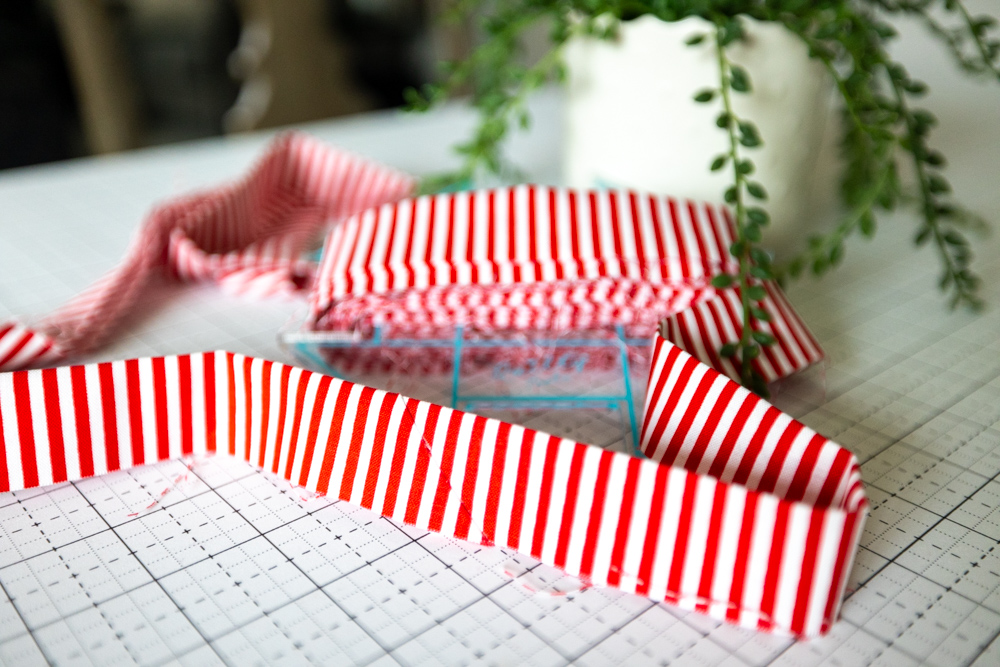
And there you have it—congratulations on your beautifully seam-matched striped binding!
If you enjoyed this tutorial and want to see more, visit me on Instagram @StitchedByAlexis or check out my website at www.StitchedByAlexis.com. Sign up for my newsletter to receive updates directly in your inbox.
Thank you for joining me, and I hope you get the chance to elevate your projects with seam-matched striped binding.
Cheers,
Alexis


3 Comments
Zaineb
Great tip! Can’t wait to try it the next time I use a stripe binding
Alexis Plunkett
Oh I’m so glad you found it helpful! Make sure to share if/when you try! Happy sewing!
Dianne Chipman
I would love to see how your corners look as you make the turn at the corners when applying your binding and how the join looks when you reach the end of putting on the binding and have to join the two pieces. This is where I struggle with perfection. Thanks