
How to Make Half Rectangle Triangles
Hello again!
Shereece Nicole of Sew Hooked on Treasures. I’m with a new tutorial just for you!
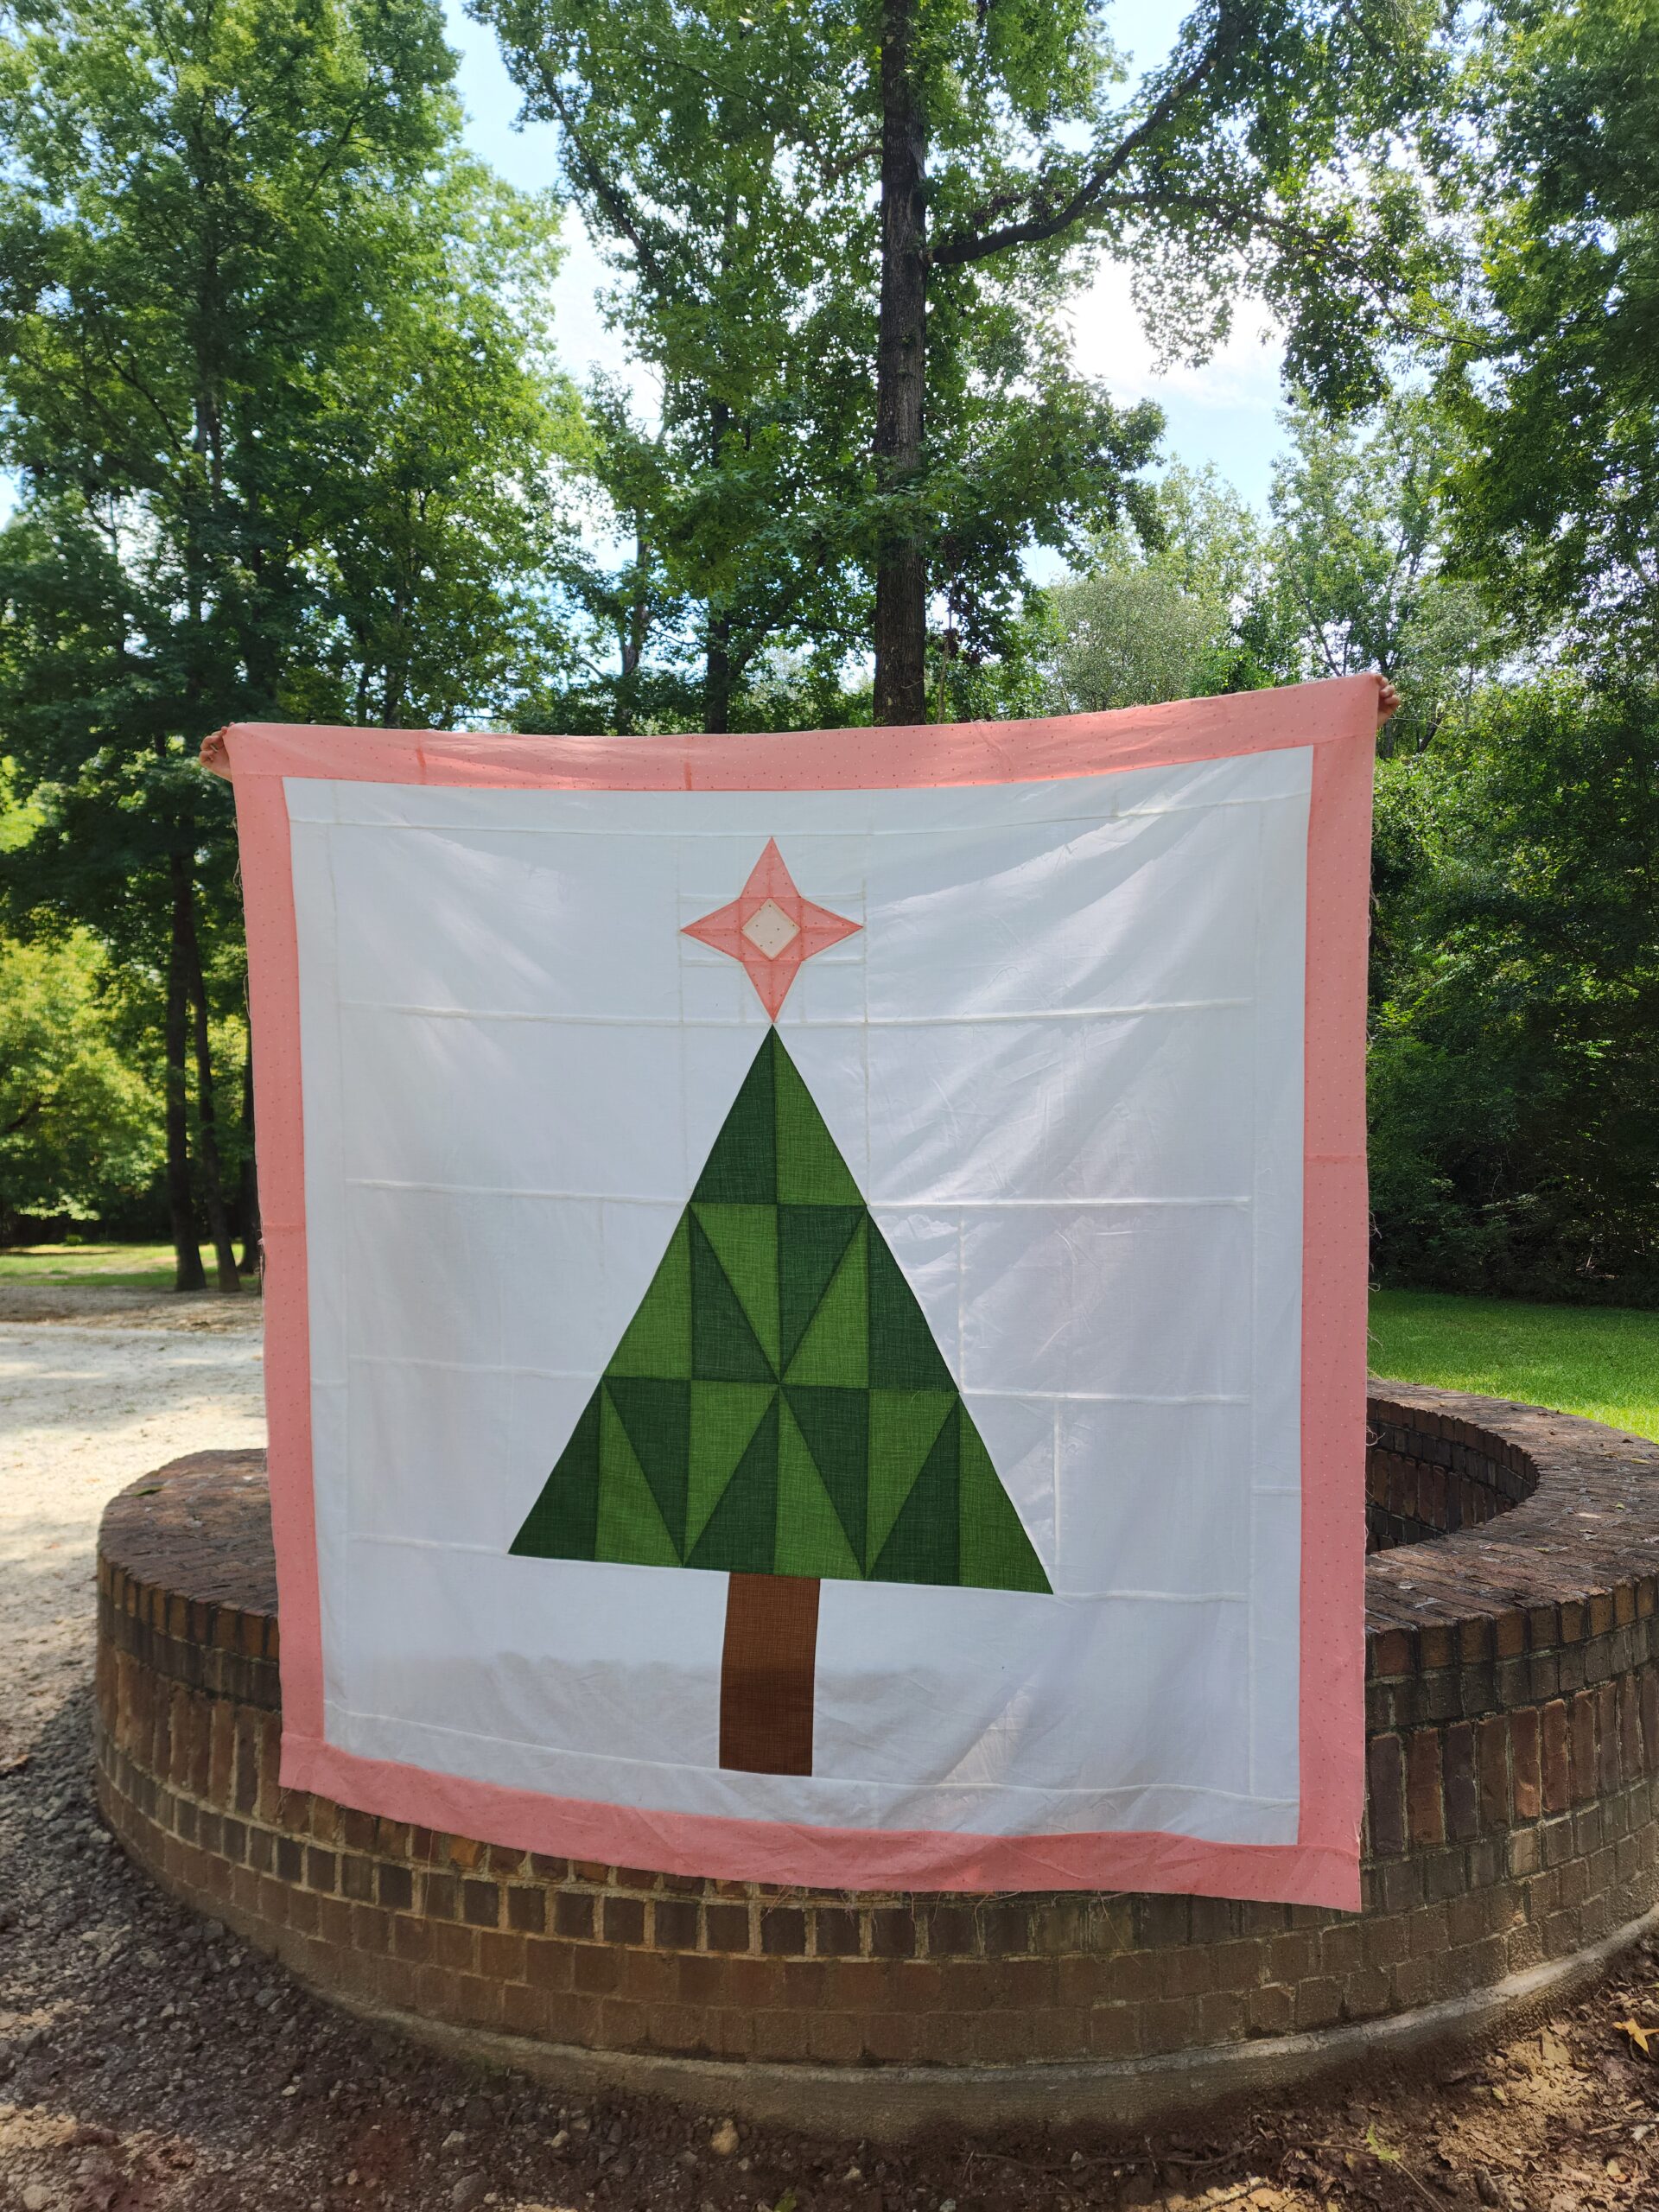
I recently released a new pattern called HRTree. The tree and the star are constructed with half rectangle triangles (HRTs). Since some may not have made them before, so I thought I’d give you the step by step on how you can make them.
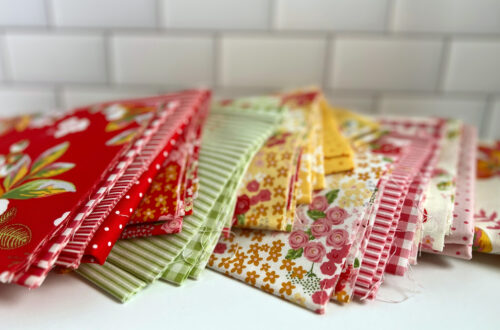
For this quilt, I used Riley Blake Designs Basics – Sparkle, Grasscloth Cottons and Texture. These are probably my favorite Basics!
First thing you should know is these are different than their half square triangle (HST) cousins. I don’t mean just in shape. I will point out differences as we go through the instructions. Here we go!
Prep Work
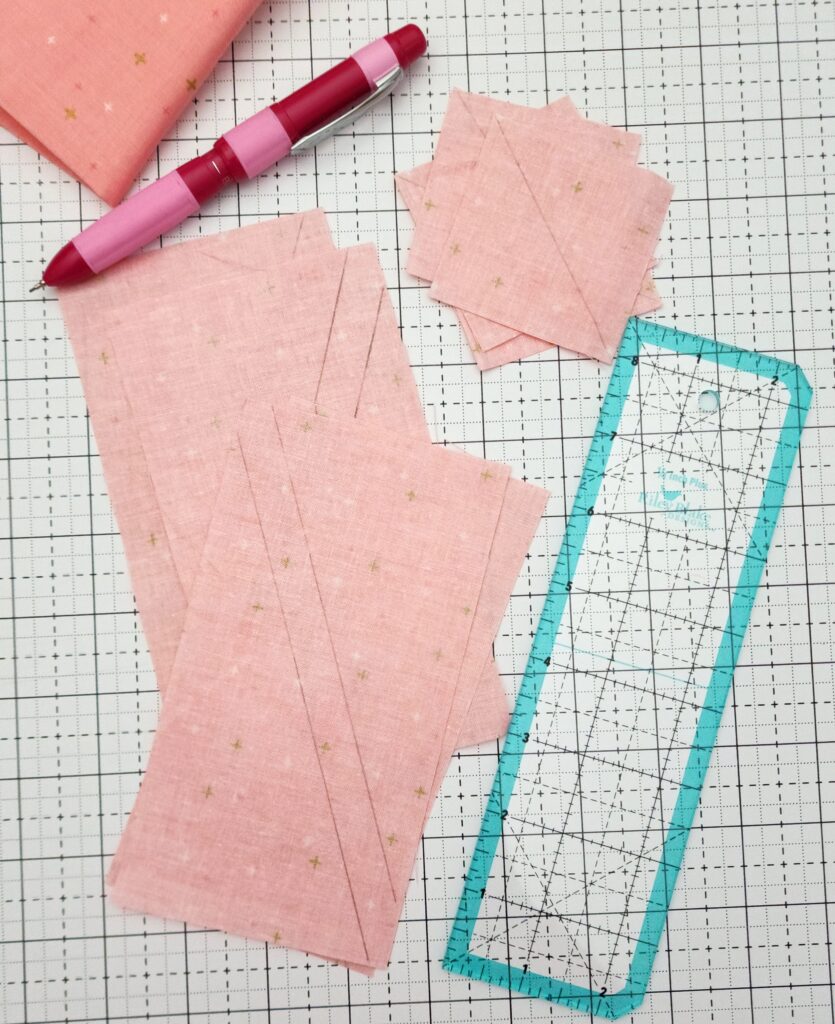
First step would be to draw the lines on the wrong side of the fabric a quarter inch from the points. Notice the lines are going two different directions. Unlike HSTs, that makes a difference in which direction your diagonal goes. They can’t be turned and the diagonal goes the opposite direction. You would end up with the same angle only a different fabric on top.
Sewing Rectangles Together
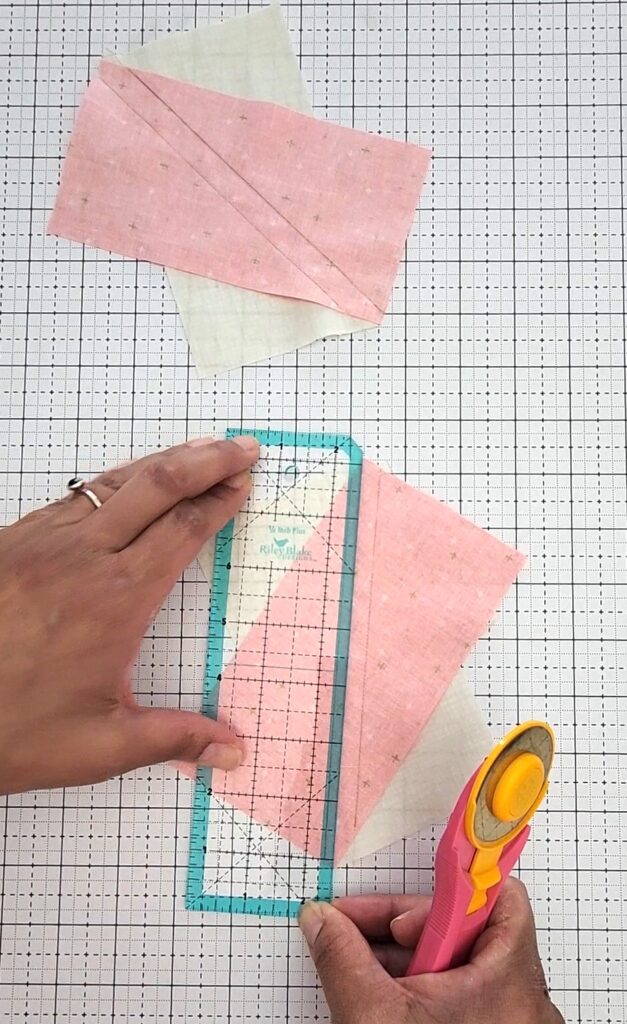
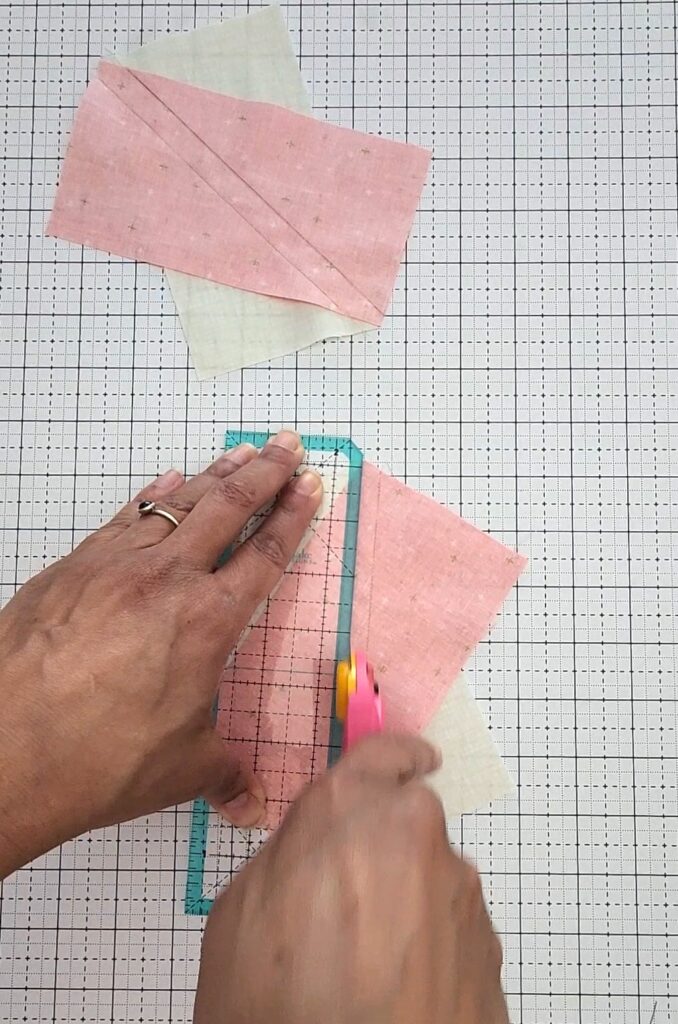
Take your two rectangles and align them with opposite corners. If your lines are top right to bottom left, turn left. If they’re top left to bottom right, turn right. Sew along both drawn lines. Cut pieces from corner to corner and press open. (Note: Pressing open is my preference for these.)
How to Trim
There’s now way to avoid this step. Sorry!
For top left to bottom right:
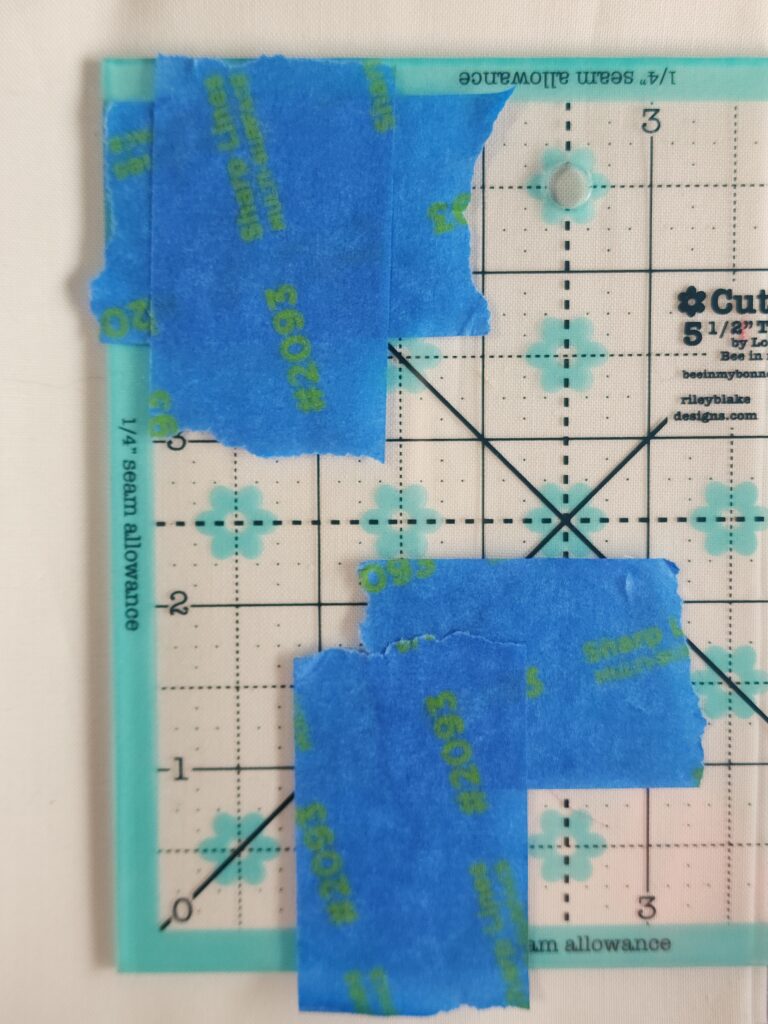
Use a ruler with a marked ¼” corner or mark ¼” corner of your preferred ruler with painter’s tape at upper left and lower right corners marking ¼” as indicated by the pattern or whatever your desired finished size is. If you don’t allow for this corner inch, you will lose your points when they’re sewn together.
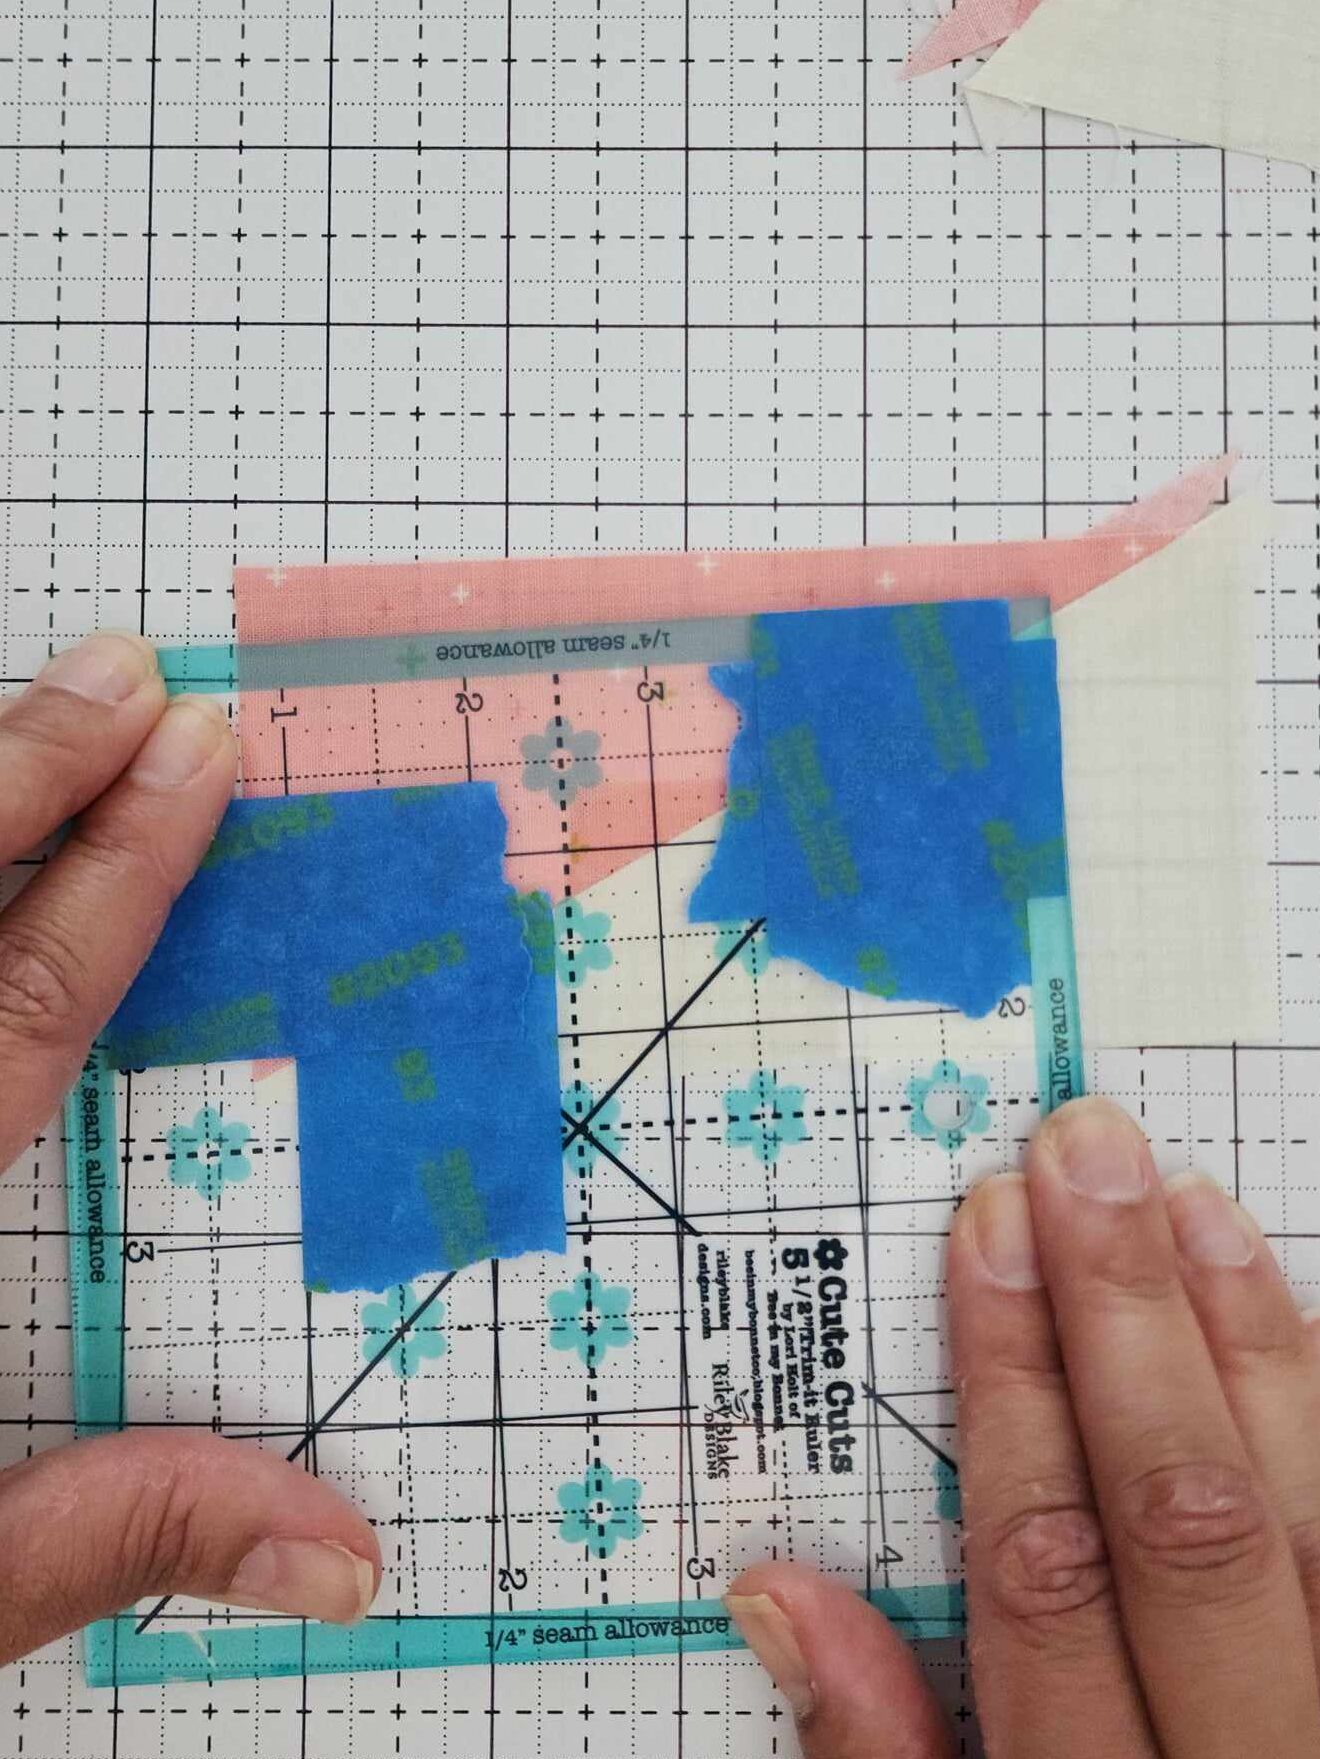
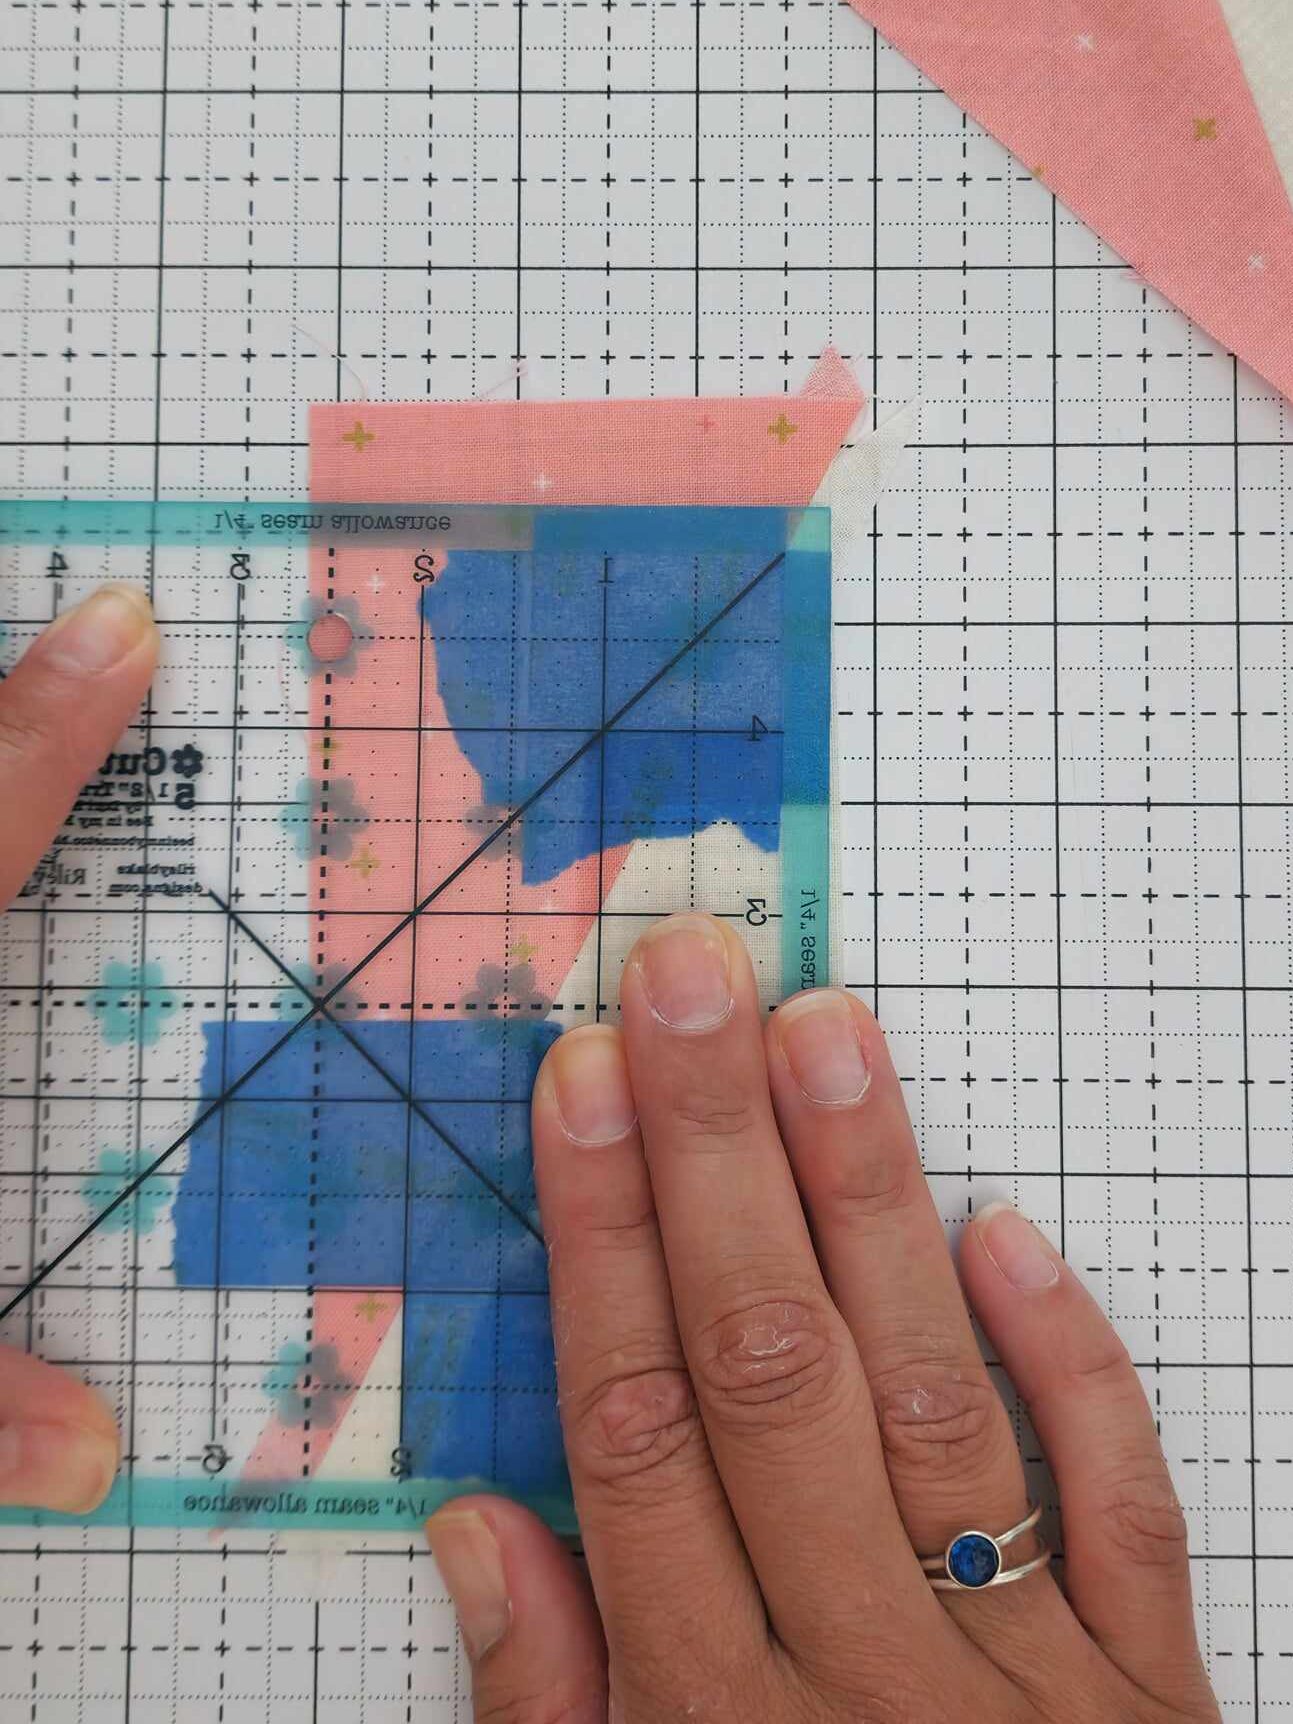
Place both corner intersections on seam line. Position ruler so least amount to trim is on top while ruler corner intersections are still on seam line. There will be more excess on short edge of HRT than long edge.
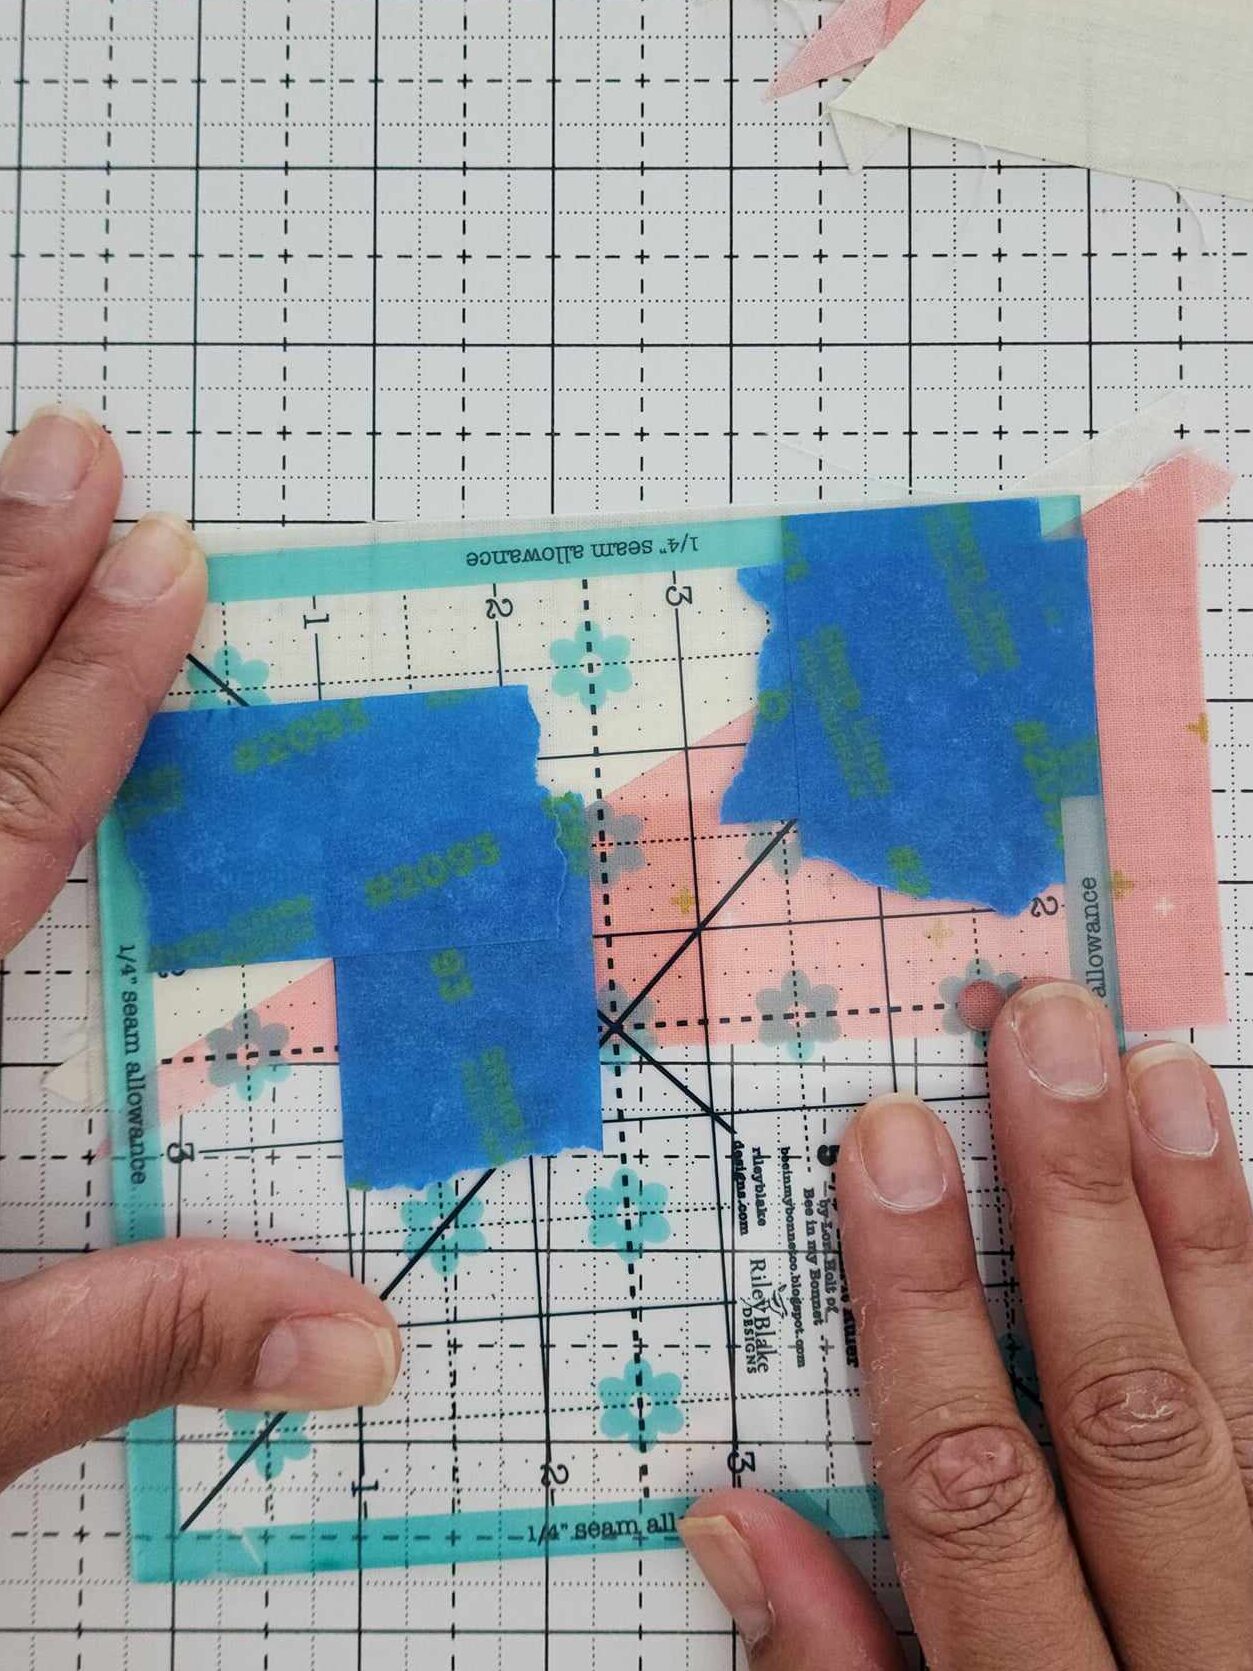
Trim right and top sides and turn HRT 180°. Repeat with next 2 sides making sure corner intersections are still along seam line.
For top right to bottom left:
Simply turn your ruler over and repeat the above steps or retape your ruler at the top right and lower left. Painters tape is good for this because it comes off the acrylic so easily.
Now you have yourself beautiful HRTs! And now do you see how the pattern got it’s name?
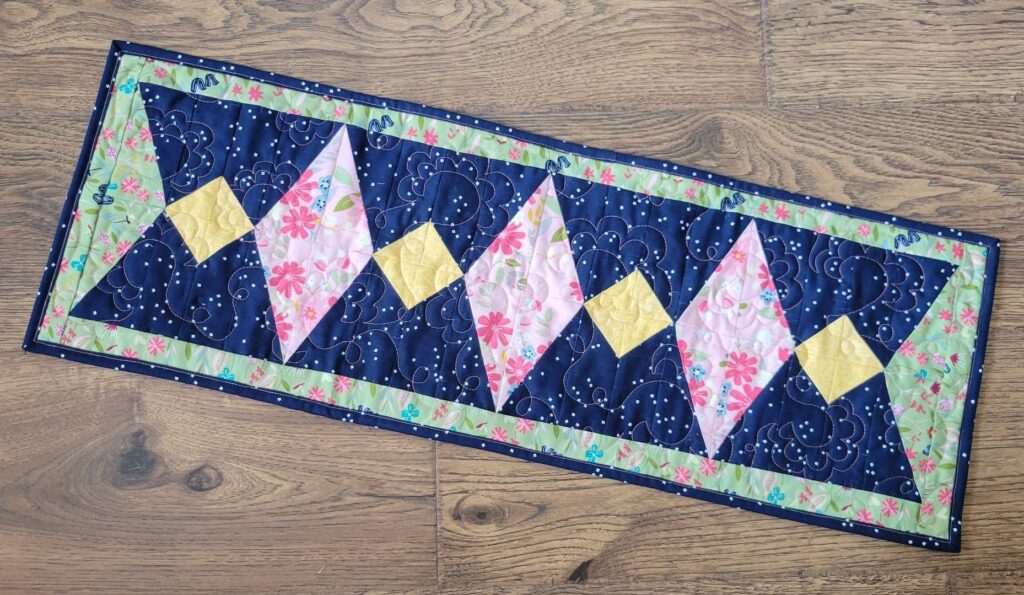
If you want to start with something smaller for your first HRT pattern, try the En Point table runner.
I hope you have found this tutorial helpful! If you ever try making them or have questions, you’re welcome to contact me on Instagram, Facebook or just email me.
Stitch on my friends!


One Comment
Pingback: