
Crochet Accented Pillows – Free Fringe Pattern
Welcome back to another Chunky Thread feature!
One of my favorite things about crochet is that it can be the star of the show OR it can be a fun fiber accent. This time I used it in the supporting role to accent some basic decorative pillows.
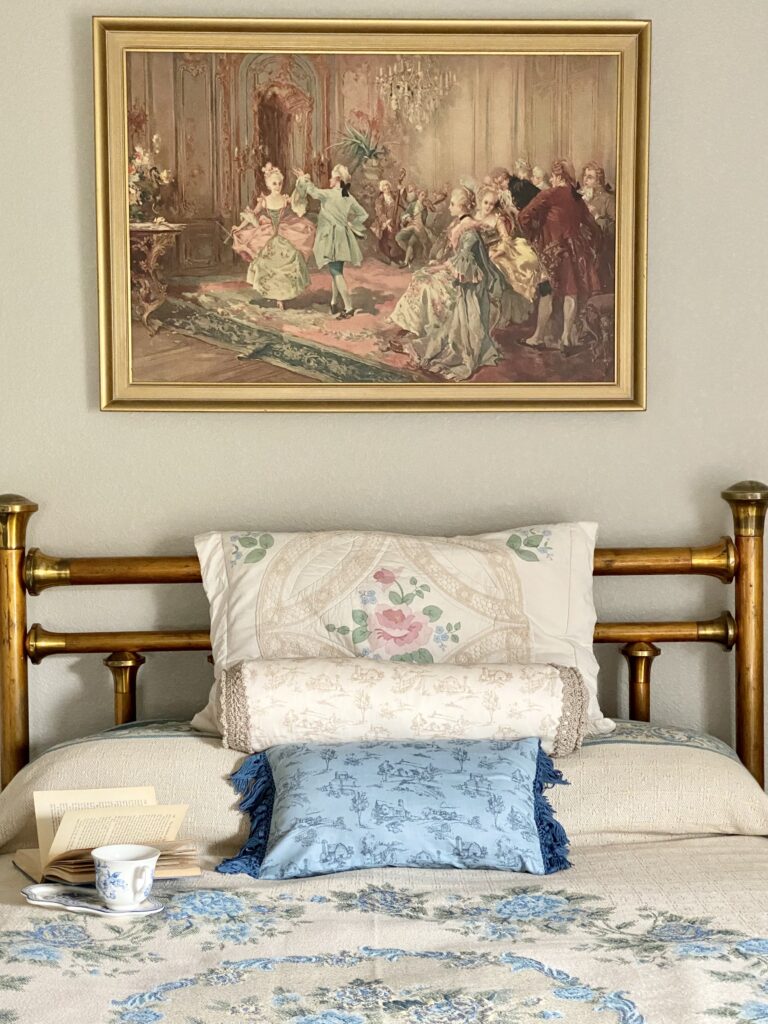
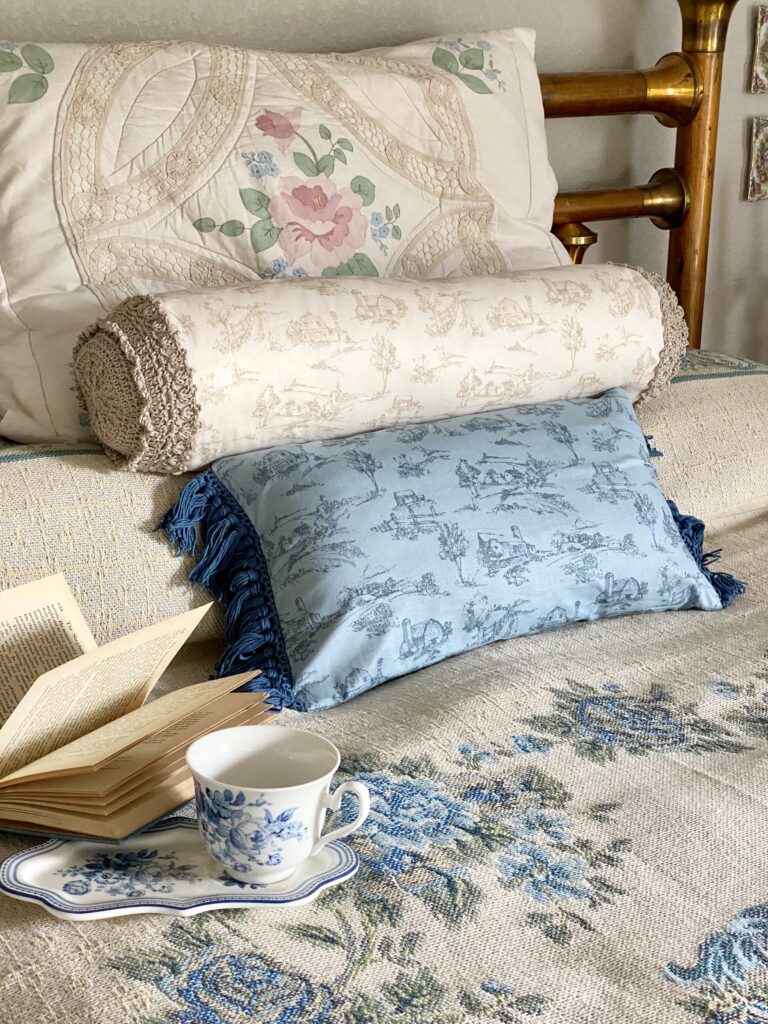
I have always loved toile, and when I saw these beautiful farmstead prints from the new Countryside fabric line, I knew I wanted to make pillows so I could enjoy them on display. They remind me a lot of where we used to live in Pennsylvania.
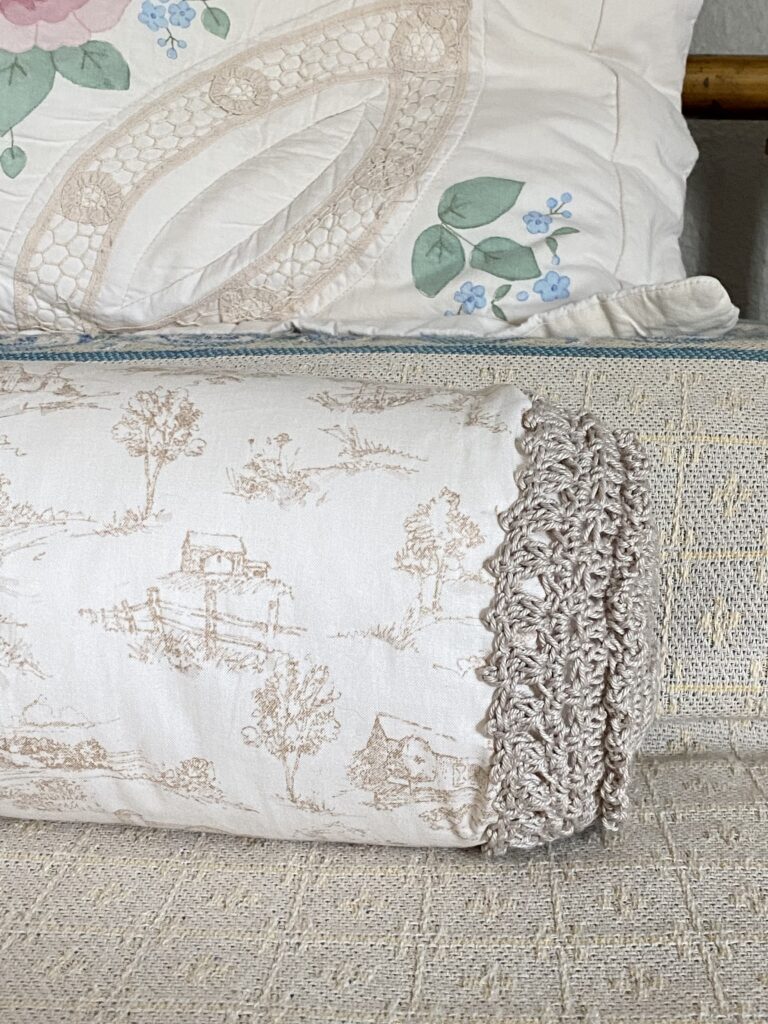
I paired Linen Chunky Thread with the ivory toile, and really love how well the double neutrals compliment each other.
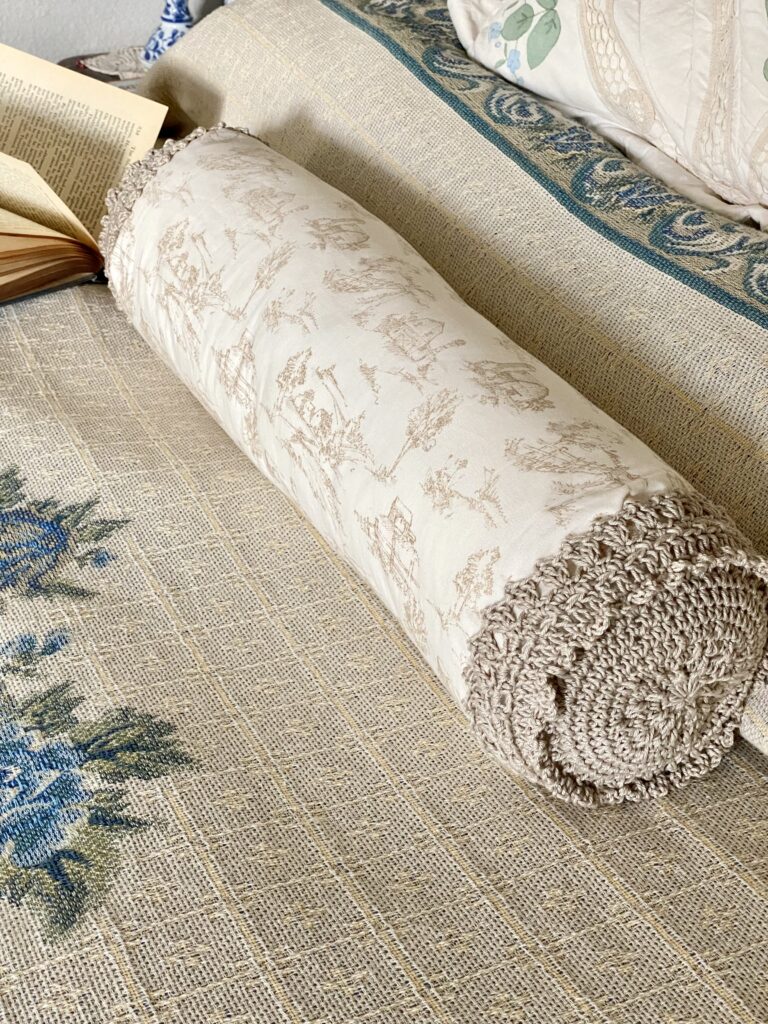
For the bolster pillow, I simply sewed an open-ended tube with a zipper inserted in it, and then made the round pieces for the end with crochet.
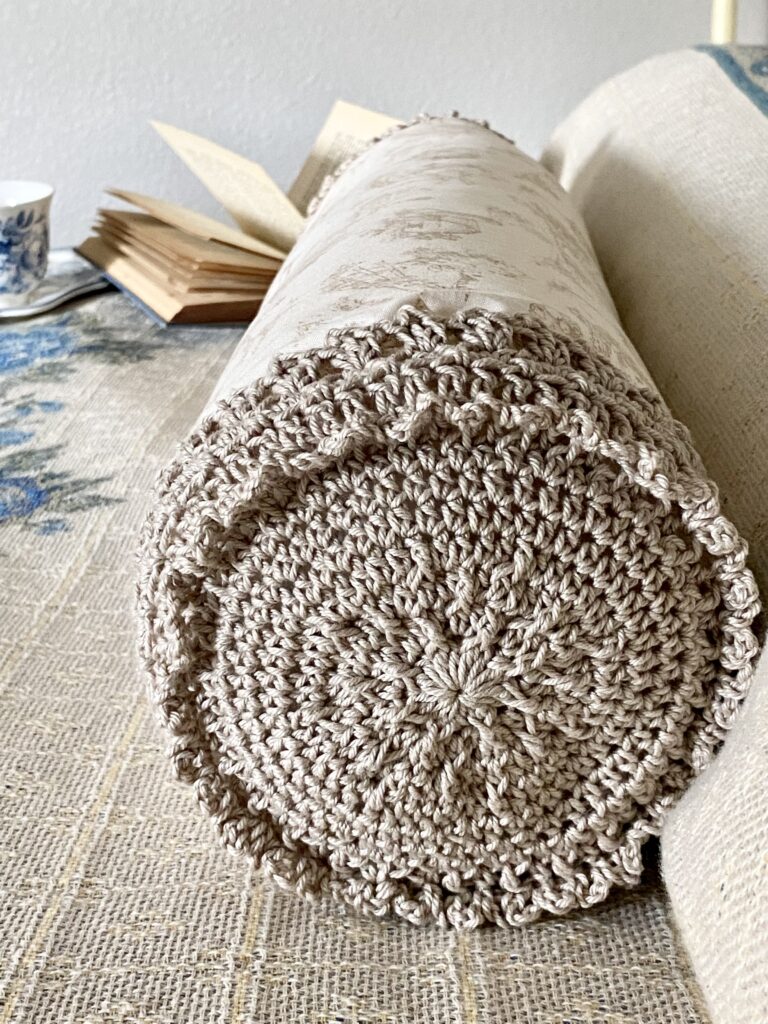
I made up the end caps as I went, adding a little ruffle. I like how it adds some fun texture to the fabric.
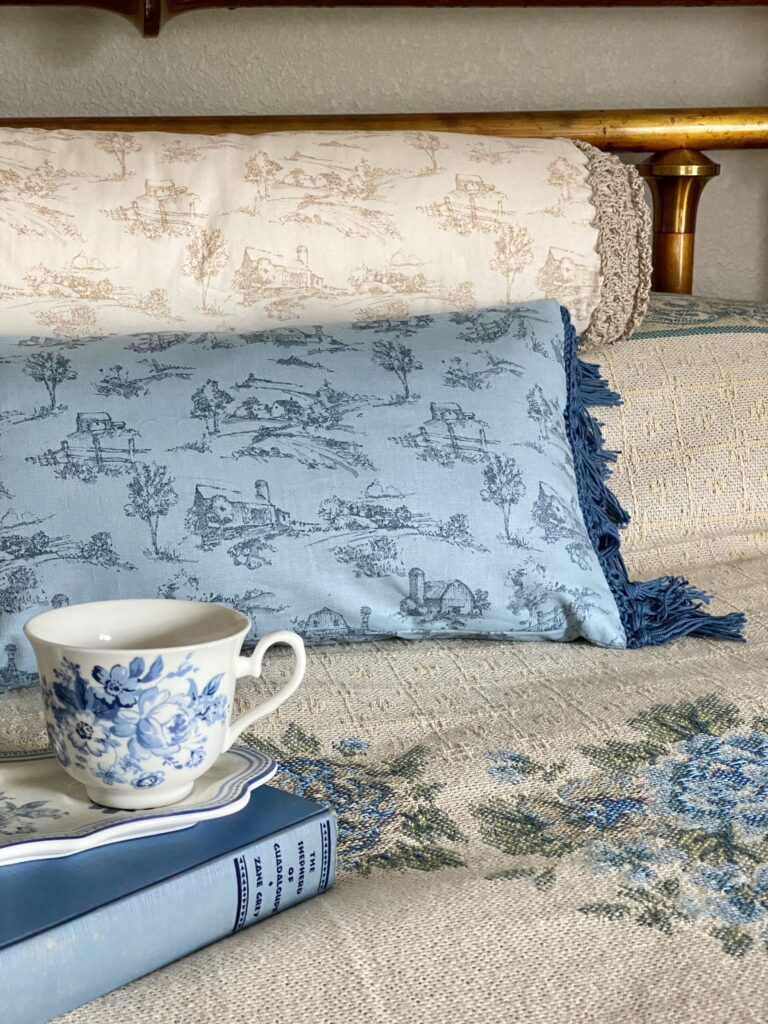
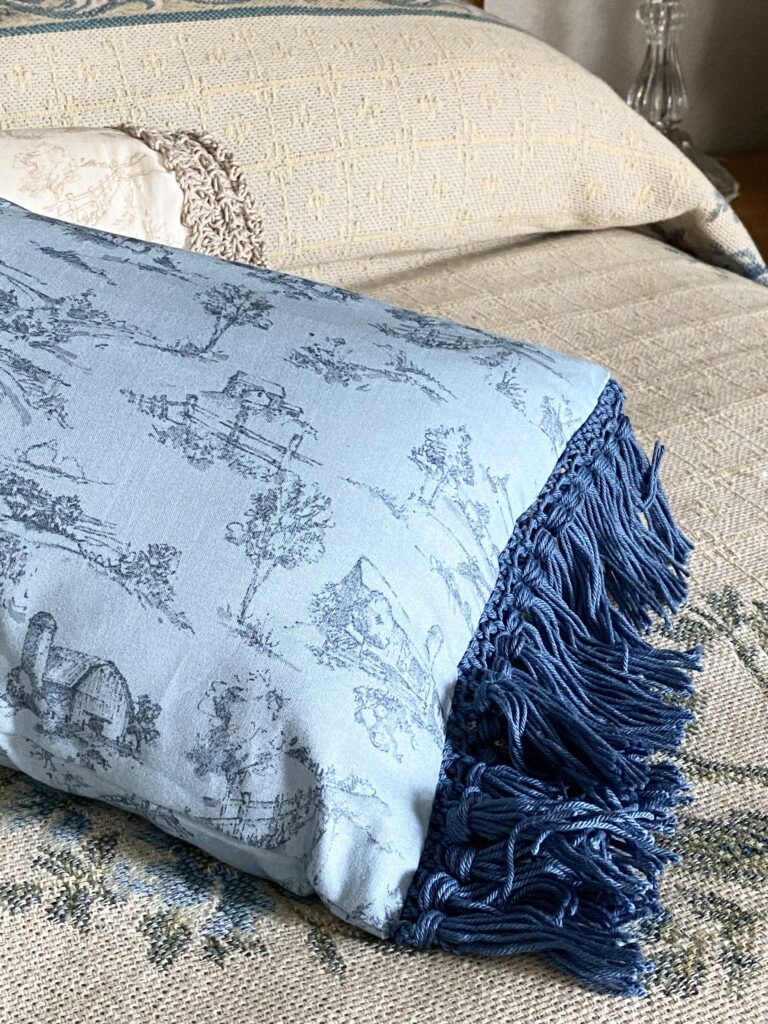
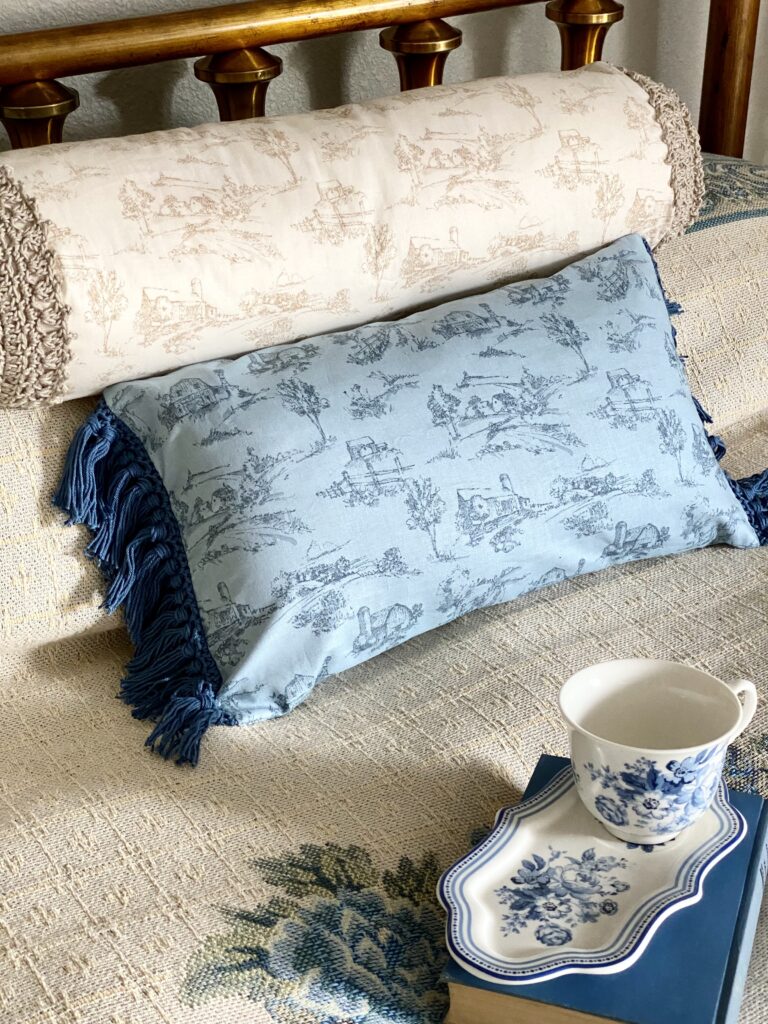
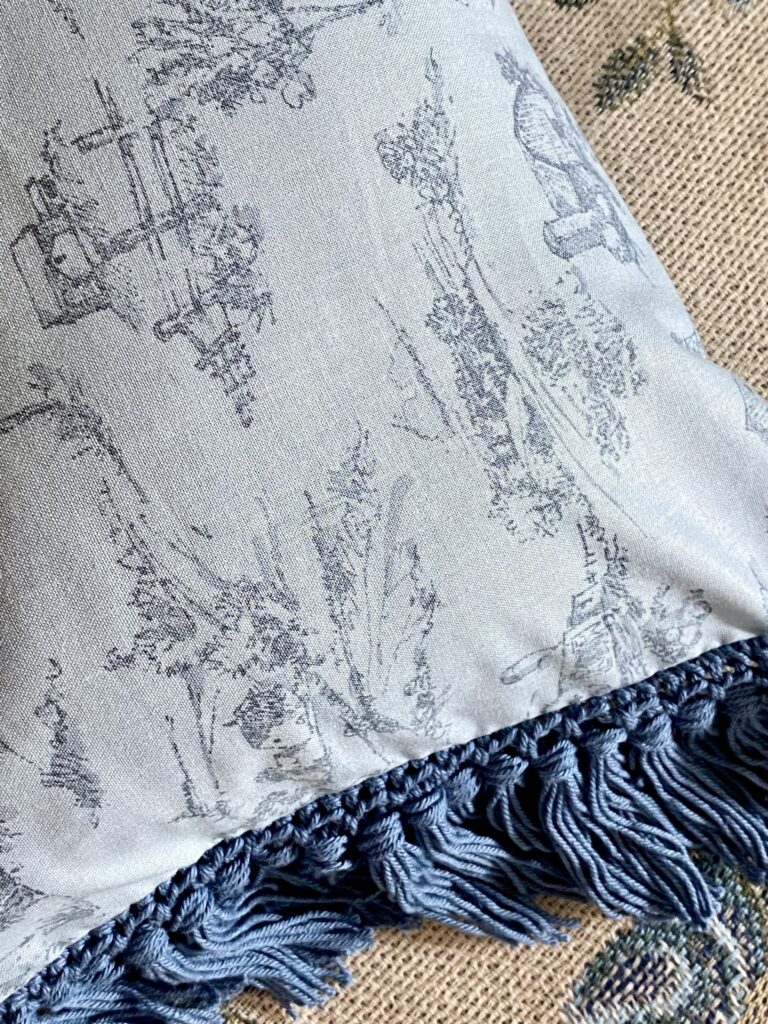
The blue one was a basic envelope pillow cover, but to this one I added a stitched fringe in Denim Chunky Thread sewn into the ends – and I loved it so miuch I wanted to share the pattern with you!
The fun thing about crochet fringe is that you can make it any length and in any color of yarn, so it’s easy to customize to get the exact result you wish.
Crochet Fringe Pattern
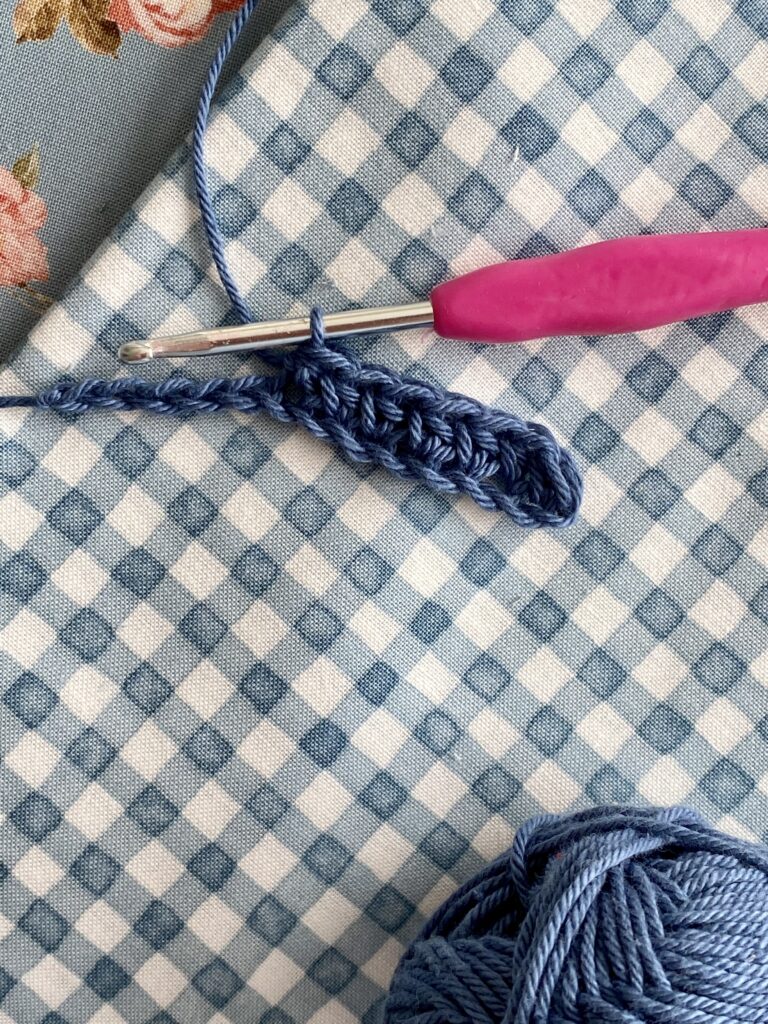
Start with working a chain as long as you need, ending on an odd number. Keep in mind that crochet stretches more than fabric, so give it a tug before you measure it.
Next, work 1 hdc (half double crochet) in the 2nd chain from your hook, and in each chain across. This is the right side, and is the part that will be sewn into your project. Chain 1, turn.
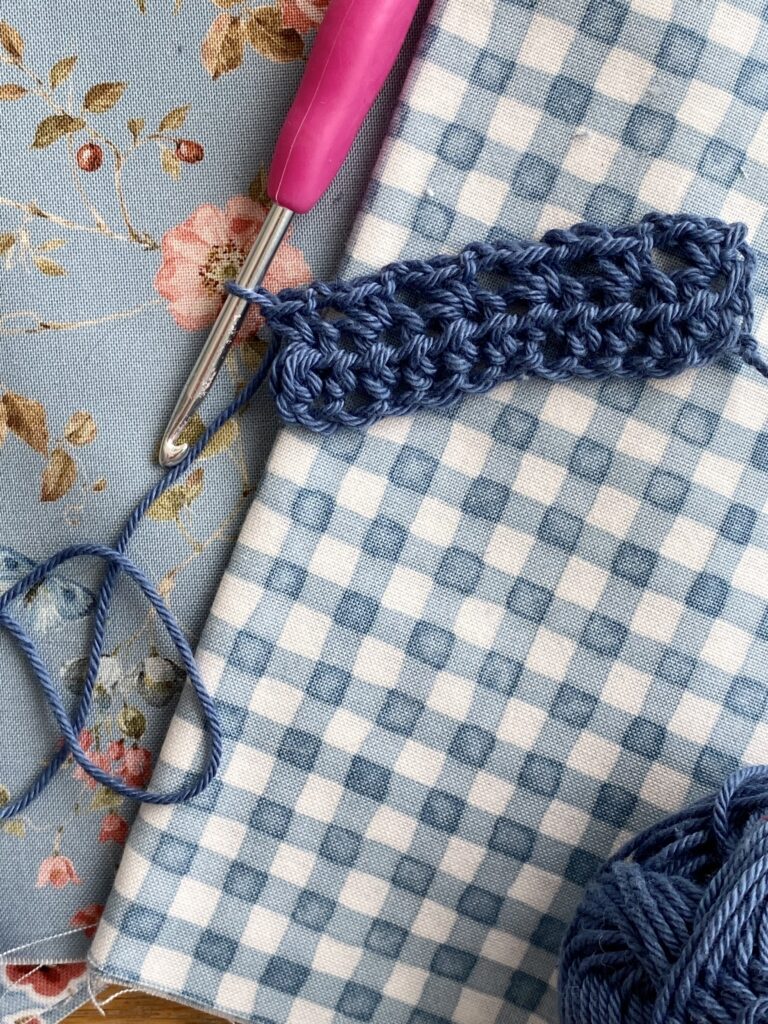
For the final row, single crochet in first stitch, (chain 2, skip next stitch, single crochet in next stitch) across. Fasten off. These chain-2 loops are the base for the fringe.
Here is the crochet shorthand, to make it easy:
Ch as long as desired, ending on an odd number.
Row 1: Hdc in 2nd ch from hook, and in each ch across; ch 1, turn.
Row 2: Sc in first st, (ch 2, sk next st, sc in next st) across. Fasten off.
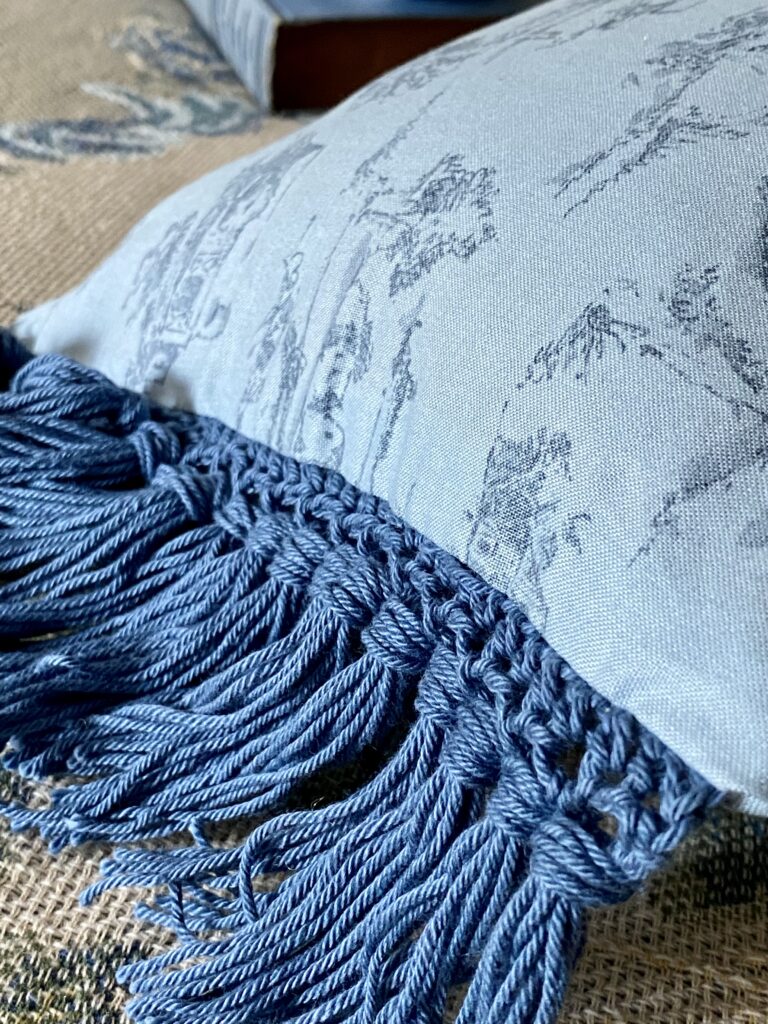
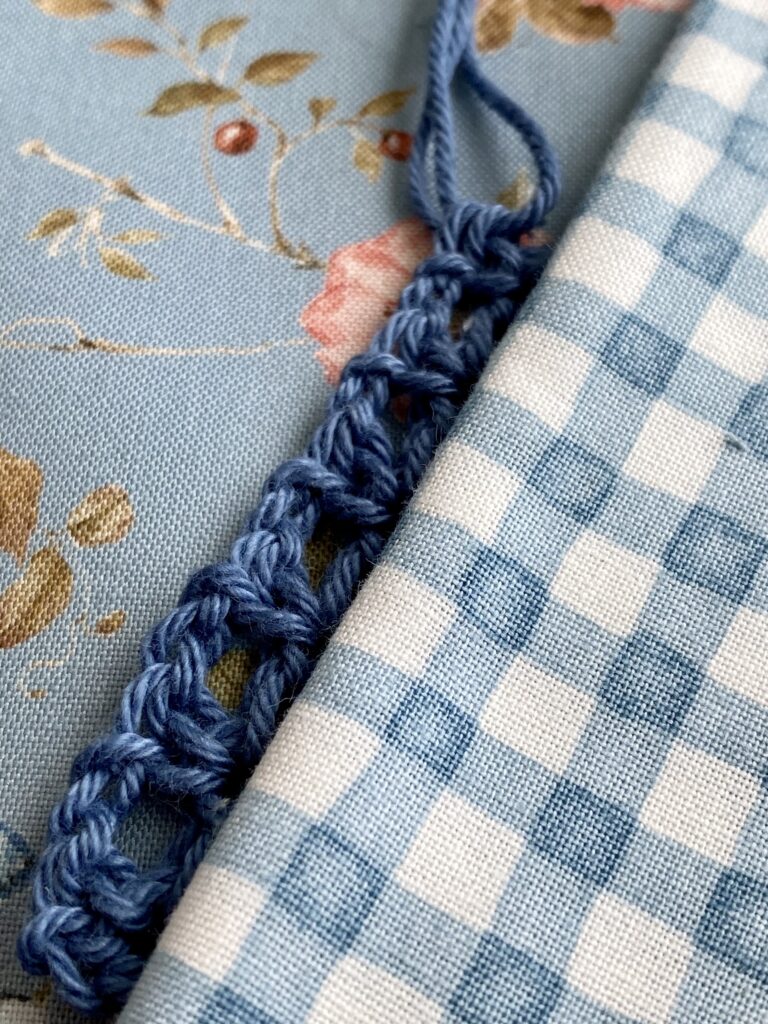
I stitched the fringe base into my pillow end seams, allowing the loops and part of Row 2 to stick out when it was turned right side out.
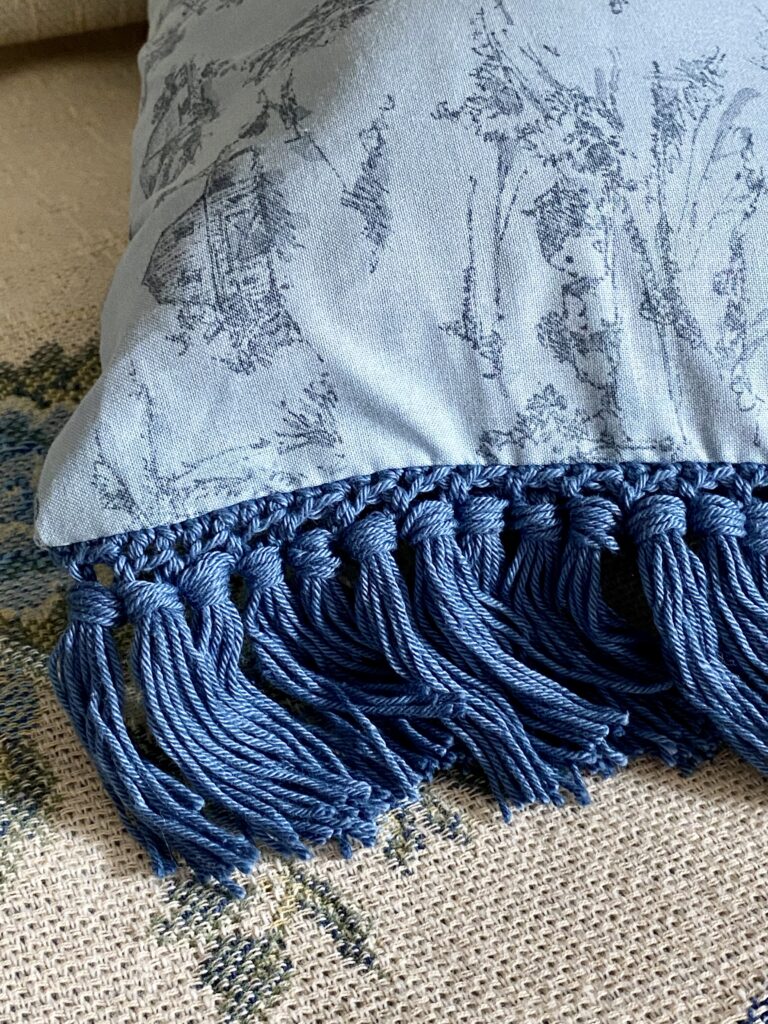
Then I cut 7 8” strands per loop, and made the fringe. It would also be fun to make them longer and double-knot the fringe.
Trim up the fringe, and you’re done! It adds a lovely finishing touch, and is fast to make too.
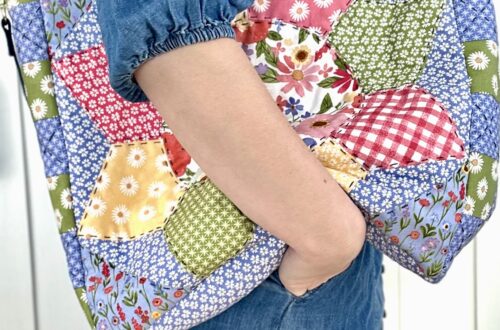
This would be a fun technique to play with for various types of sewing projects. I could see it adding a boho touch to the ends of a table runner, or the hem of a curtain, or around the top of a tote bag.
These pillows are so pretty together as a set, or individually, and add a lovely and classic summery touch. I hope you are inspired now to play with some fringe!
Have a lovely sewing summer!
-Kristen


One Comment
Zaineb
These are lovely pillows! The chunky thread colors you chose are a perfect pairing with the fabric. Thanks for sharing these inspirational projects