
Round Pot Holders with Clover Farm
Hello everyone, it’s Luci from Sea Garden Sewing here! Today, I’m happy to share a project that I’ve made using the new Clover Farm by Gracey Larson.
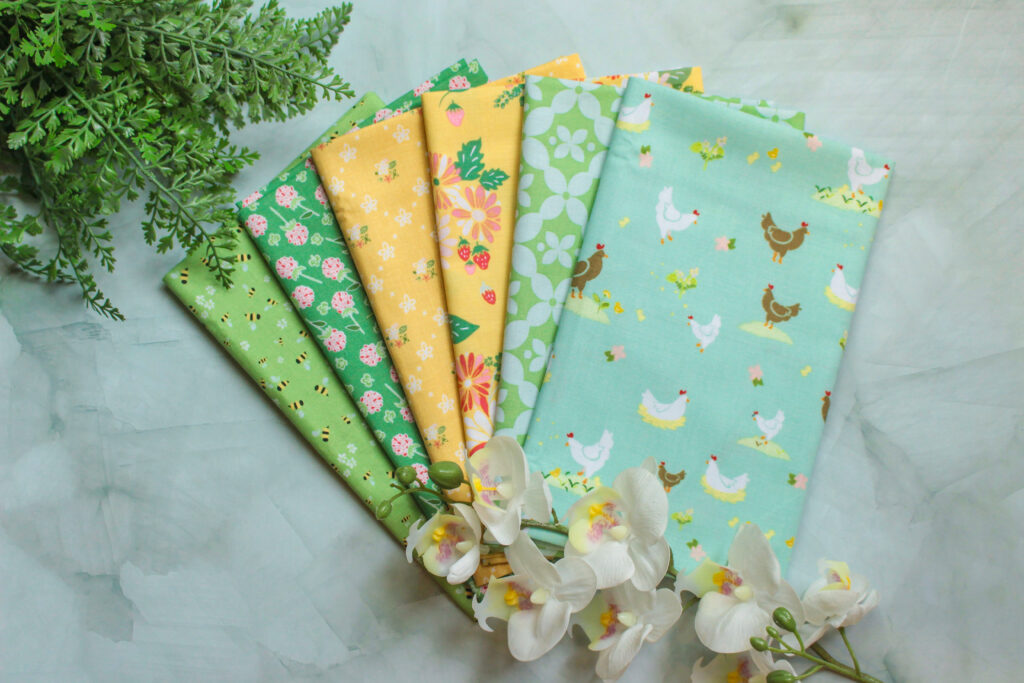
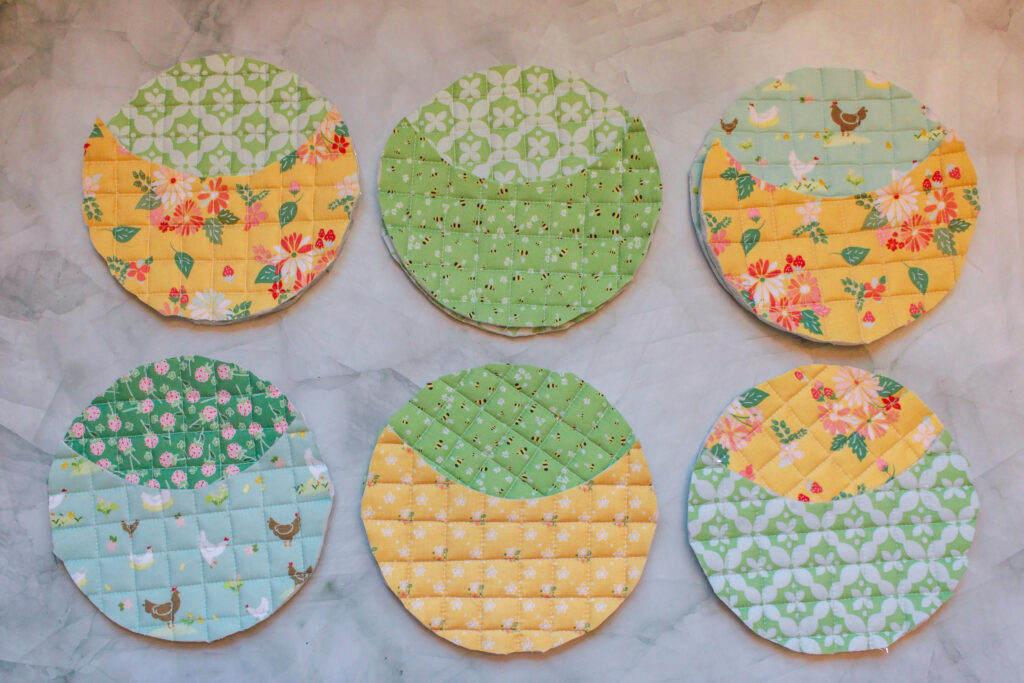
This collection gives such a fun springtime feel and I thought these prints would look really fun in a kitchen project. I chose to make a set of Round Pot Holders from the Pot Holder Parade pattern by Polkadot Chair. I thought it would be fun to mix and match each print in the potholders so each would be unique but complimentary.
Each pot holder will finish at an 8″ diameter. To give myself some room for potential shrinkage after quilting, I cut each fabric at 8.5″. For each pot holder, you will need two 8.5″ quilt ‘sandwiches’: one for the main circle and one to create the pocket. Between the top and bottom fabrics for each, I had one layer of Insul-Bright sandwiched between two batting cuts. I chose to spray baste each quilt ‘sandwich’.
This project was great for using up some of my batting scraps- just make sure that you use 100% cotton for both the batting as well as the thread. Once sandwiched, I quilted the layers together in a 1″ grid.
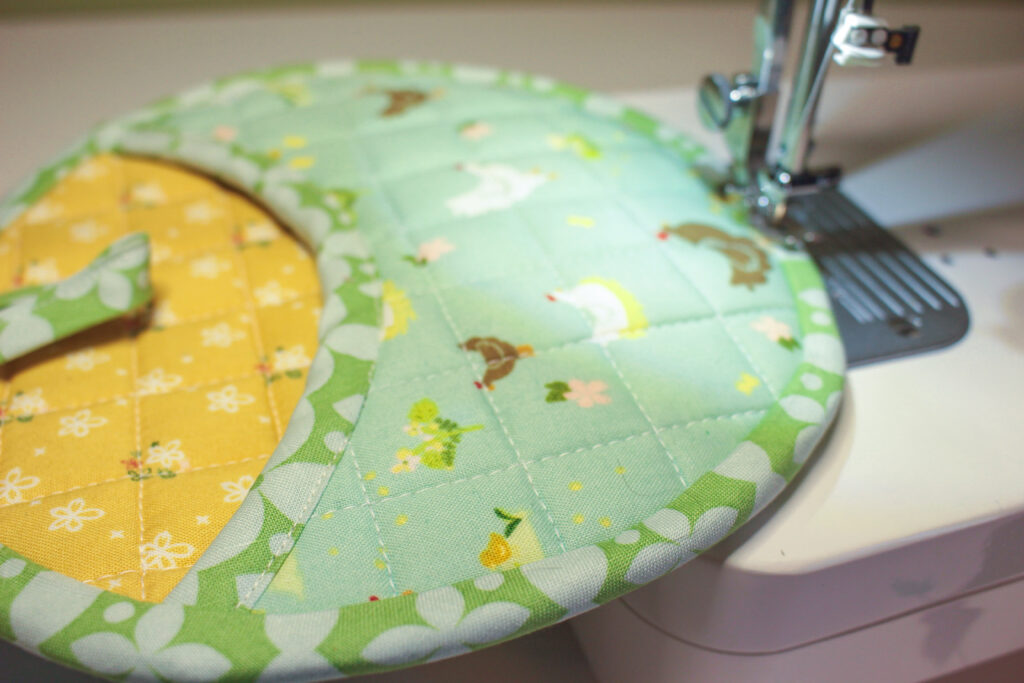
Look at how thick the layers are! If you have a walking foot, I’d highly recommend installing it for the quilting portion. You may also need to raise your presser foot.
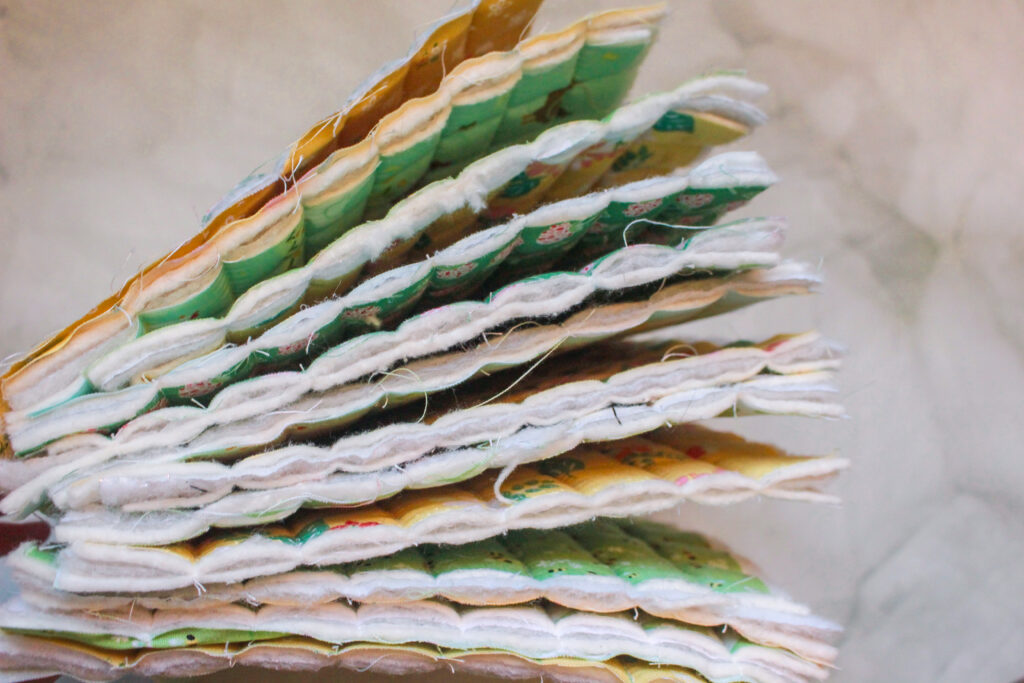
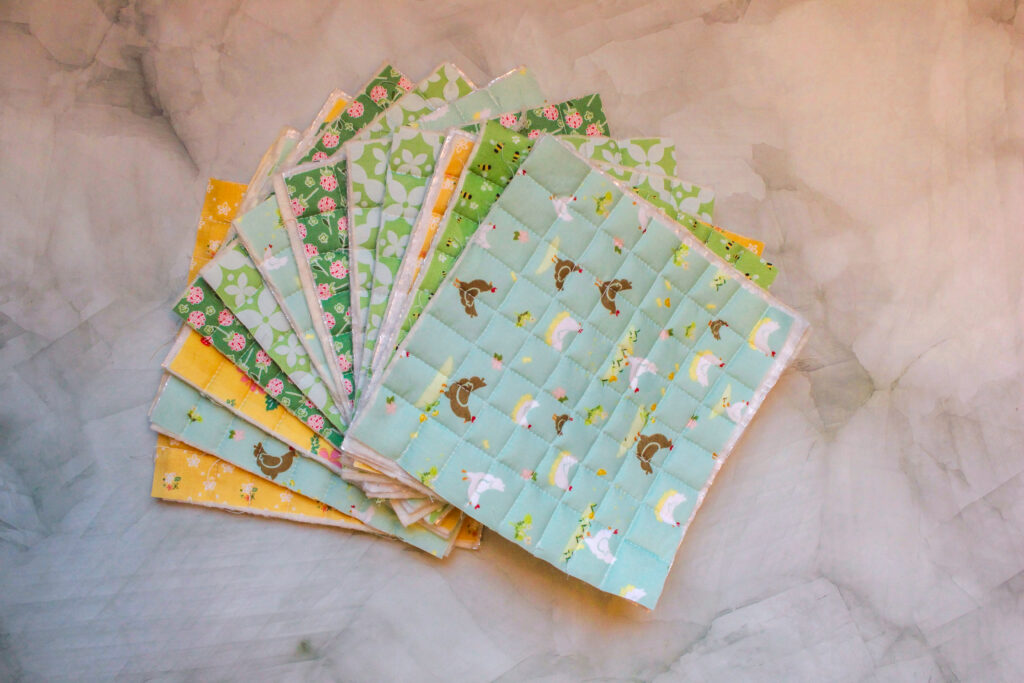
Once quilted, I cut out the potholder circles and pocket pieces. Because you’re cutting through so many layers, having a sharp rotary cutter or scissors will definitely be important.
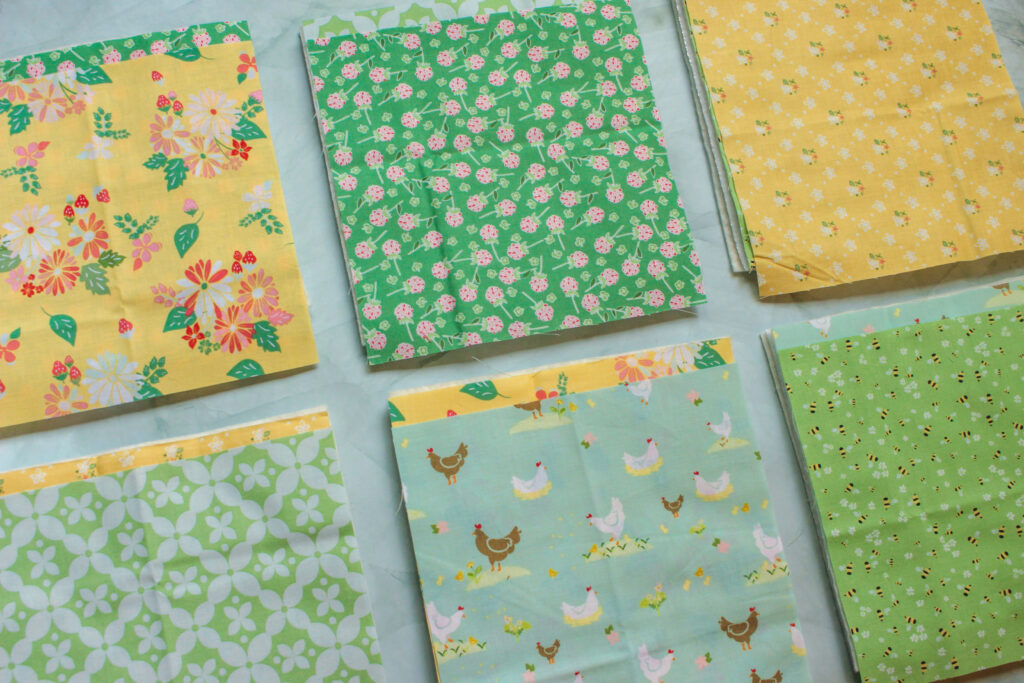
After mixing and matching, I tentatively landed on the following pairings:
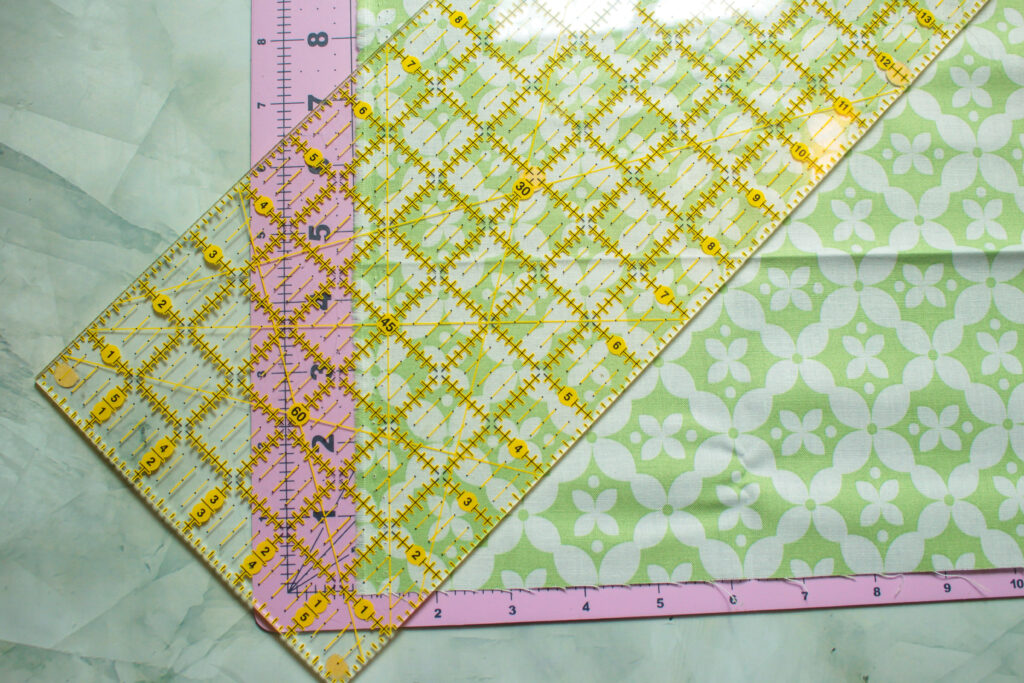
Next, I began working on the binding. Because the potholders are circular, it’s important to use bias binding.
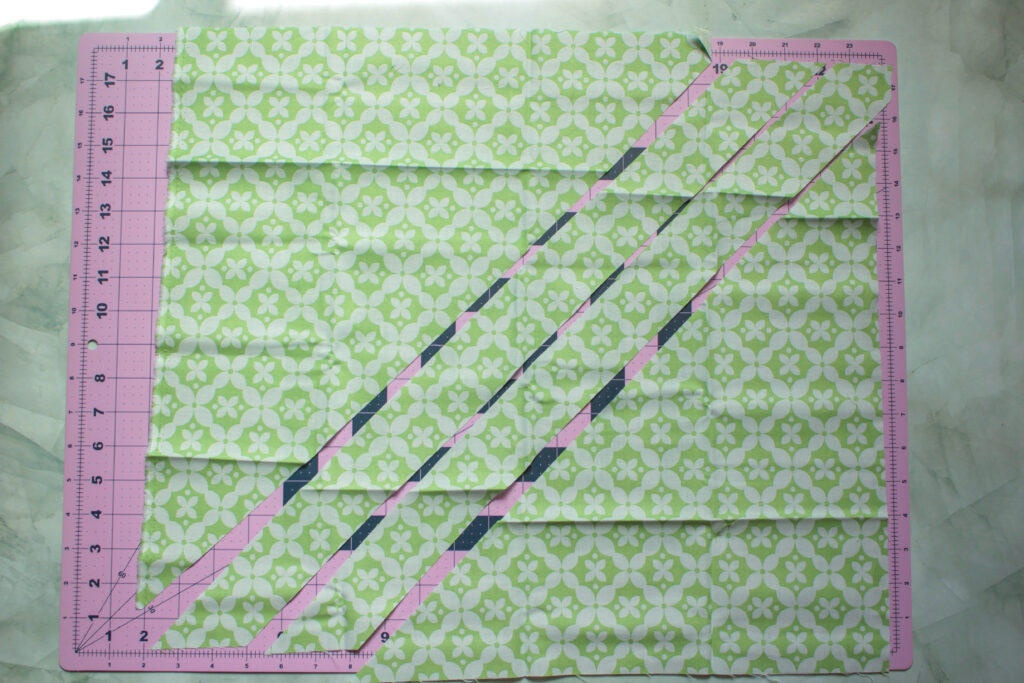
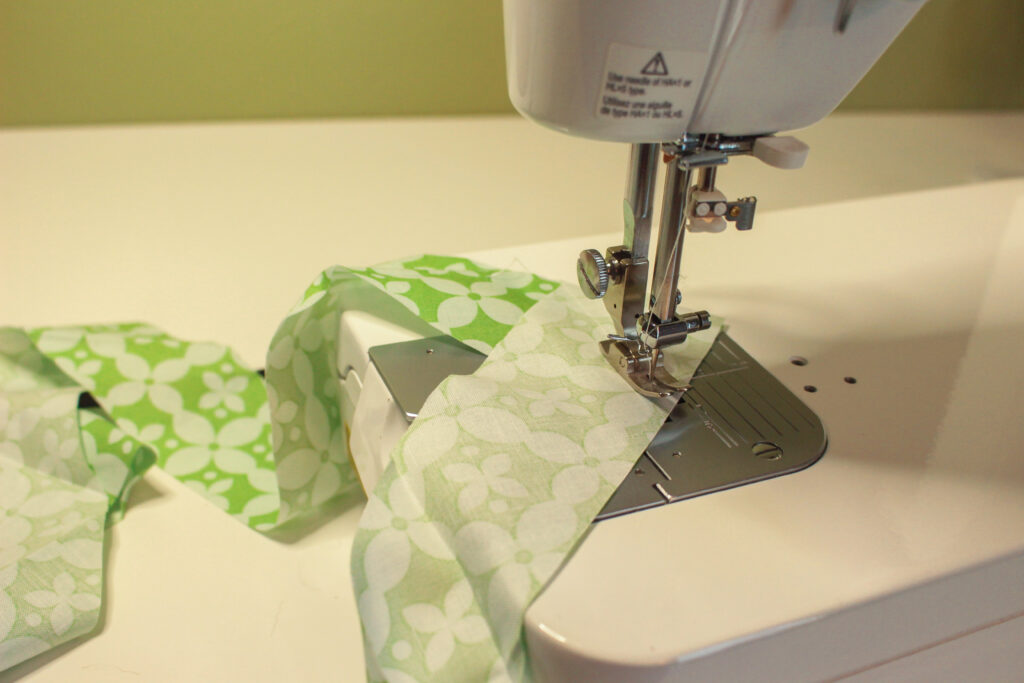
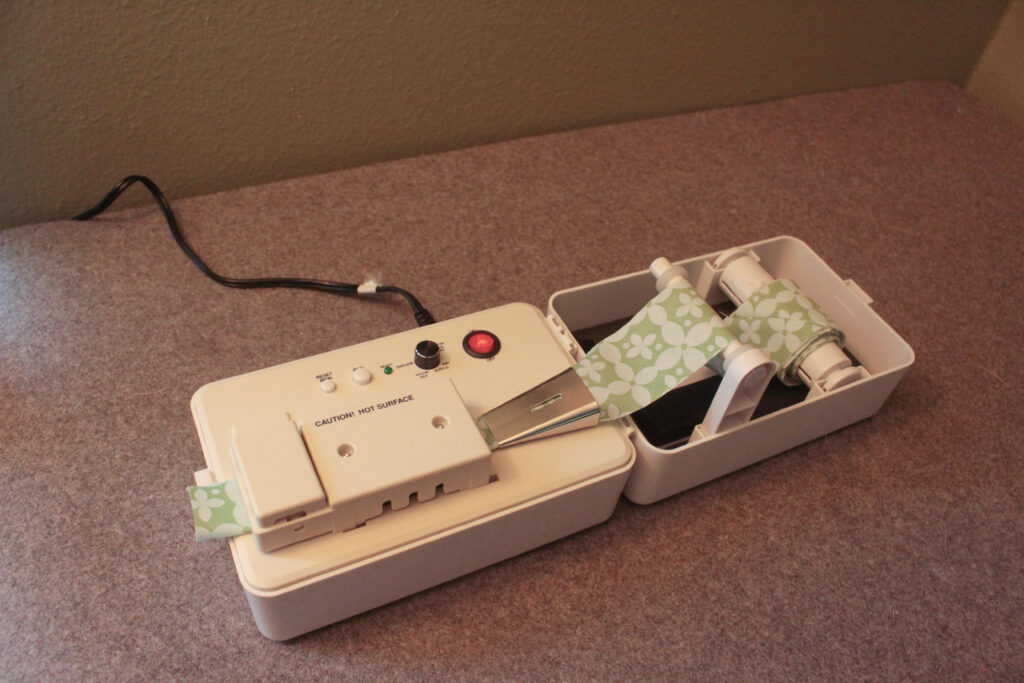
Once my bias strips were sewn together, I pulled out my trusty Simplicity Bias Tape Maker to turn the strips into bias tape.
Next, I sewed the bias binding to the front and then the back of the pocket piece.
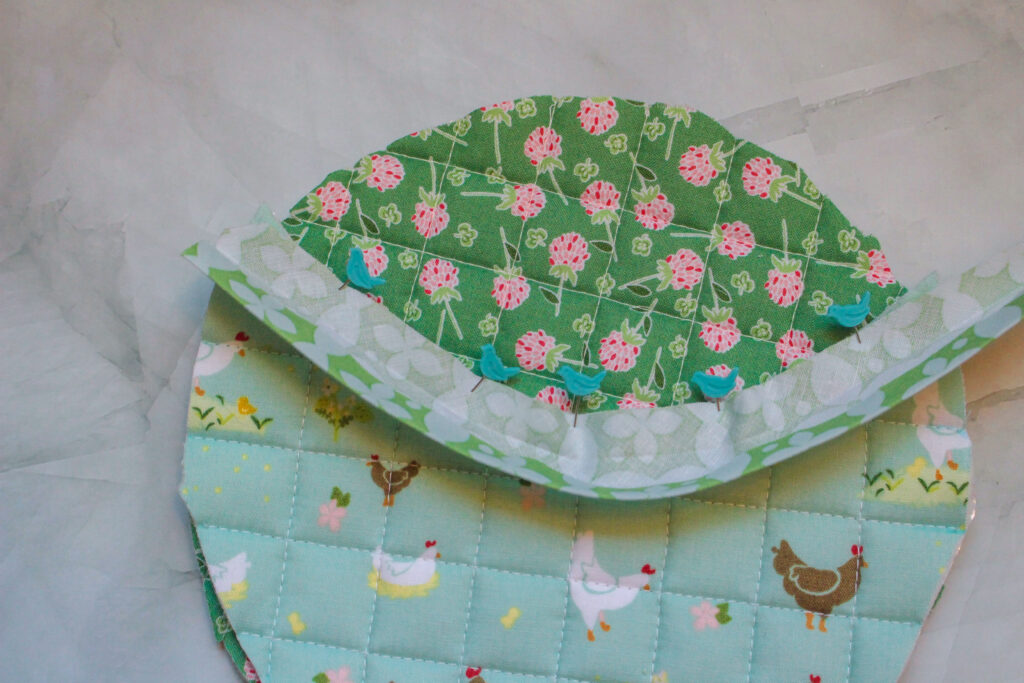
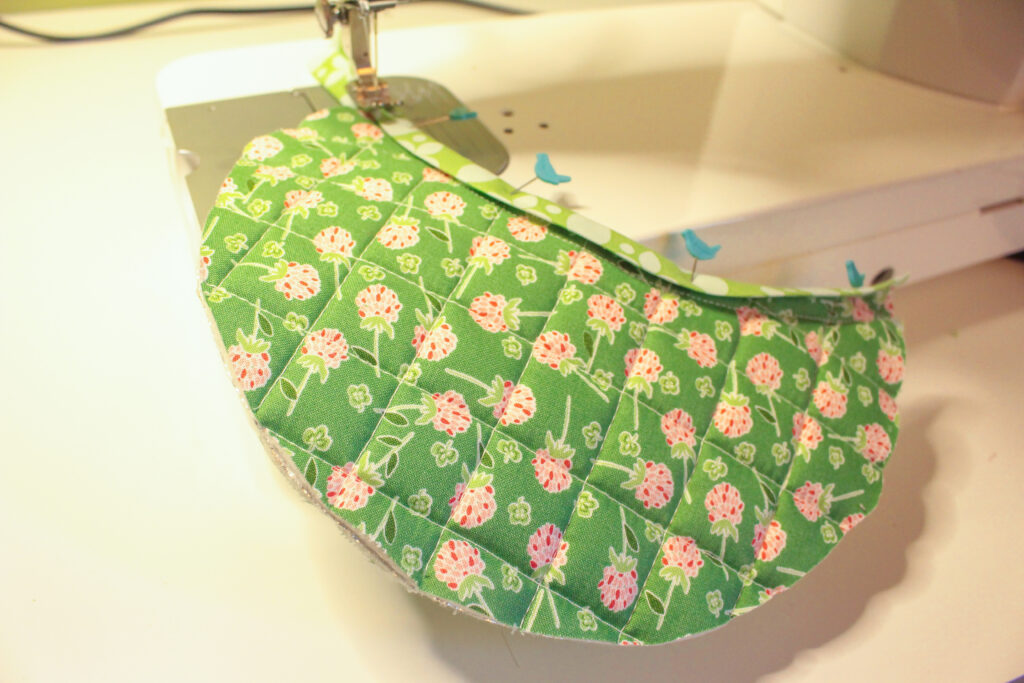
I snipped off any bias tape overhang and added a bias tape hook for hanging purposes. After this, I sewed the bias tape around the main circle and pocket. I sewed the bias tape to the front, then flipped it around and sewed the bias tape to the back.


The last step is top stitching around the front of the potholder to create a finished look.
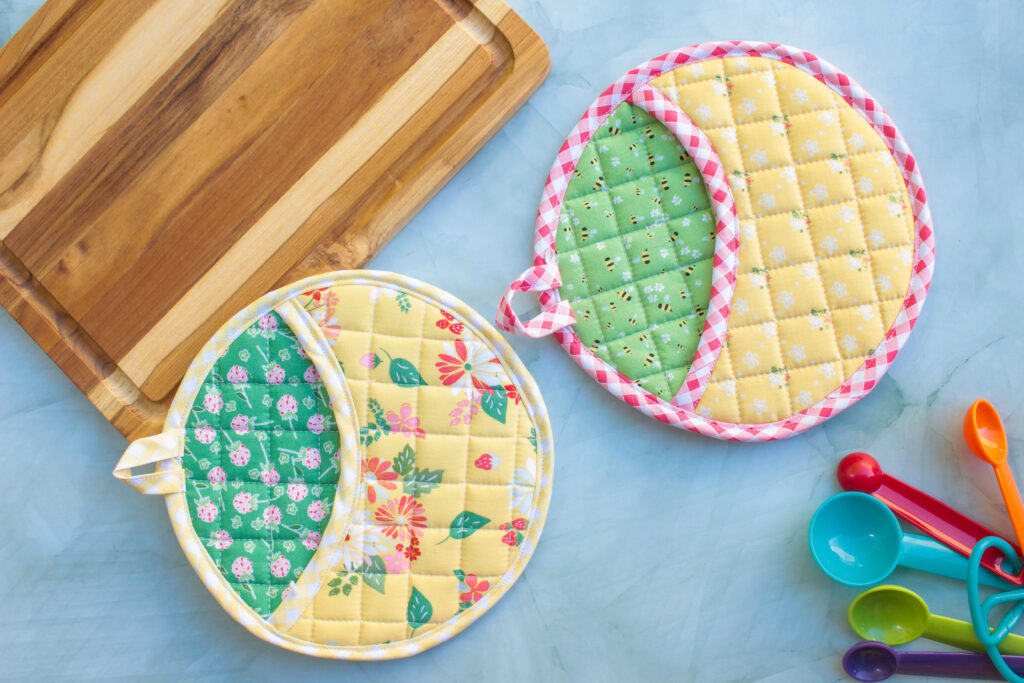
And now for the finished products:
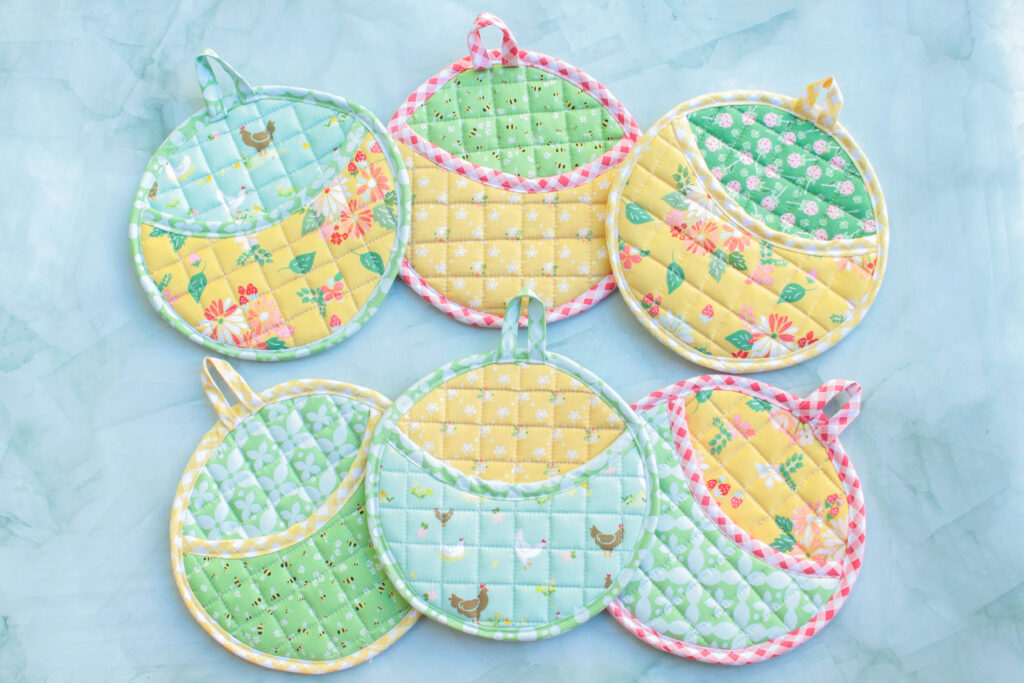
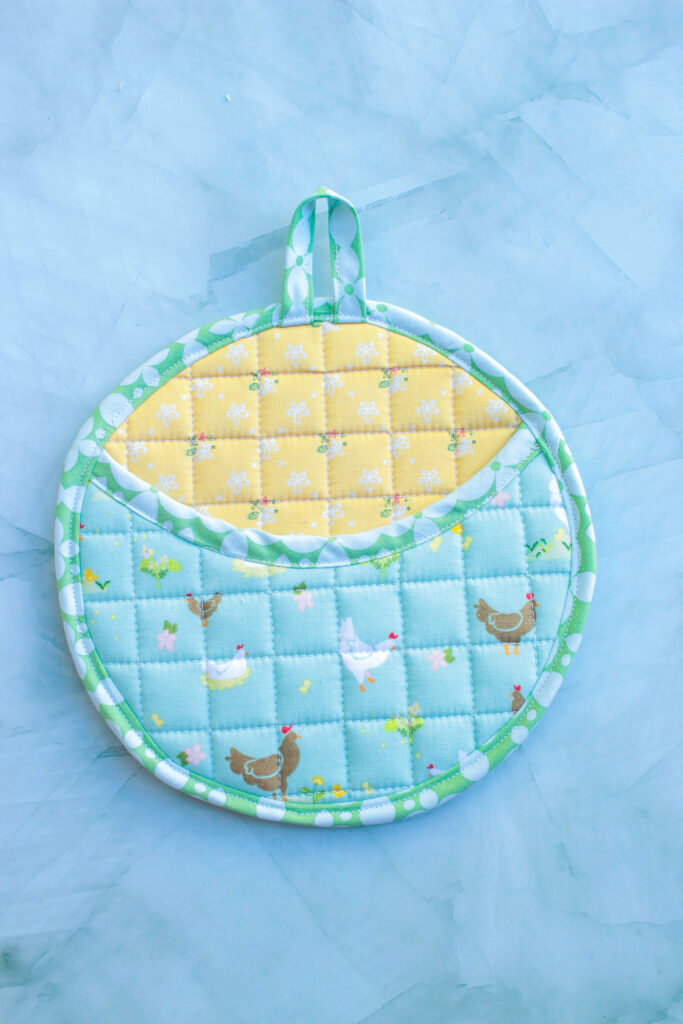
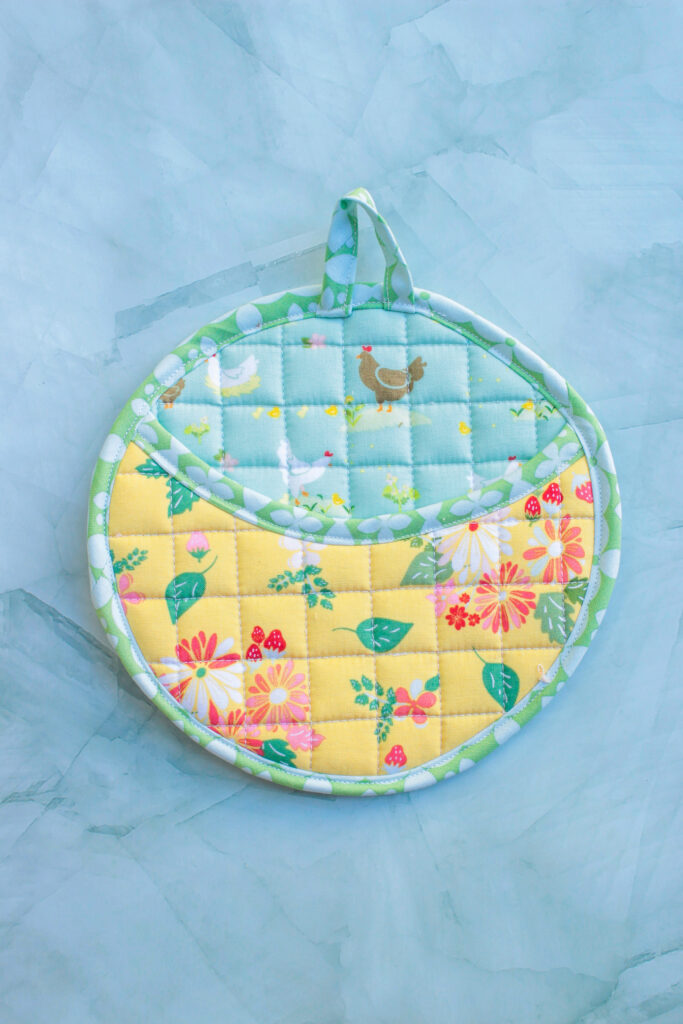
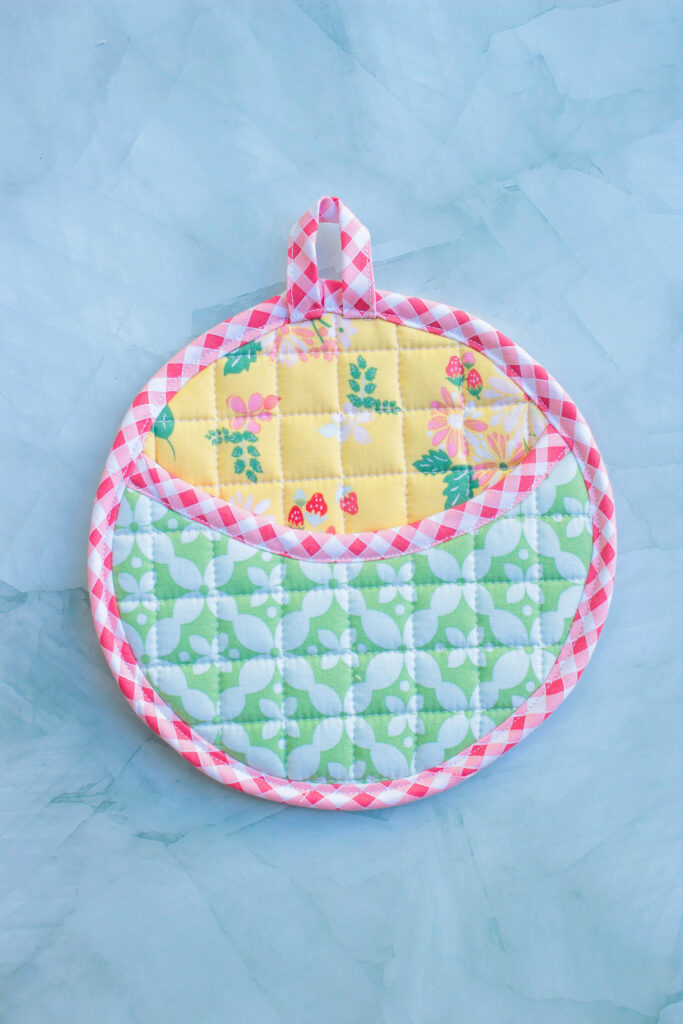
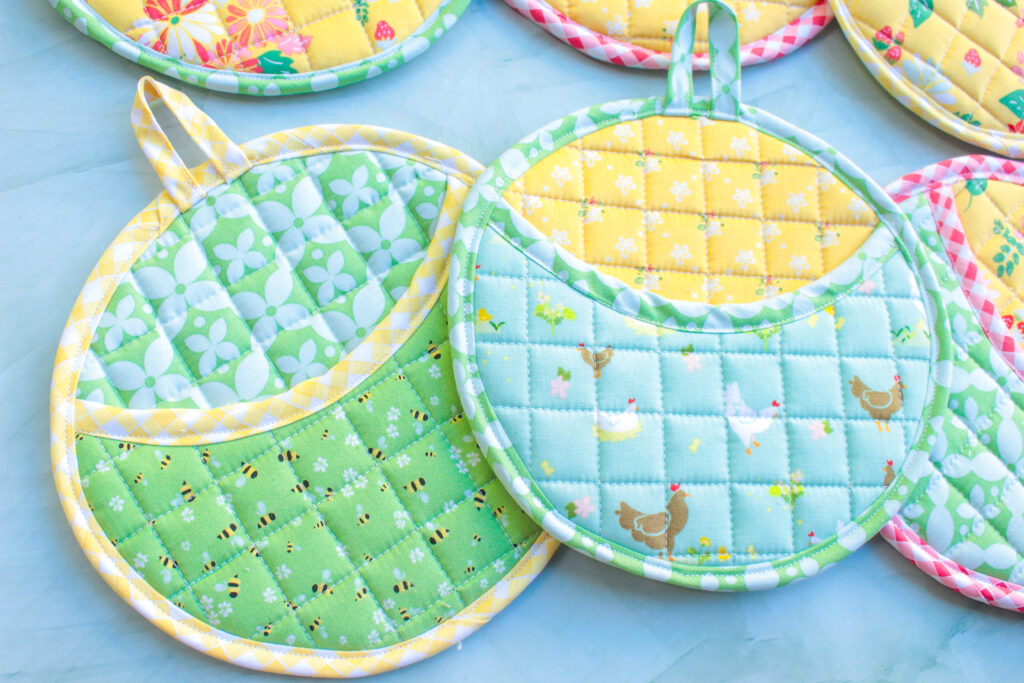
I absolutely love how these turned out, and think they’ll really brighten up my kitchen. Thanks for taking a look!


2 Comments
denise Cross
Where can I get a pattern. These are adorable!!
Denise Cross
Janet Parker
I wish I could make these. First I have to buy me a new sewing machine. I always had used ones and had to keep having them worked on. I love your designs.