
How to Make a Baby Soft Book with Alphabet Zoo
Hi! I’m Casey Chatham, and at Sew Worthy Mama, I design patterns with motherhood in mind.
You’ve probably seen lots of soft books for babies out there. Busy books or quiet books, some call them – all with the goal of entertaining little minds and hands with interesting (and screen-free!) activities.
With many unique pages and parts, soft books can be overwhelming to approach to make. I made 3 different books over a period of a few months before landing on my final design. I ruined a needle with the wrong kind of Velcro, and I ripped more seams than I want to talk about. All that to say, I literally hit all the snags so that you won’t have to!
If you’ve been wanting to make a soft book for a special mama and baby in your life, but didn’t know where to start, let me show you how I made this adorable book using the Alphabet Zoo collection by Dani Mogstad from Riley Blake! (Alphabet Zoo is the perfect collection for this project with the most adorable little animal face fussy-cuts!)
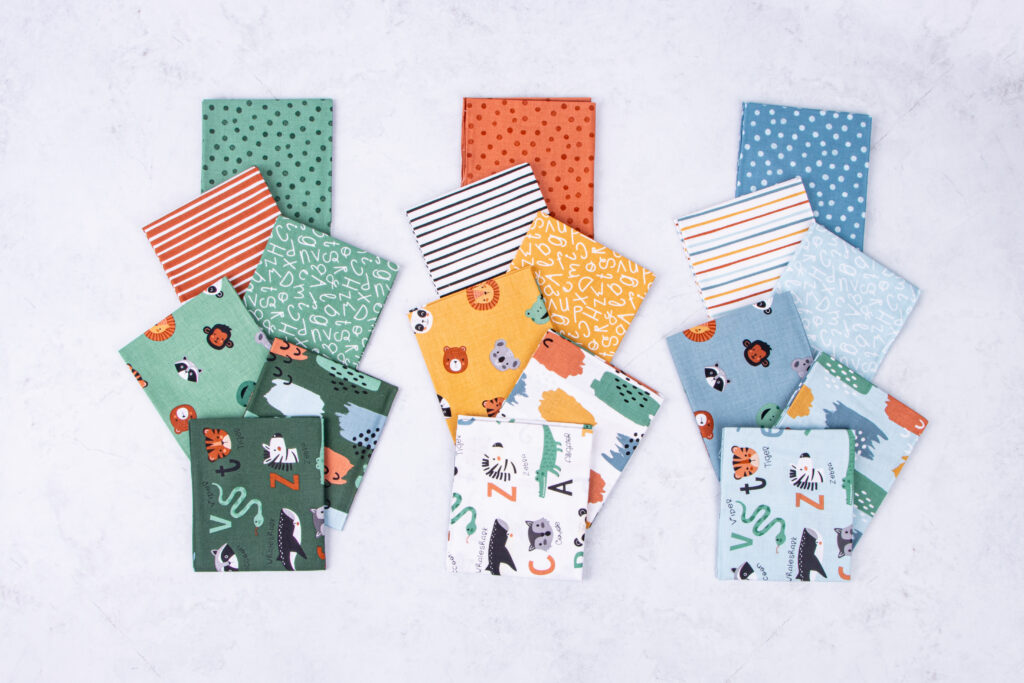
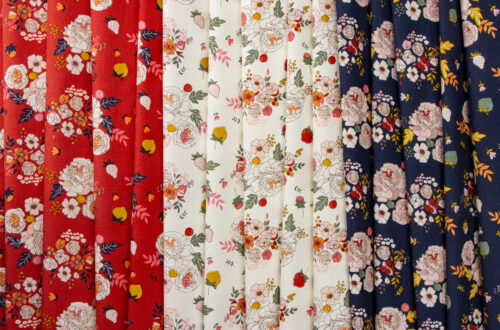
The best soft books have lots of different kinds of textures and activities, so I gathered several different prints from Alphabet Zoo to make sure I could create lots of variety but still keep everything coordinated.
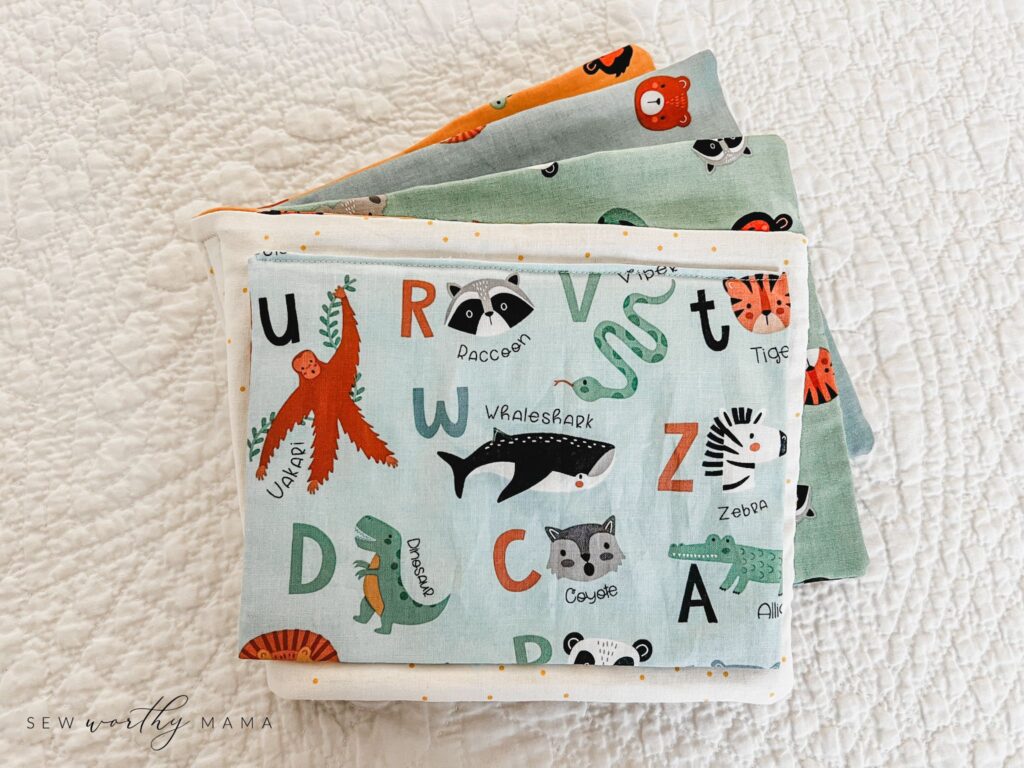
I went with the main print in aqua for the front cover flap. I just love the combination of animals and big ABCs — a classic! I chose 3 face toss prints in gold, stone blue, and pine for the interior pages. And I chose 3 fabrics to coordinate with the face tosses: 2 alphabet soup prints in pine and aqua and dots in terracotta. And lastly, I chose a coordinating basic for the cover and a few interior pieces to help tie everything together aesthetically: honey pin dot.
To get started making your own, download my FREE baby soft book guide. You’ll get all the measurements, details, and instructions to make your own soft book, plus a handy linked supply list so you can easily find everything you need. (There are a few fun materials in this project you may not have on hand – think crinkle paper – but are totally worth grabbing. I’m sure you’ll be coming up with all sorts of ideas to use the leftovers, too!)
Getting Started: Page Panel Size and Safe Zones
I measured a few books my son already had to get an idea of an appropriate size for his lap that wouldn’t be too big but would be big enough for all the bits and bobs I had planned to include on the pages. I landed on 7″ wide x 9.5″ tall, finished and closed. You could go a little bigger if you like, but I’d recommend this as a minimum size.
To keep the book from getting too thick to bind (think binding like the spine of a book, not like binding a quilt!) later, I kept it to 2 front and back page panels. Once bound and folded, that makes for 8 book pages including the front and back covers! Most sewing machines should be able to handle this thickness with no problem.
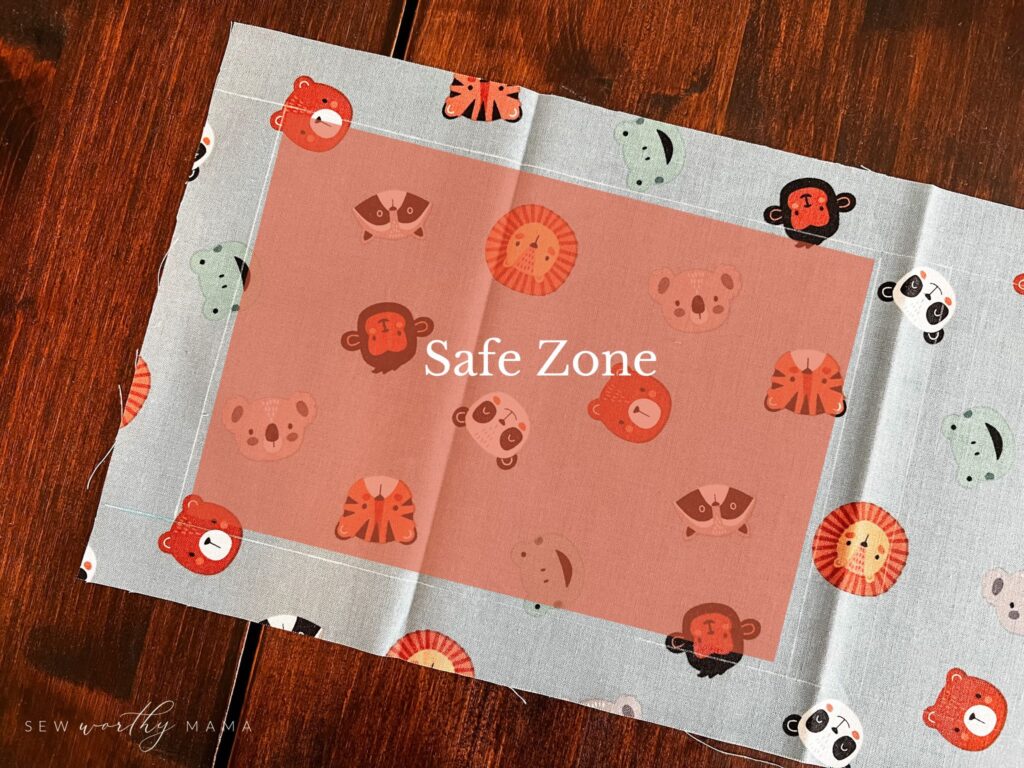
After cutting the rectangles, I marked out a “safe zone” 3/4″ away from the edges and center (binding zone) using an erasable marker. This gives you a visual border to keep all decorations far enough away from the edges and also allows you to find the center of the pages easily. When you sew the pages together later, you’ll be glad you left enough margin for your seam and your presser foot to move freely. You won’t accidentally catch any pieces in your seams by keeping everything in the safe zone.
Download my FREE baby soft book guide to get all the measurements, details, and instructions to make your own soft book.
A Customizable Cover
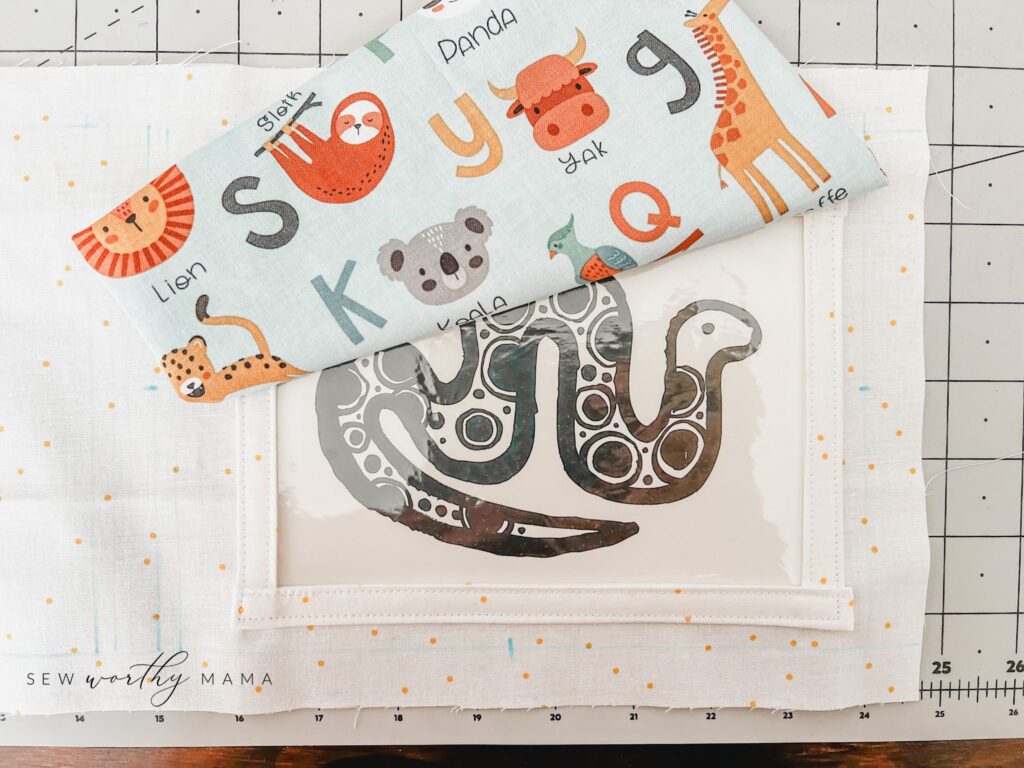
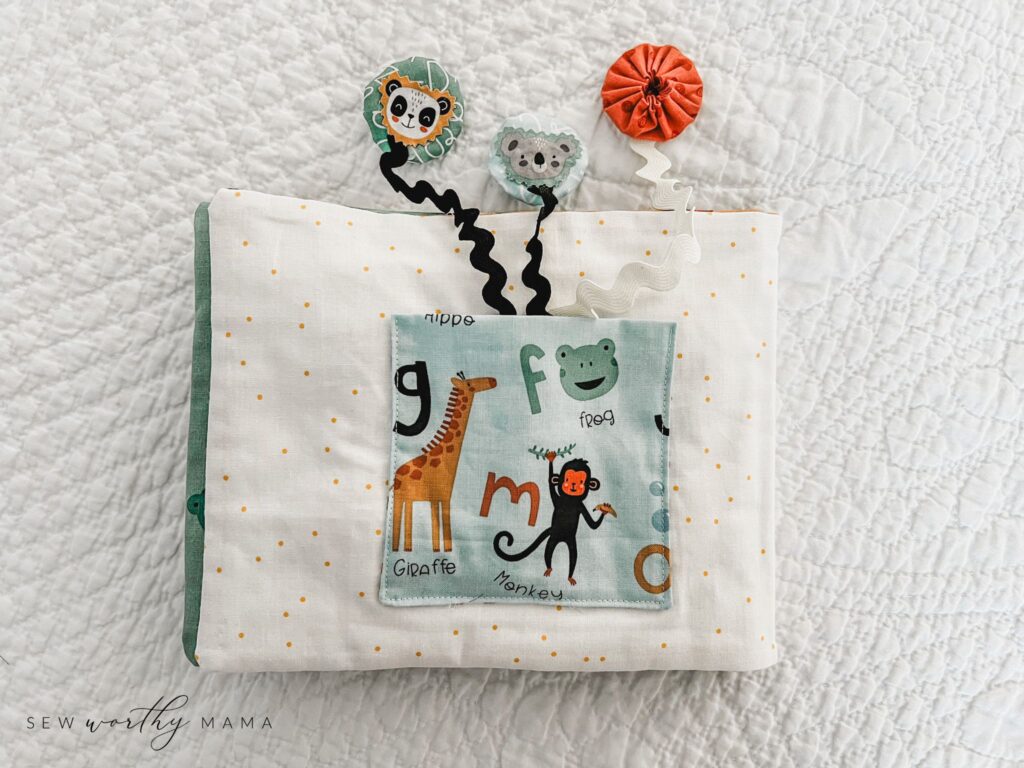
The cover features a flap that reveals a clear pocket. The flap itself has a surprise of its own: crinkle paper! Lifting the flap is satisfying for both little fingers and little ears. For the pocket, you can choose to insert a flexible plastic mirror, high-contrast baby flash card (shown above), family photo, or even your own drawing. It’s the perfect size for anything 5″ x 7″ that you can come up with.
Adding Activities: Ribbons, Yo-yos, Flaps and More!
Now let’s take a peek inside! Babies LOVE texture and manipulating things in their hands. So I came up with a unique activity on each page to hold interest and provide lots of fun ways to play!
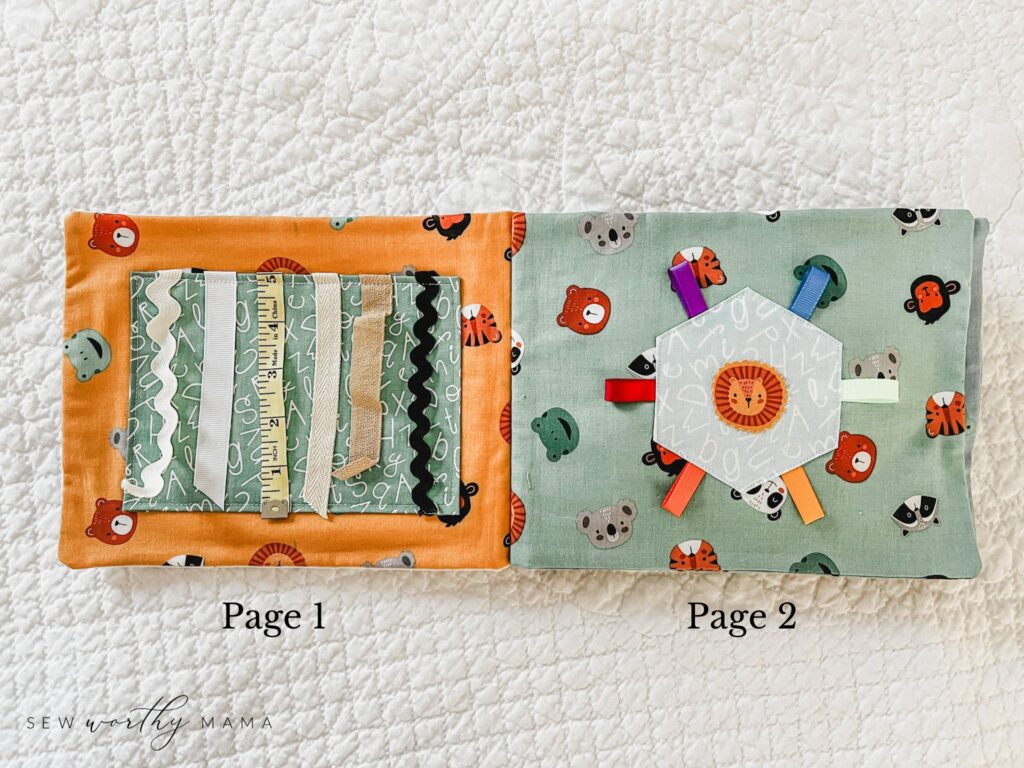
Page 1 is full of fun ribbons to feel. I even included a tailor’s ruler as a ribbon. I have way too many of them lying around, so I didn’t mind sacrificing the end of one. I think it added a lot! You can use anything from ribbon to ric rac, even trims or webbing. I recommend sealing the ends with Fray-Check or a similar product.
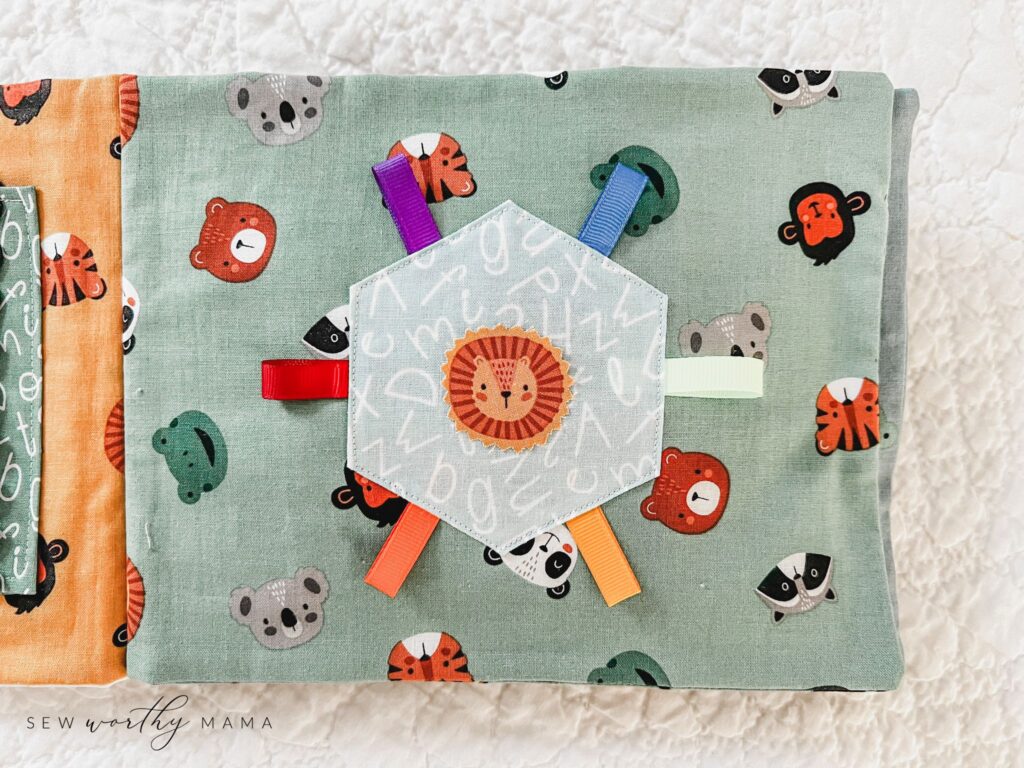
Page 2 features a simple hexagon with a rainbow of ribbon loops tucked under the edges. Both of my kids love anything they can loop their little fingers through! I added a little lion fussy cut to the center of the hexagon, and boy is it cute!
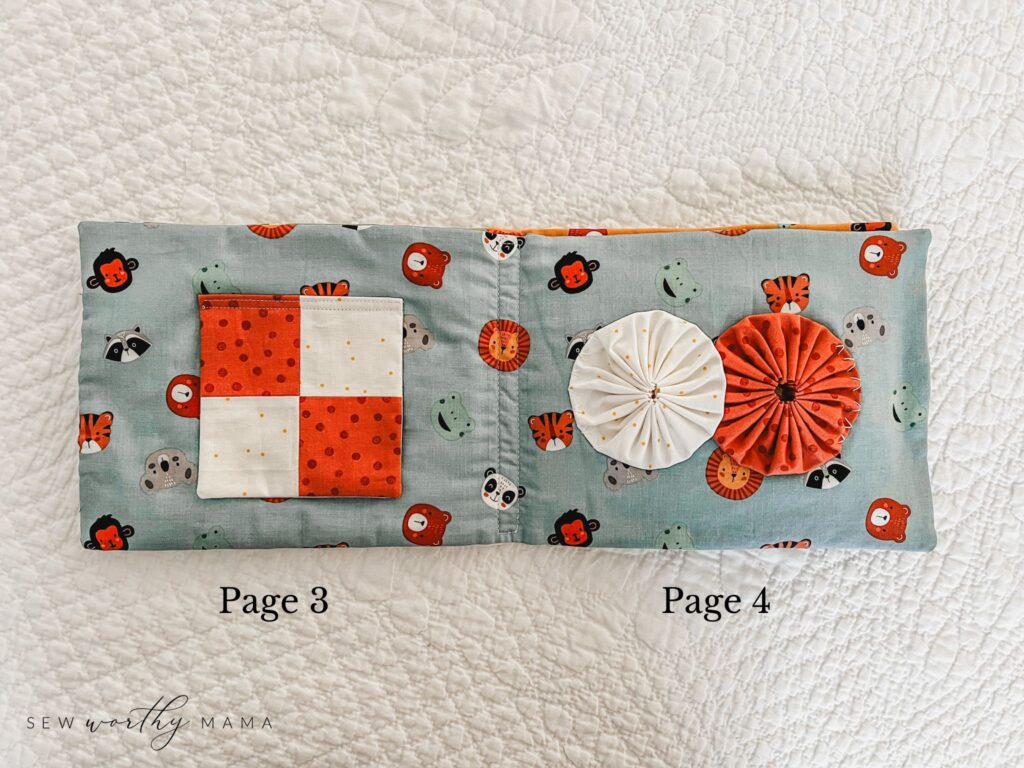
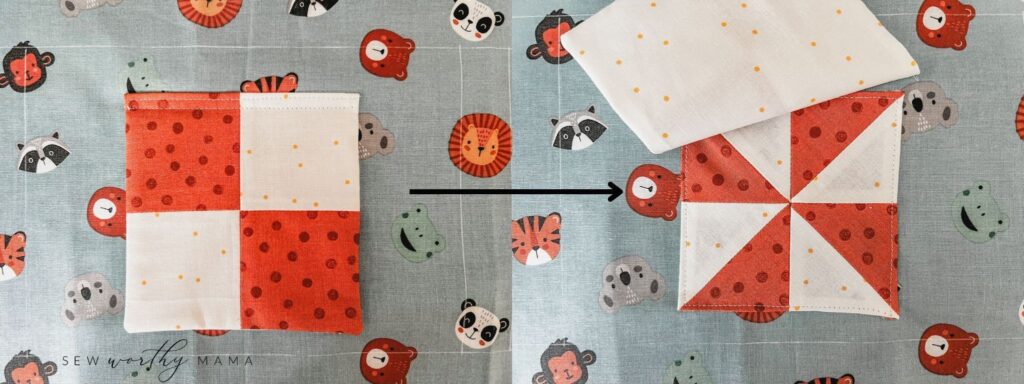
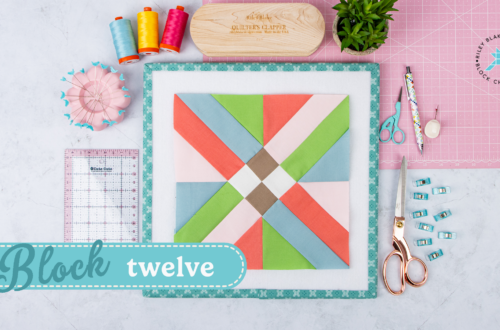
I’m a quilter, so I had to have a little quilty fun with one page! Page 3 features a flap made from a simple 4-patch that lifts to reveal a slightly smaller pinwheel of the same fabrics. It’s as if the 4-patch is magically transformed as you lift the flap! I also added crinkle paper to this flap for that extra audible and tactile excitement! If you’re not a quilter, or if HSTs intimidate you, don’t worry. You could substitute the mini quilt blocks with simple squares or other shapes of a couple different prints.

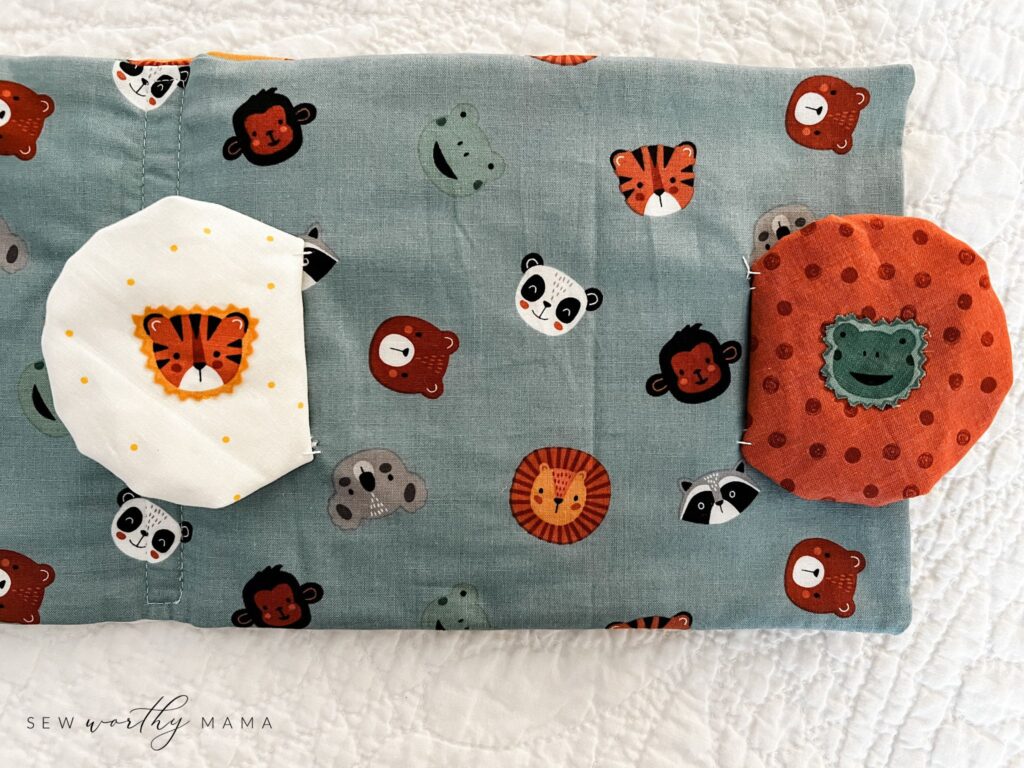
Page 4 has two jumbo yo-yos positioned to overlap slightly. Stitched only on the outside edges, they flip open and closed and slide past each other kind of like little saloon doors! The back of the yo-yos is the perfect hidden spot for a couple more animal face fussy cuts for a little peek-a-boo surprise — a big hit with my 11 month old!
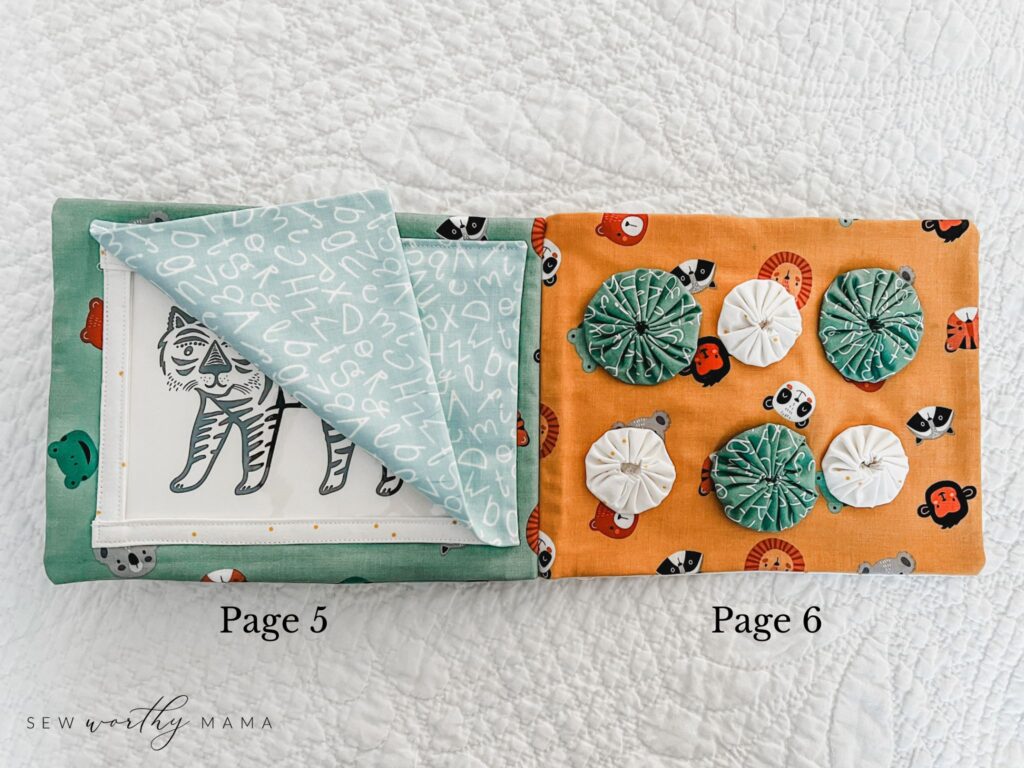
Page 5 has another large flap and clear pocket inside like the cover. Slide something different (art card, mirror, family photo, drawing, etc.) inside for a little variation from the cover.
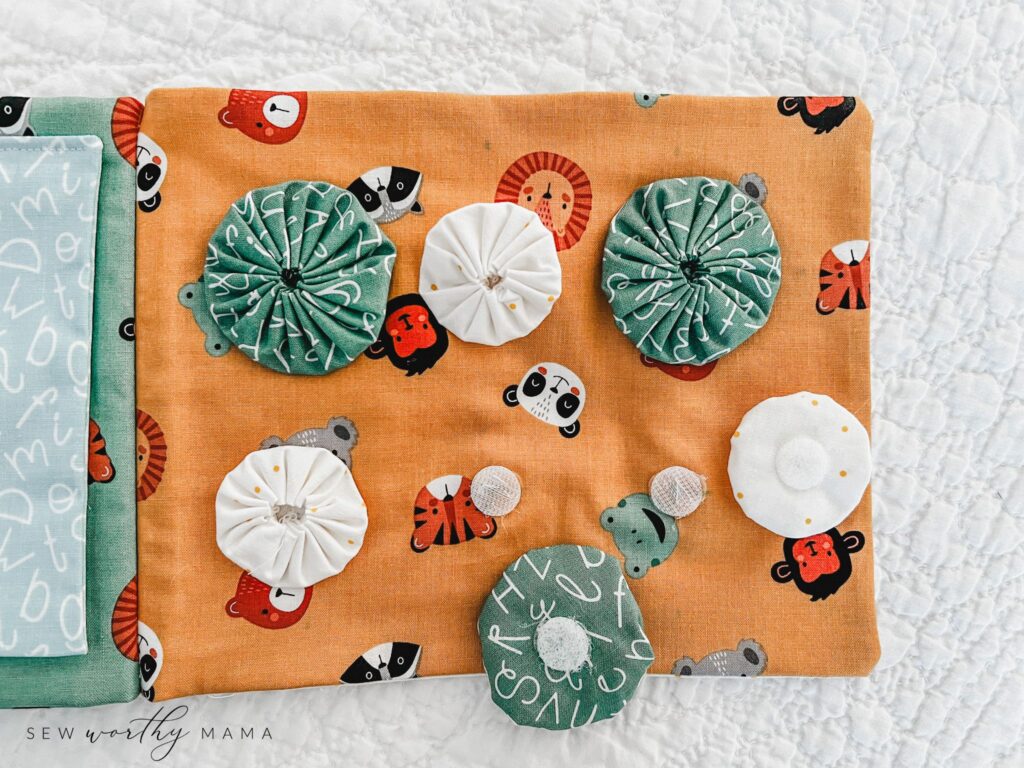
Page 6 has 6 Velcro dots to practice a little pattern play with 6 movable yo-yos. I chose 3 large yo-yos in one print and 3 extra-large ones in another, but you could opt for 3 prints, 2 each, or even 6 different prints. Babies will have fun taking them off and replacing them in new arrangements. This is a fun page for you to show the baby what you can do and watch as they grow over time and gain their own skills using this page.
Finally, the back cover has a pocket that encloses a few small yo-yos which are anchored to the book inside the pocket with ric rac. I used hot glue to stick the yo-yos to the ric rac, then covered the ric rac ends with still more fussy cut animal faces (see how much fun these are?!).
Make Your Own!
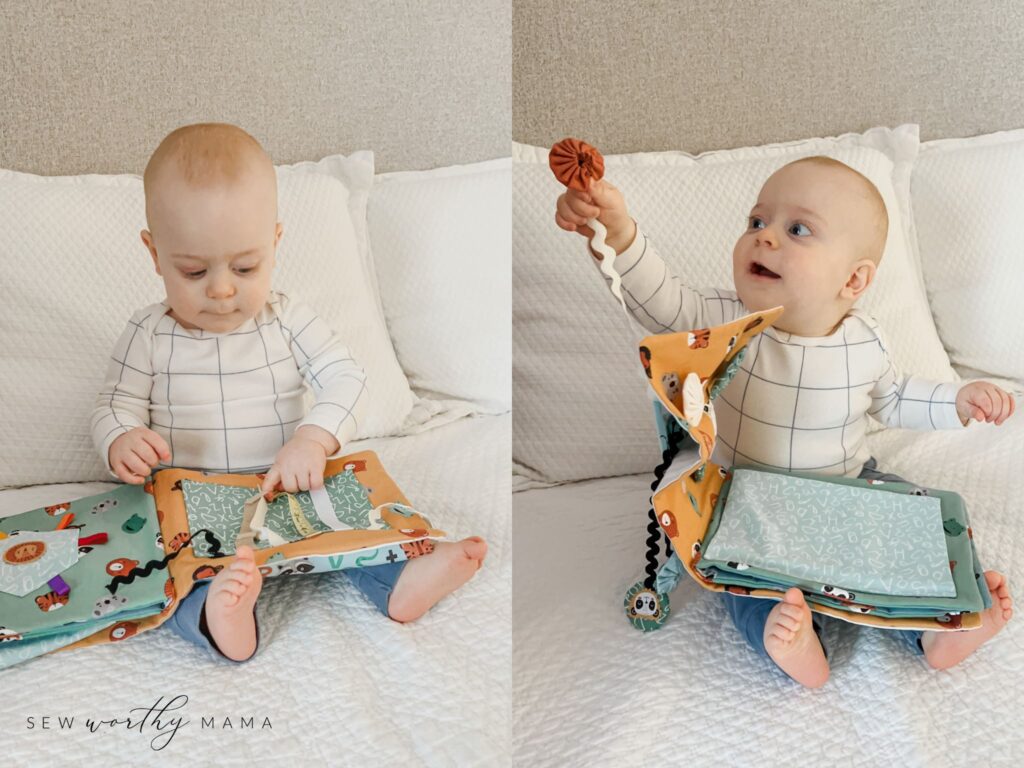
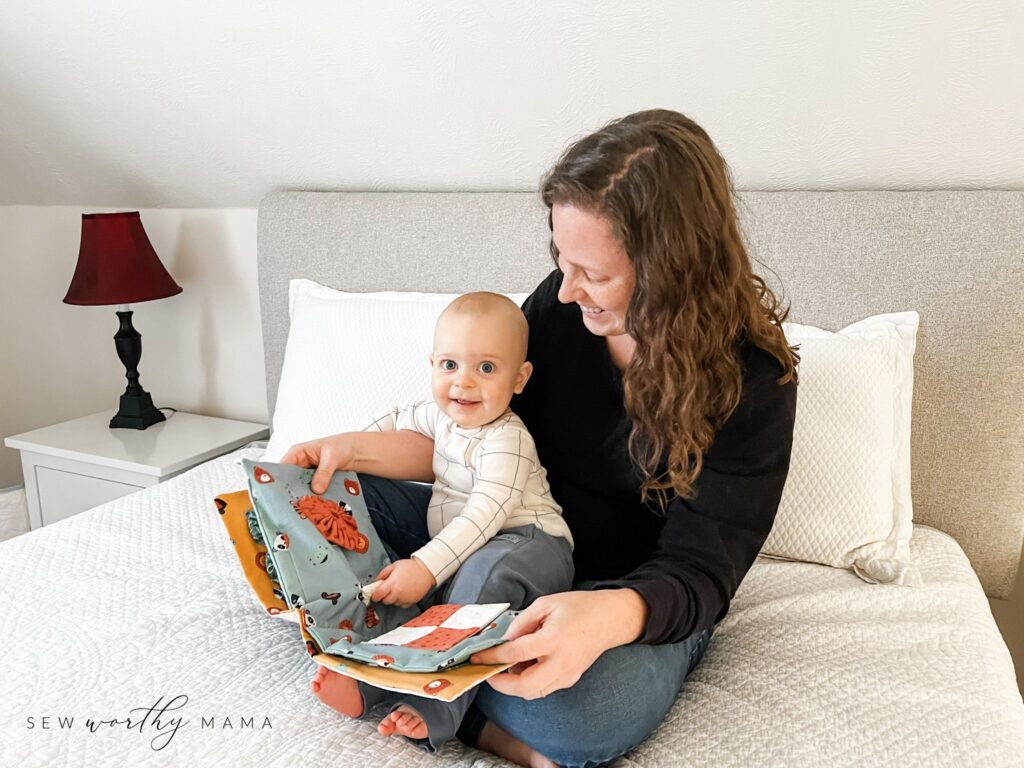
My son, Jack, is 11 months old, and we are having a lot of fun with his soft book! The special babies in your life will love one, too! Make sure to grab your free guide and your selection of Alphabet Zoo prints.
Fabric Requirements
You’ll need 1/2 yard for the main print flap and pocket on the cover — it seems like a lot, but you’ll need this length to keep the ABCs upright since it’s a directional print. You will have lots to spare for another fun project, or you could use it for details inside the book, too. You’ll need 1/4 yard each of 4 prints for the cover page panel and the interior page panels, 1/4 yard of 3+ other prints for the various activity pieces to coordinate with each interior page, and 1/4 yard of a coordinating basic. I used the coordinating basic for my cover as well, so I grabbed 1/2 yard of it.
Fabric Requirements At A Glance:
- Cover Panel: 1/4 yard (Honey Pin Dot)
- Cover Flap and Pocket: 1/2 yard if directional, 1/4 yard if not (Main in Aqua)
- 3 Interior Page Panels: 1/4 yard each (Face Toss in Gold, Stone Blue, and Pine)
- 3+ Fabrics for Interior Decorations/Activities: 1/4 yard each (Alphabet Soup in Pine and Aqua, and Dots in Terracotta)
- Flannel: 1/4 yard (to be used as a batting; solid white is recommended)
- Clear Vinyl: 7.5″ x 11″ minimum
- Crinkle Paper: 1 package (see the supply list in the guide)
Alphabet Zoo
Again, Alphabet Zoo is such a perfect collection for this project because of the face toss prints which make great fussy cuts for the hexagon and yo-yos! Plus, the colors are somehow bright and a little earthy at the same time which I love! Animals and ABCs. Trust me, you’ll love it, and so will baby!
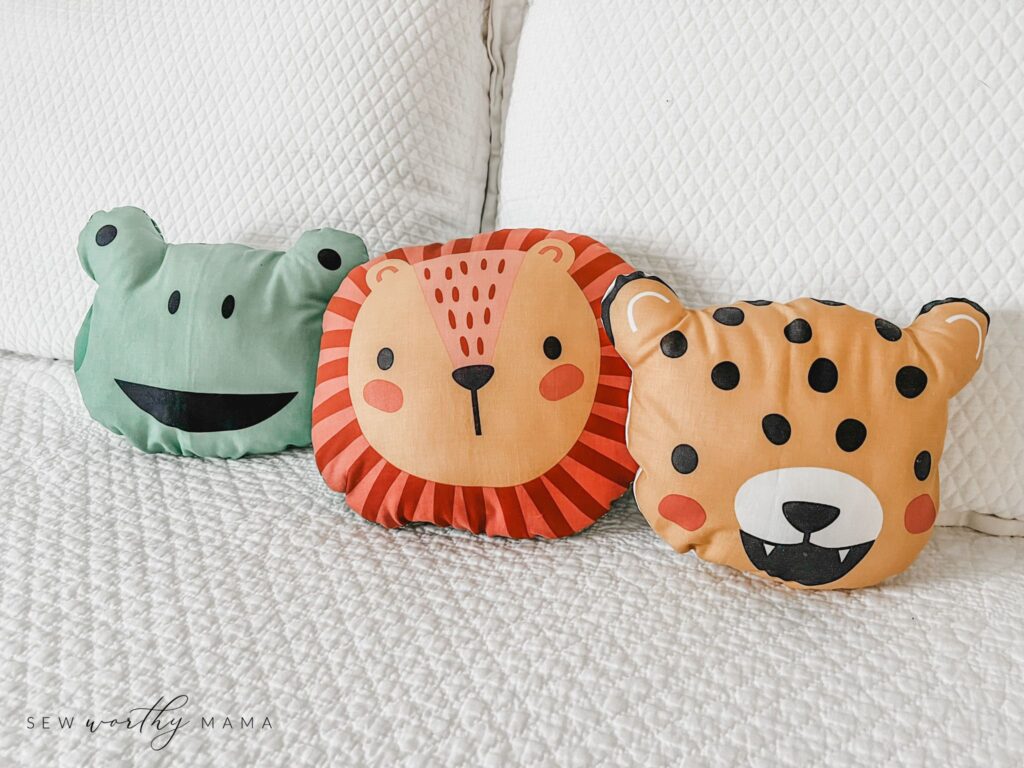
Be sure to check out the pillow panel for Alphabet Zoo, too. I stitched up a few animal face pillows with some left over fabric from the soft book for backing. I stuffed them with Polyfil. The pillows together with the matching soft book would make the sweetest baby shower gift – especially for a mama decorating with a jungle or safari nursery theme!
Sidebar: At 11 months, Jack is past needing to practice tummy time. But, for a newborn who does need to have daily tummy time, these little Alphabet Zoo pillows would be perfect little supports!
Special Tools and Materials
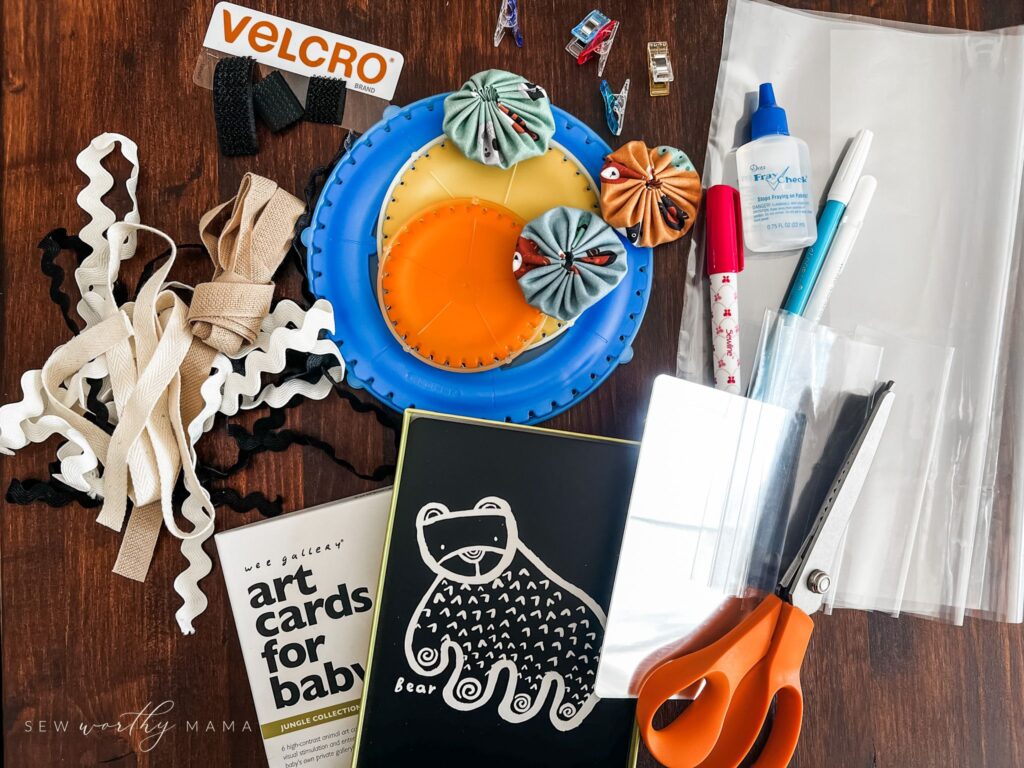
To up the sensory factor for baby, you’ll want to include crinkle paper in your flaps! It stimulates 2 senses – tactile and auditory.
The clear pockets can hold anything 5″ x 7″ or smaller. My favorites are black and white high contrast art cards for the youngest babies with developing vision. You can also slide a flexible plastic mirror in – what baby doesn’t want to see themselves smiling back?! Both are linked in the free guide. And a family photo is another fun option!
Several pages use fabric yo-yos for the activity. I use the Clover Yo-Yo Makers, and as far as I’m concerned, they’re a requirement for making yo-yos! (Side note: I made yo-yos as a kid without knowing such a tool existed and it was such a chore – I’m never going back!)
My Free Baby Soft Book Guide contains a detailed list of all suggested tools and materials and links to easily find them all online.
Get Your Free Baby Soft Book Guide
Don’t get overwhelmed by all the unique pages and various techniques. I created a guide to easily walk you through this entire project so that YOU can make a precious handmade soft book for a precious baby in your life!
Whether you want to make one exactly like mine or get a little creative, my guide will teach you everything you need to know!
Plus, it includes a handy linked supply list so you can easily find the best vinyl, crinkle paper, flexible mirrors, art cards, velcro, yo-yo makers, and more. I did all the product testing so you don’t have to!
Get my detailed baby soft book guide showing you how to create your own fun and engaging book full of flaps, pockets, yo-yos and more, for FREE!
See more at SewWorthyMama.com


2 Comments
Susanne Nicholls
I am super excited to make this for my first grandbaby.
Zaineb
Adorable project! Thanks for sharing all the details and great tips on how you made the baby book.