Shine Together Sew Along Week 2
We are excited to continue our Shine Together Sew Along this week! If you missed the first week and want to know what this SAL is all about, click below!
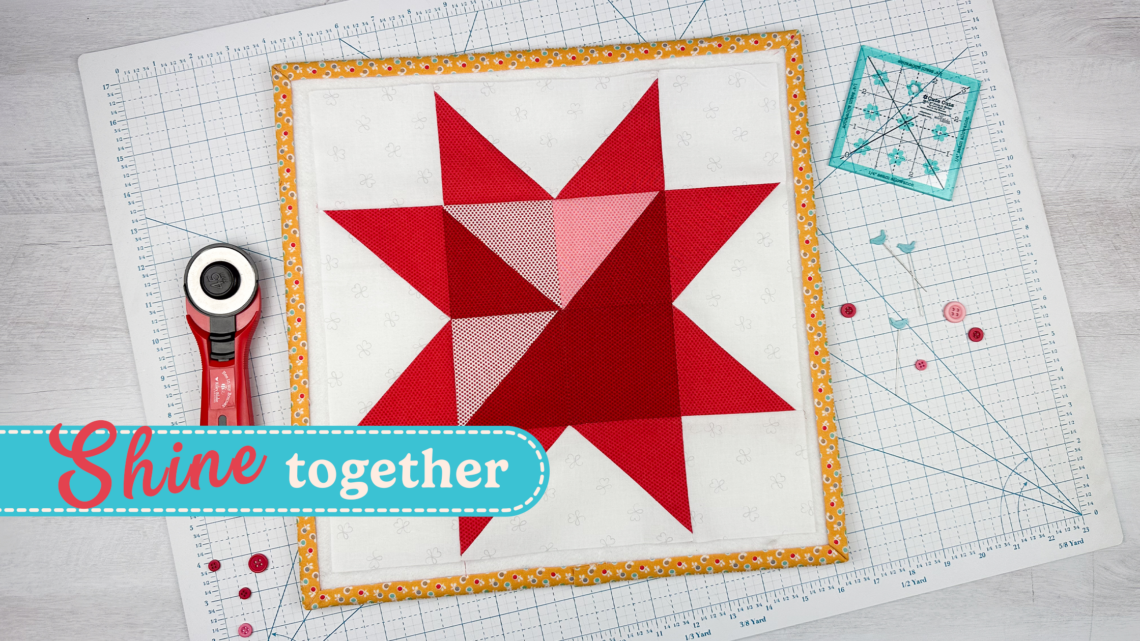
Week 2 – Block Designs
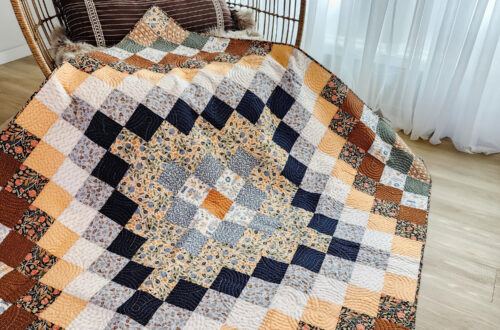
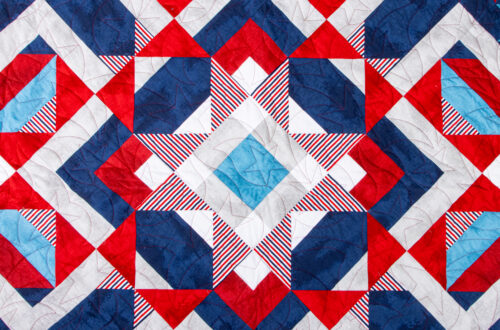
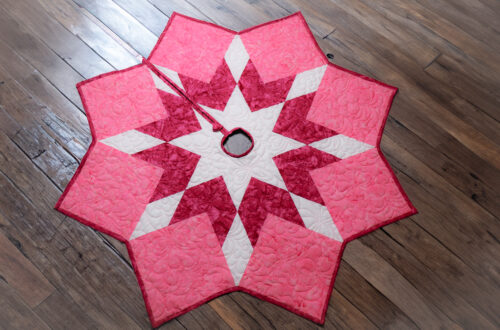
Are you ready for week 2?! Today, we are sharing a tutorial for the block original to the pattern (left), an alternative design by Kristy Lea (center), and a third design from Christopher Thompson (right)!
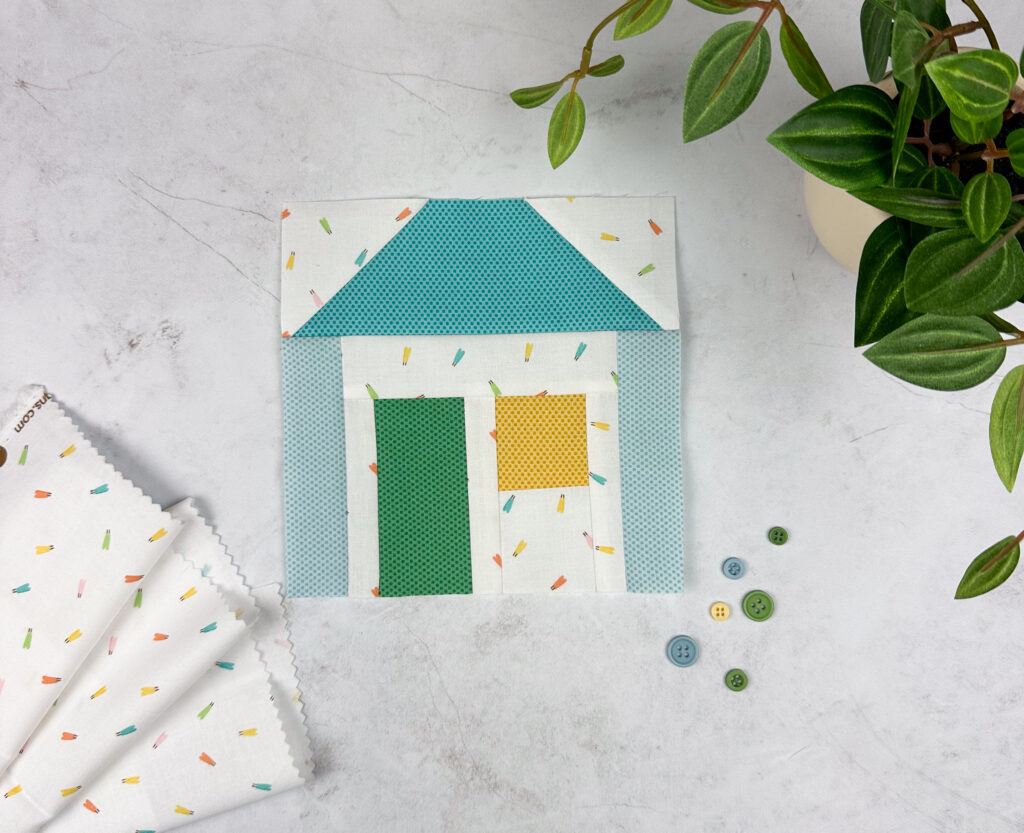
Read on for the original version tutorial and click the buttons below for the alternative designer blocks!
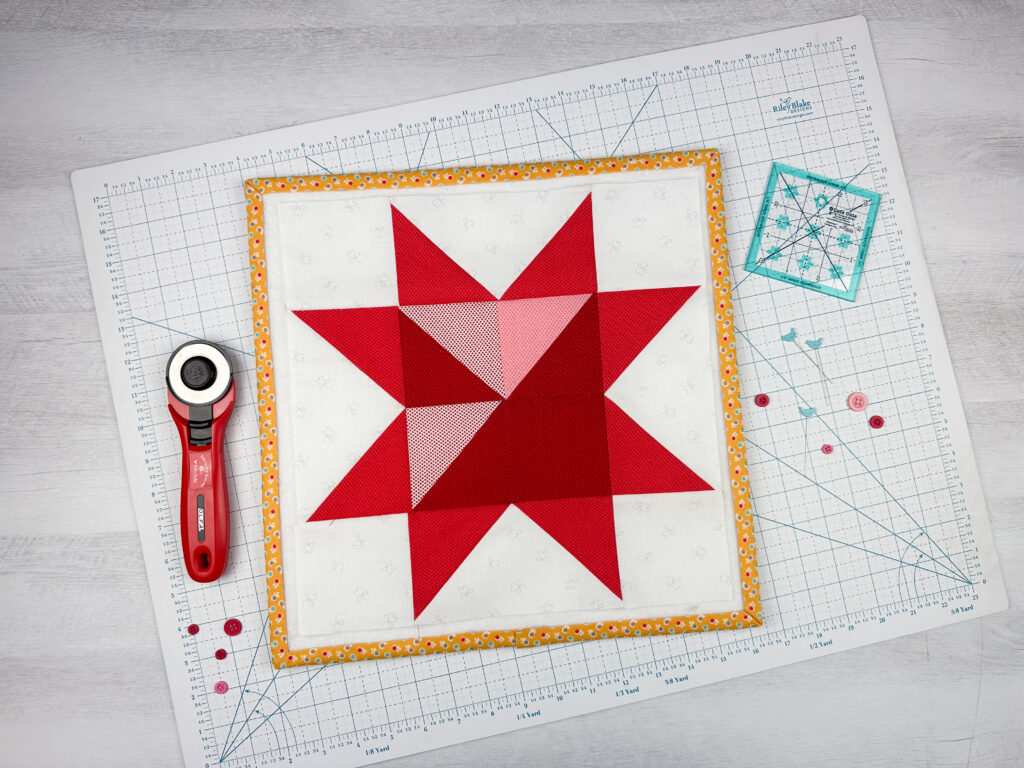
Block H Tutorial
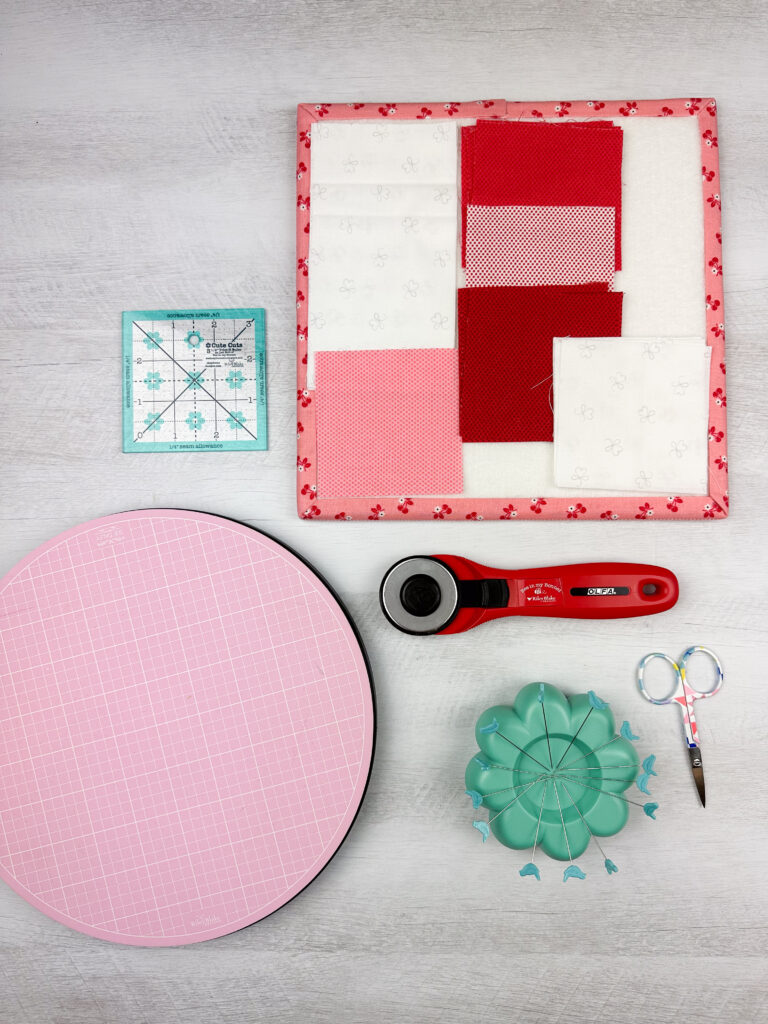
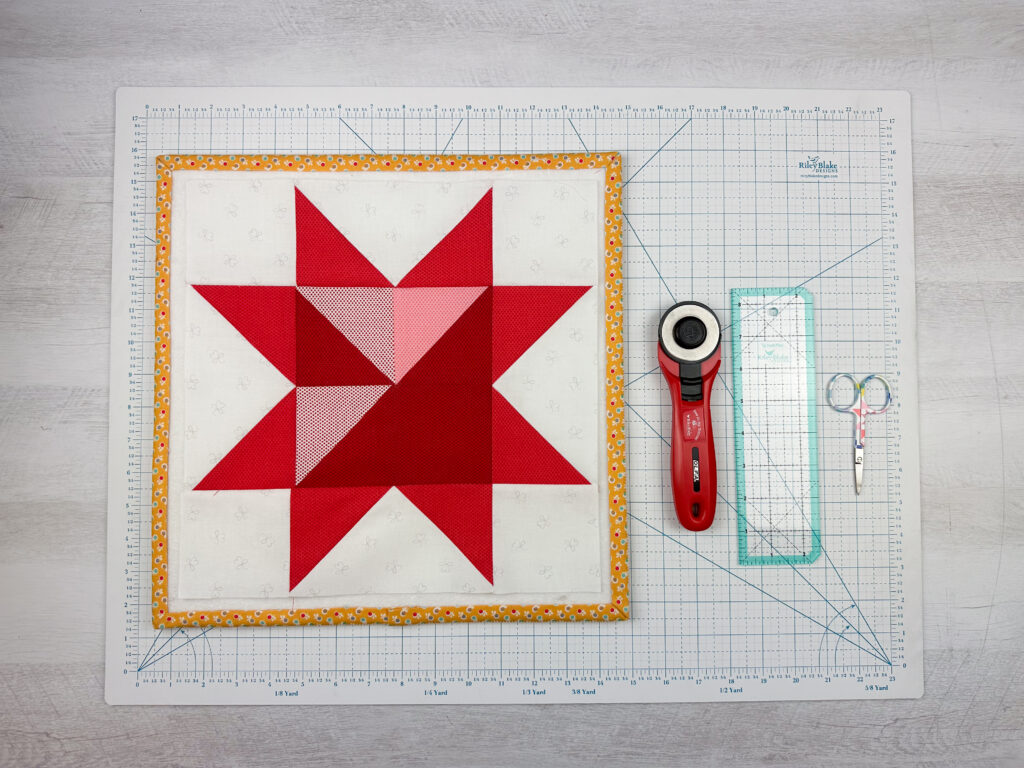
Gather your supplies and let’s make our next block! If you are following our layout, this is Block H. You will need a copy of the free quilt pattern. Follow the cutting instructions to get all the pieces cut for this block. If you want to see a video that goes along with this tutorial, find our Reel on Instagram or Pinterest Video!
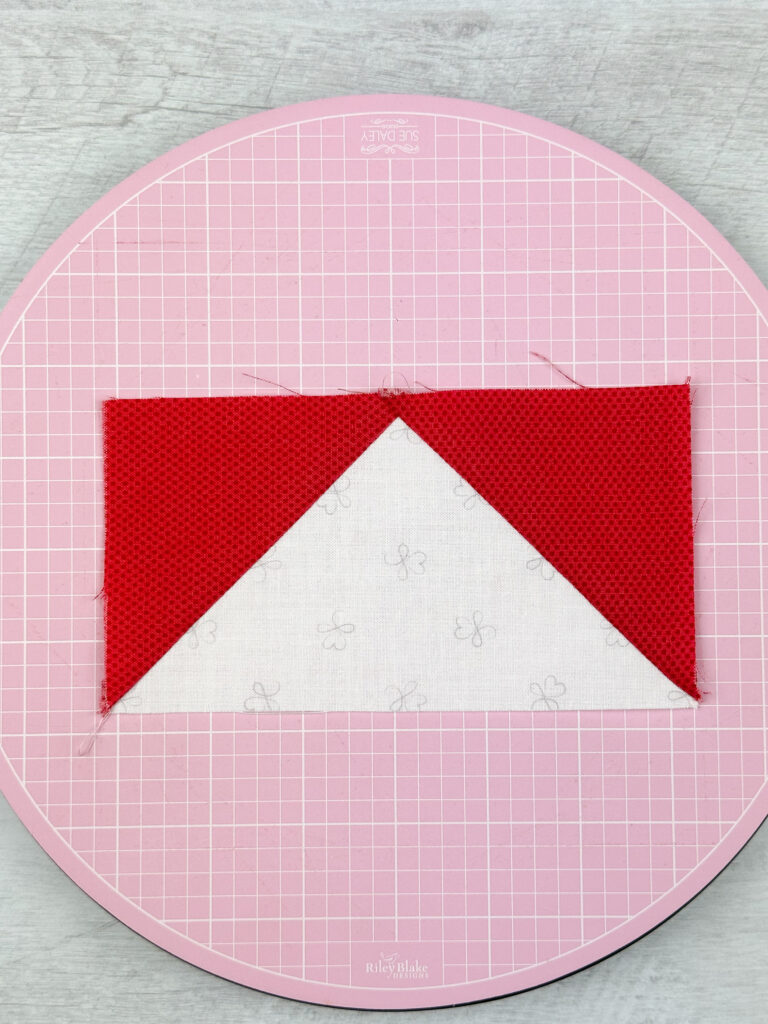
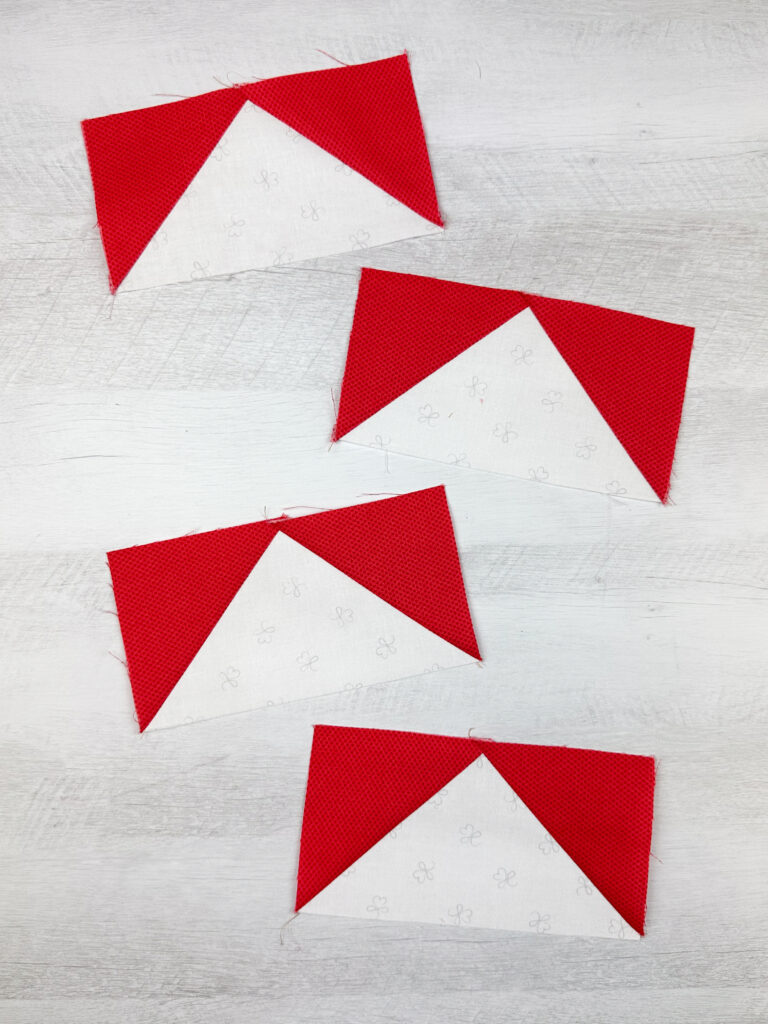
Step 1: Make Flying Geese
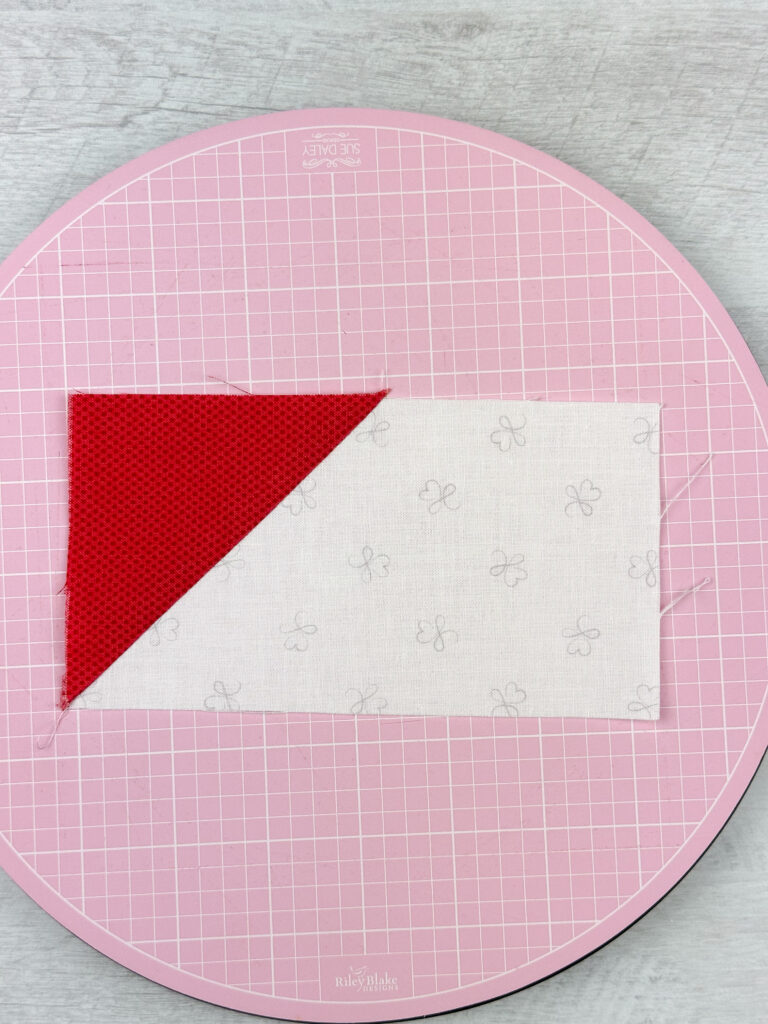
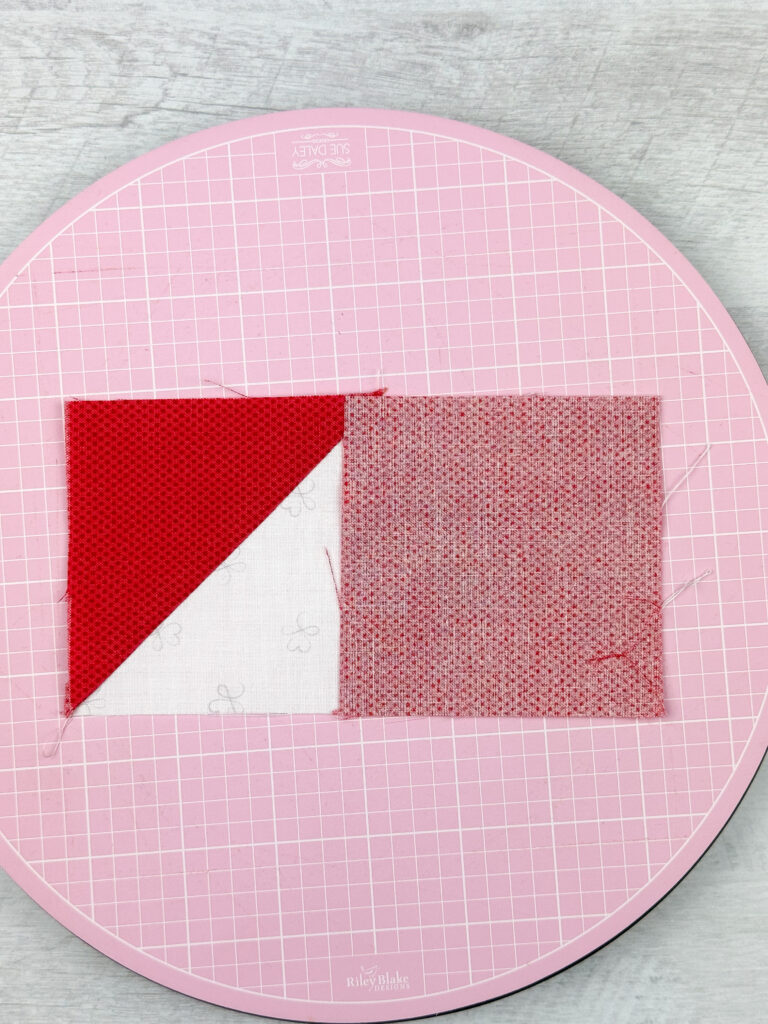
We’ll be starting each block with making our flying geese. You will place a POParazzi Cayenne B square on the left side of an A Infinity Hearts rectangle. You will sew a straight line from the bottom left corner to the corner that lands in the top center of the rectangle. Then, trim the corner off 1/4″ from the sewn line. Press open to see that you have now replaced the corner of your A rectangle with your POParazzi Cayenne B square. Then, repeat the process on the other side to make your flying geese units! Repeat the process to make 4 flying geese units.
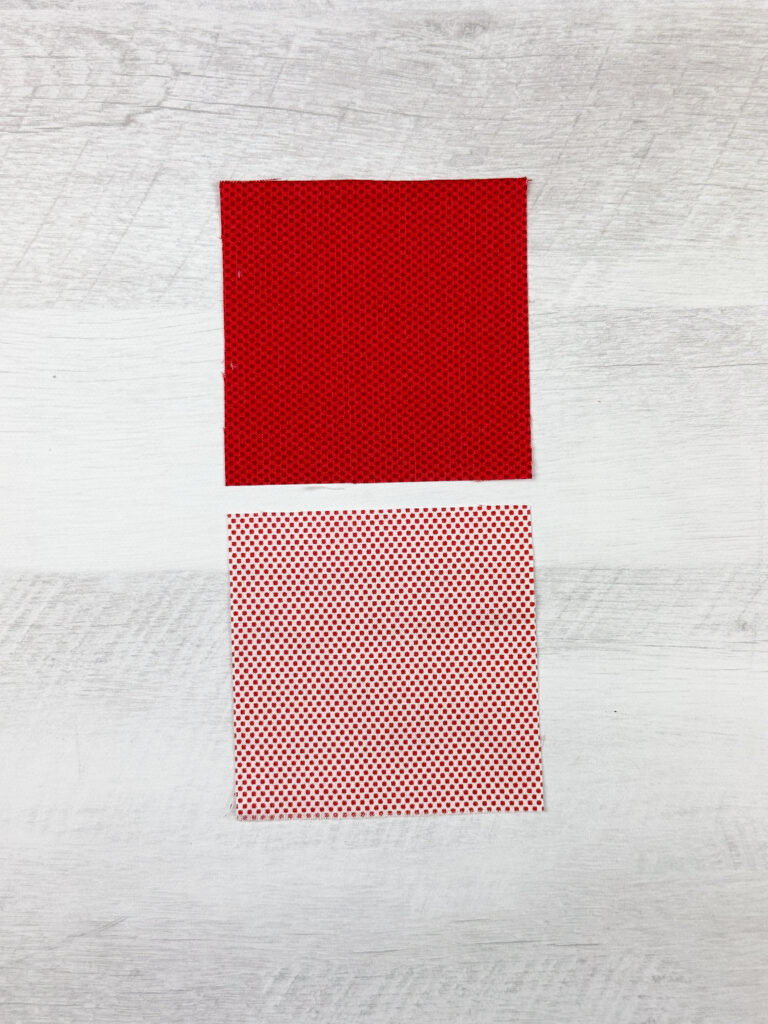
Step 2: Make Half Square Triangles
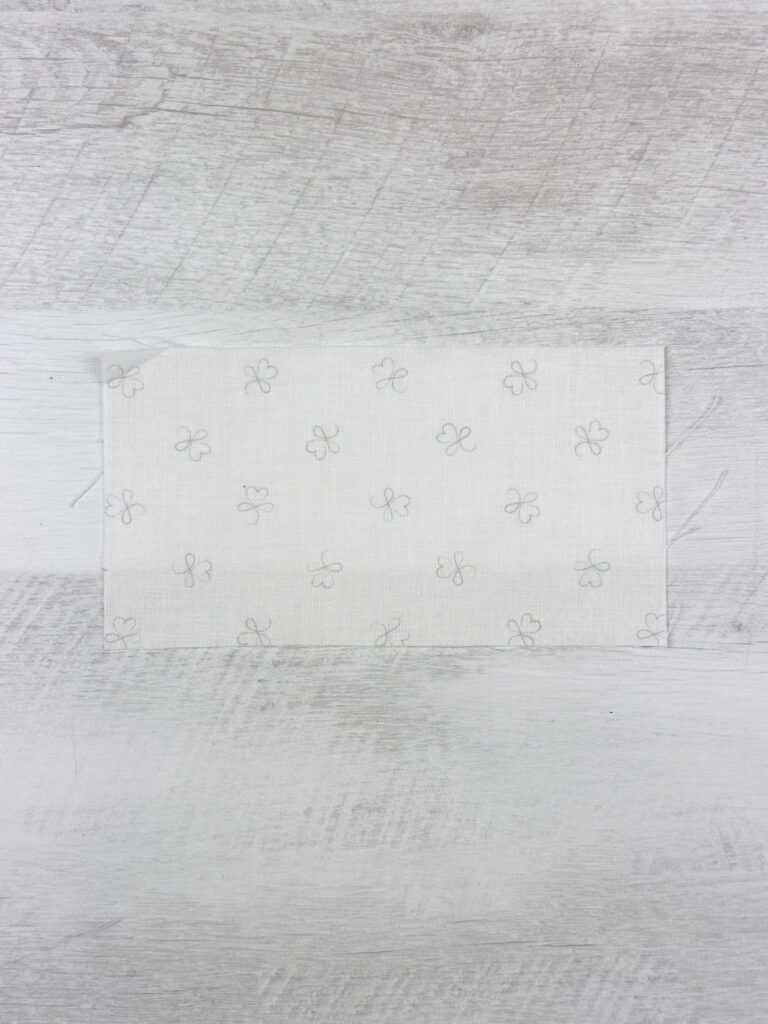
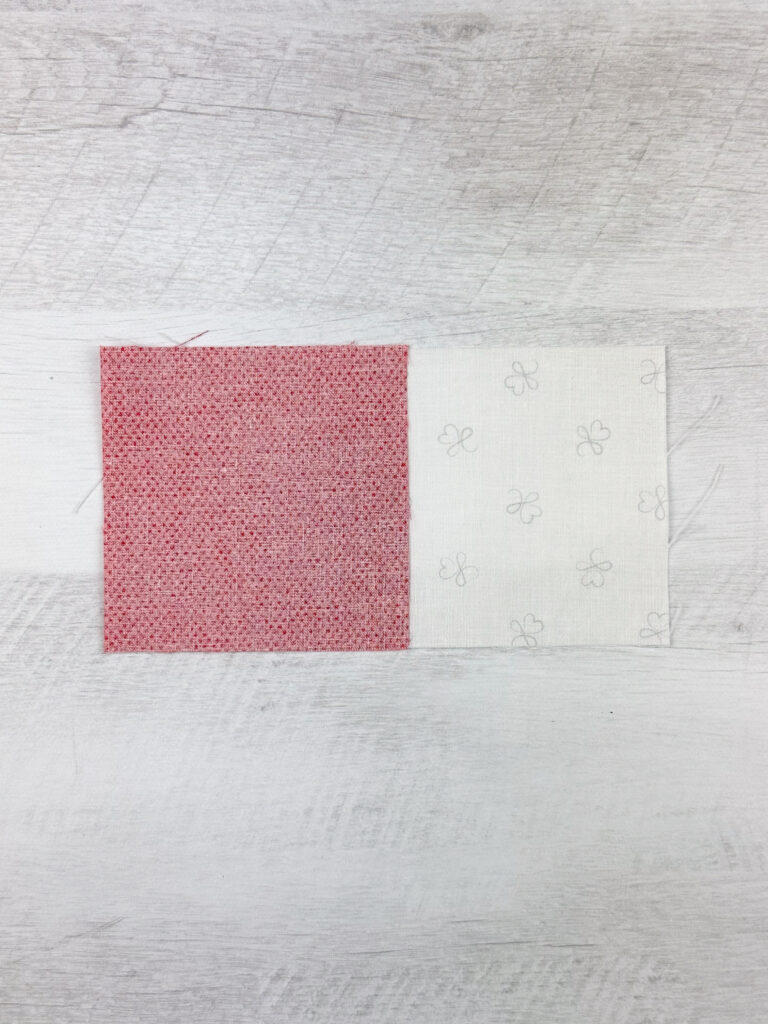
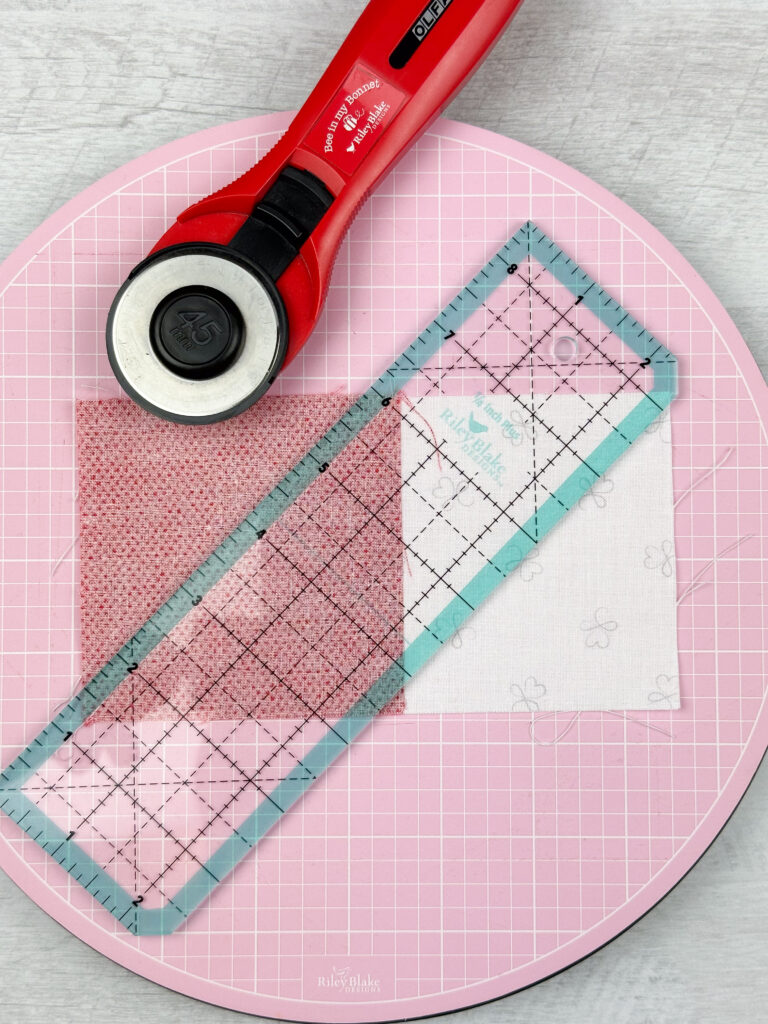
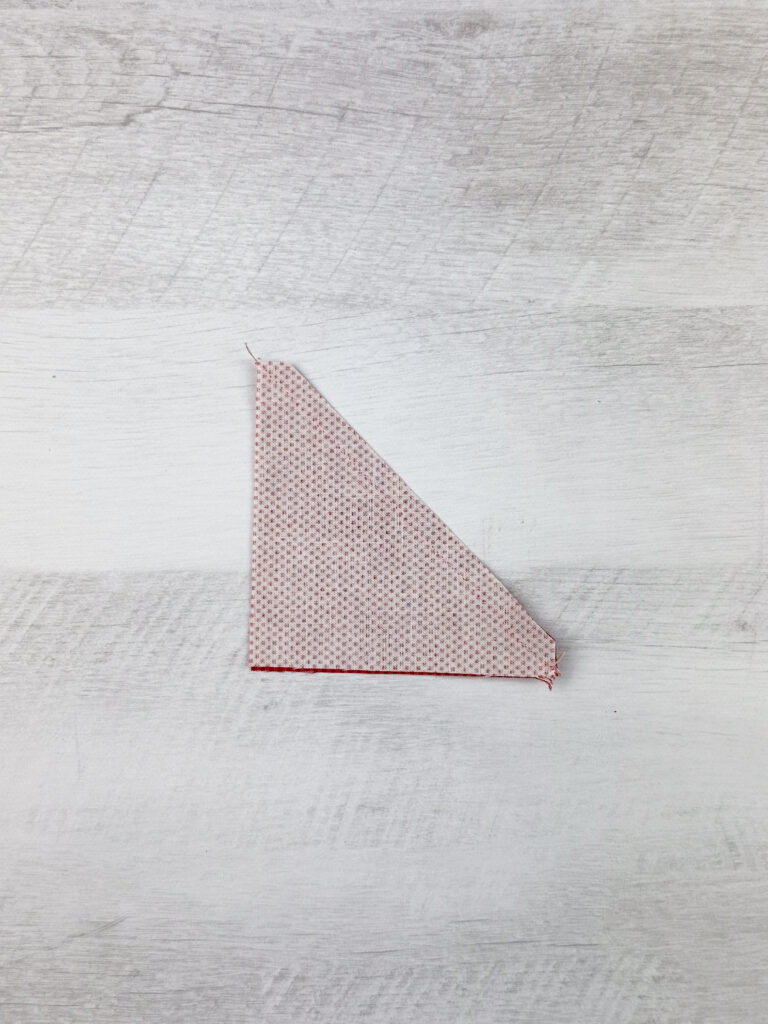
We are going to make 1-at-a time Half Square Triangles (HST). Start by laying out a POParazzi Red on Cream B square and a POParazzi Riley Red B square. Then put them right sides together. Take to your machine and stitch along the diagonal from one corner to another. You can mark the line first with a pencil if that helps you!
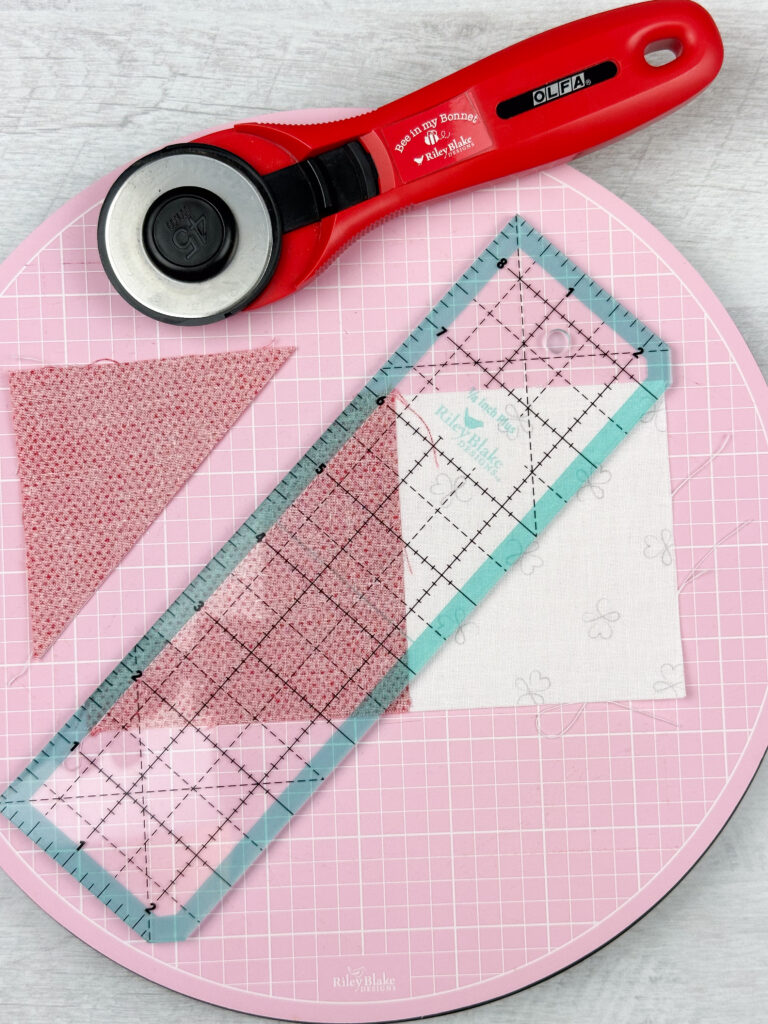
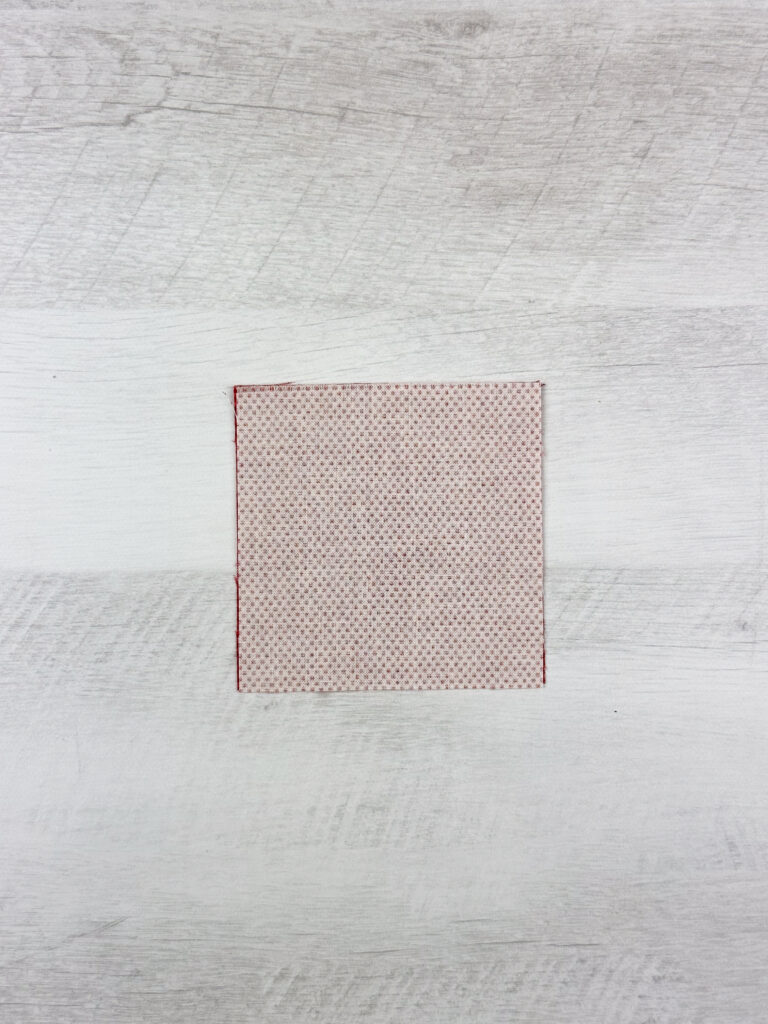
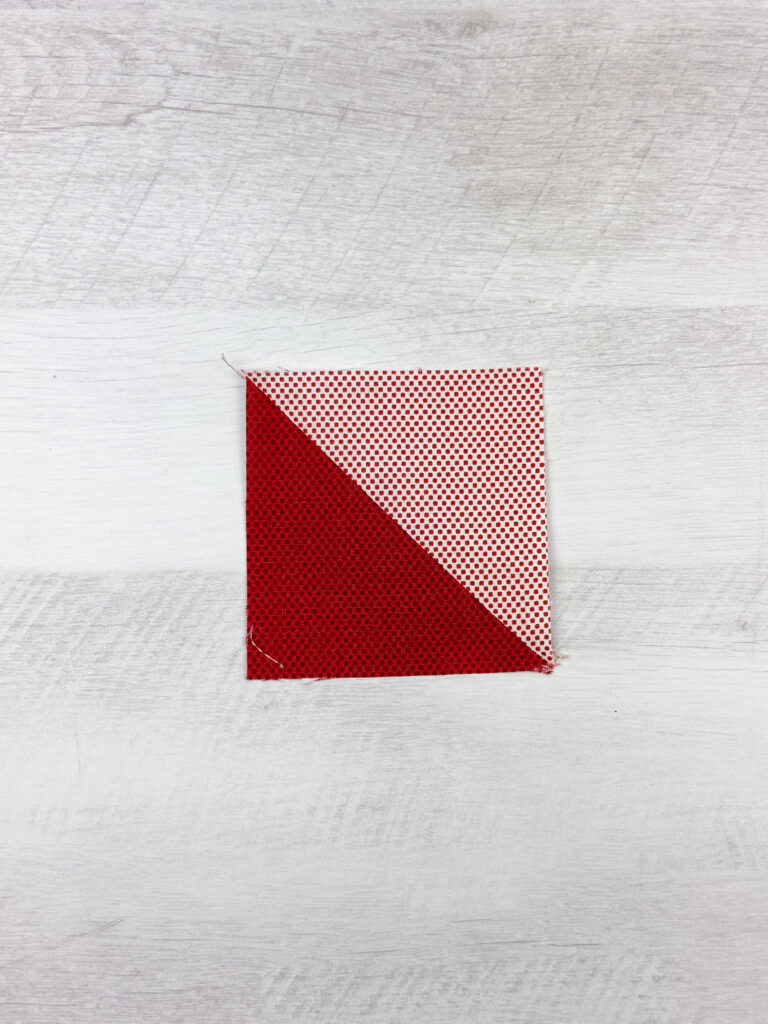
Next, trim 1/4″ away from your sewn line and press your seam to the dark side. Take to your rotating cutting mat and use a Lori Holt Cute Cut Trim It 3 1/2″ ruler to trim your HST to 3 1/2″. Repeat this process with 1 more POParrazzi Red on Cream B square & POParazzi Riley Red B square so you have two HSTs of that color combo.
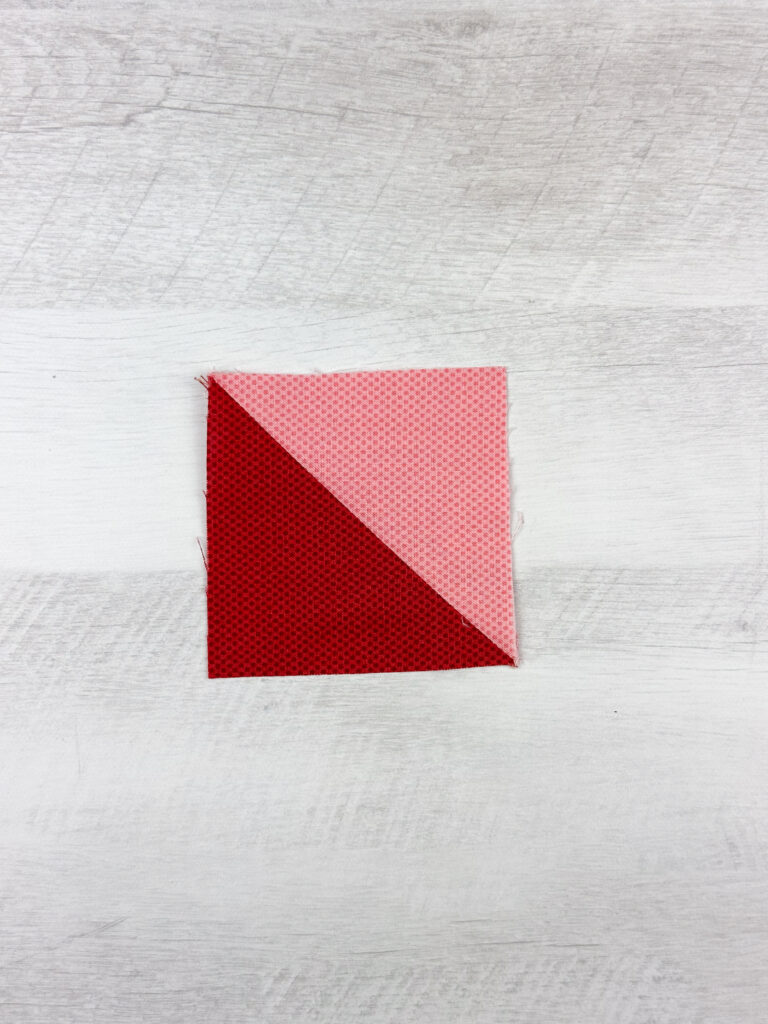
Repeat the process to make 1 POParazzi Riley Red/Coral HST. You should be left with 3 HST units and a remaining POParazzi Riley Red B square.
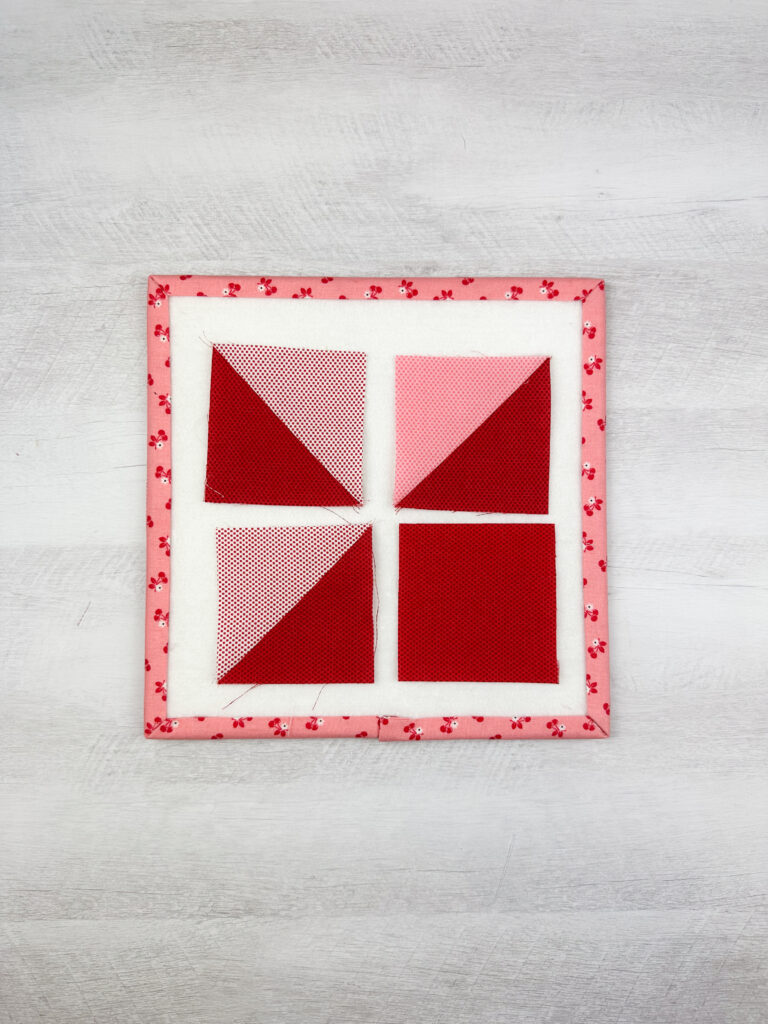
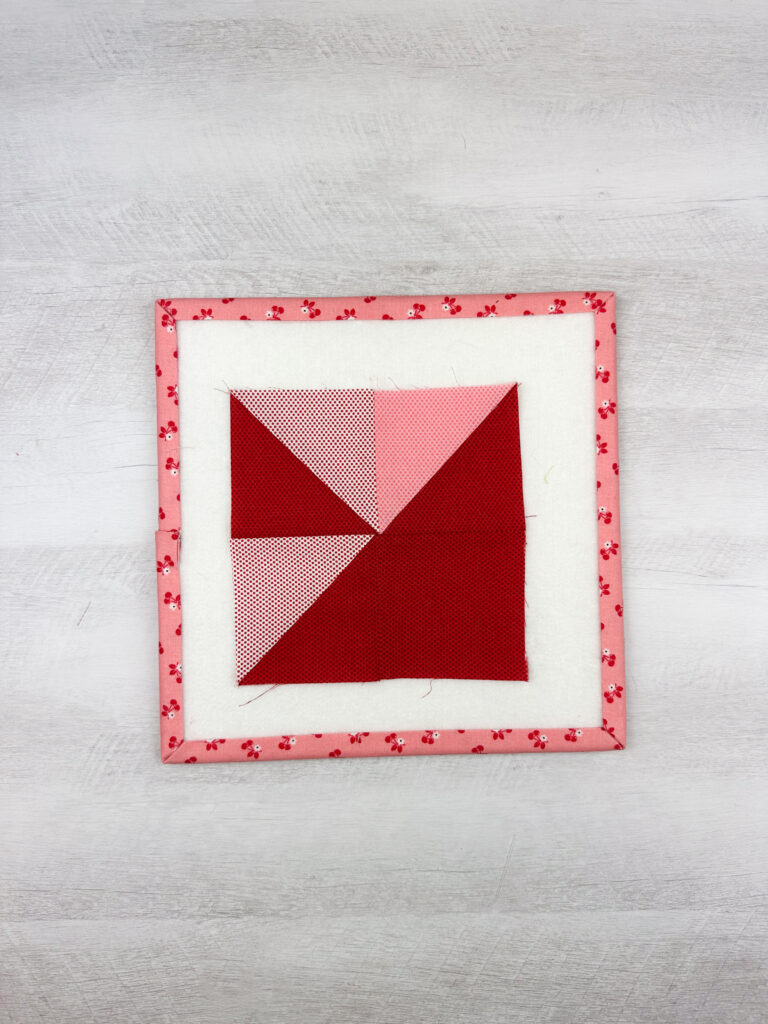
Step 3: Create Center Block
Arrange your pieces as shown and sew together to make your 6 1/2″ x 6 1/2″ center unit
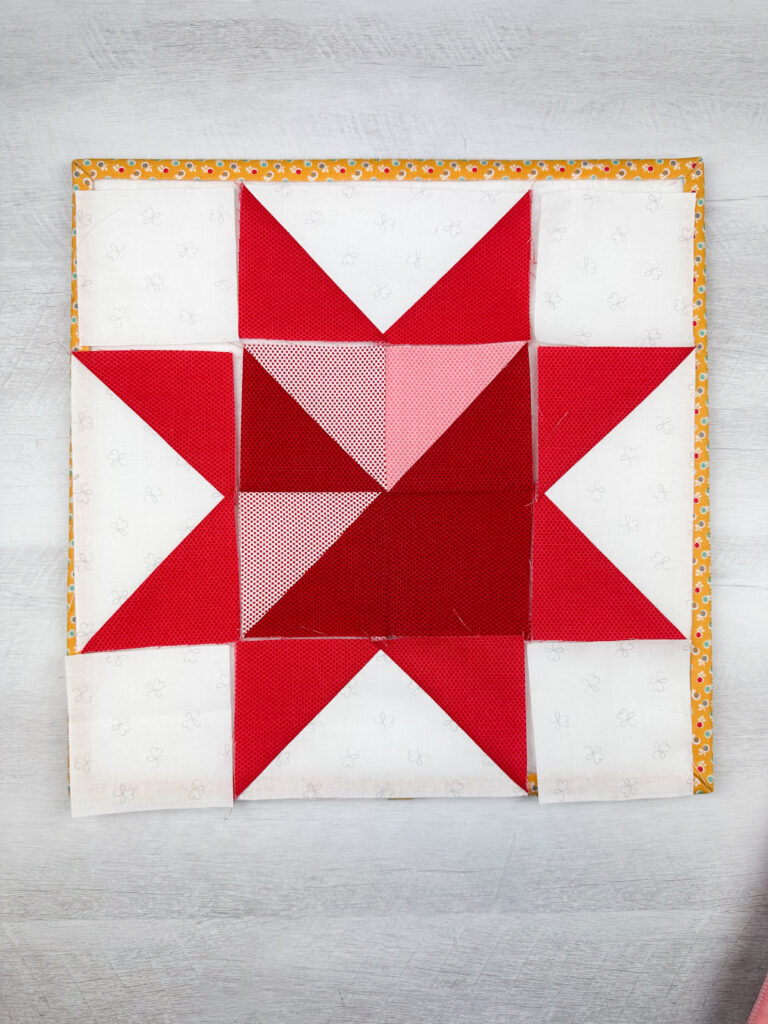
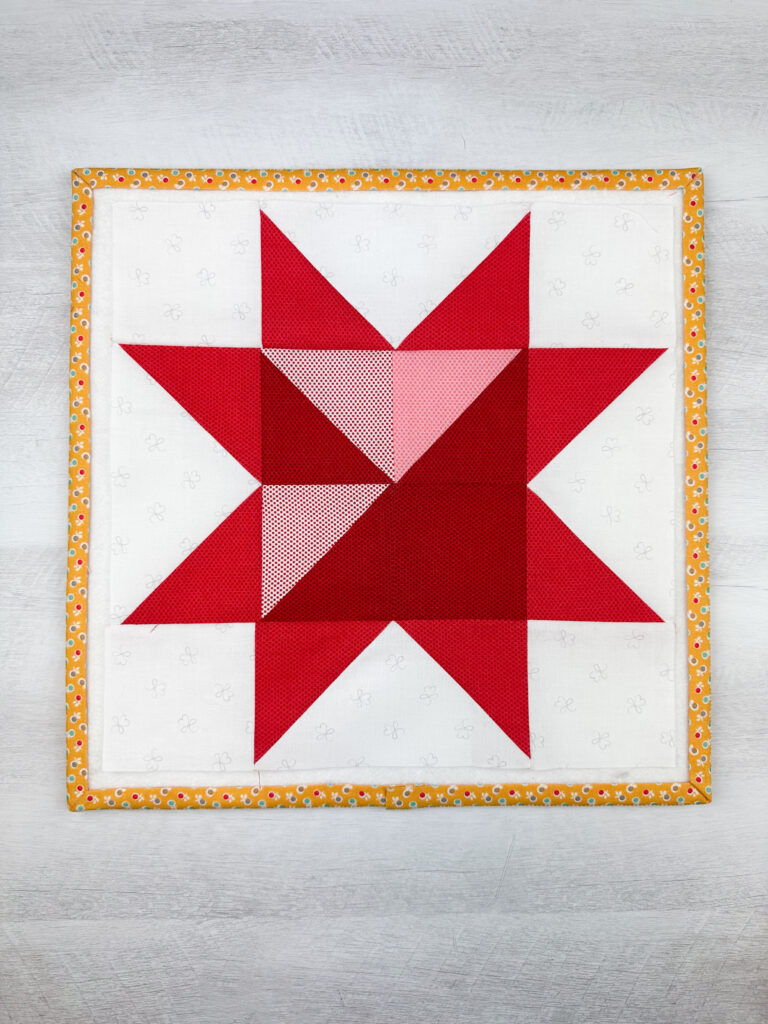
Step 4: Complete H Block
Add your flying geese units to your center block and trim to 12 1/2″x 12 1/2″ to finish your Block H!
Thank you for joining us for Block H. Don’t forget to check out the tutorials & downloads for today’s designer blocks and pick your favorite design for the center of your Block H sawtooth star. See you next week on January 26th for our next block!


One Comment
Katherine Josephson
I have a terrible time finding the sew along pdf patterns to download. I went to your blog and watched the video but want to print just the instructions with fabric cutting and sewing instructions. I went to your facebook blog but I don’t see a files section. Love your patterns and fabric. Please let me know what I am doing wrong.